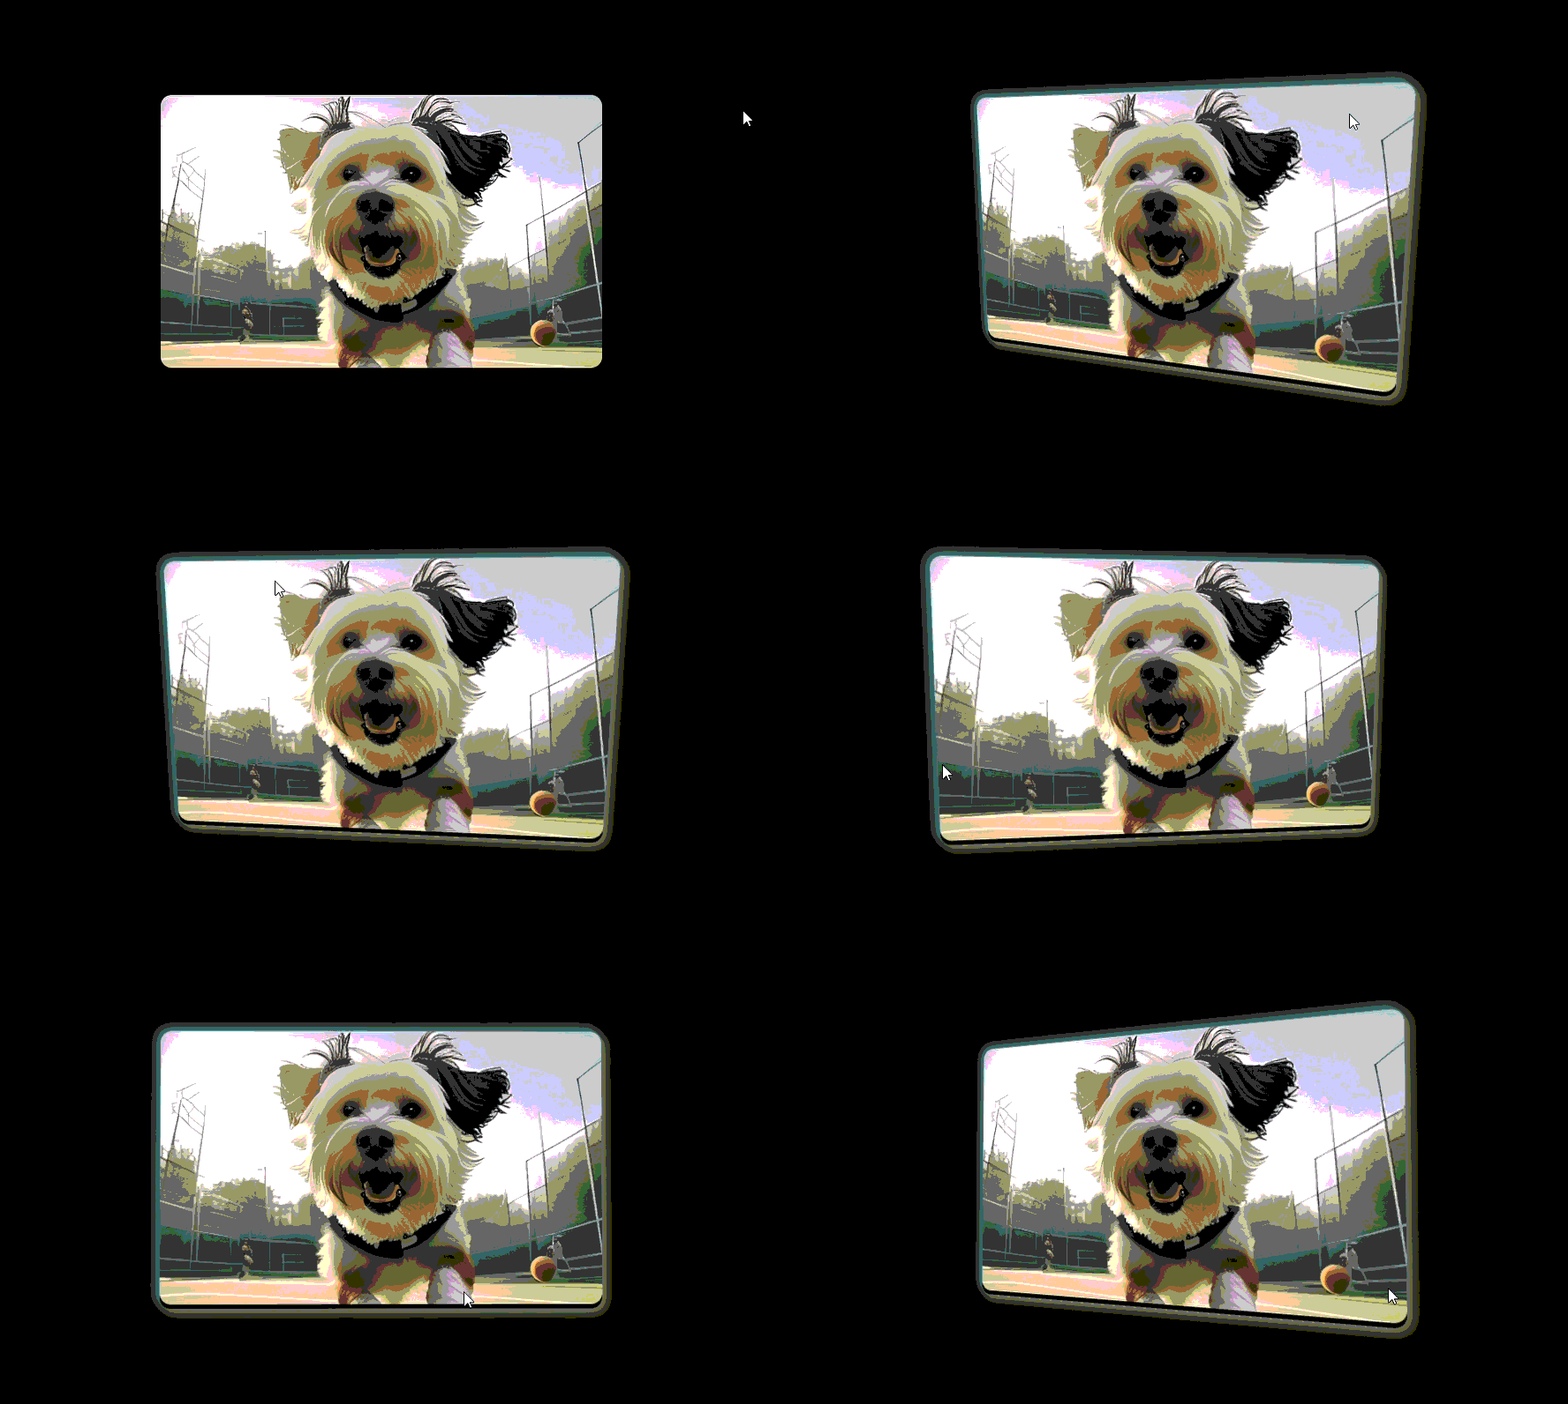
demo案例

THREE.BufferGeometry 是 Three.js 中一个强大的类,用于表示几何体数据。与传统的 THREE.Geometry 类相比,它使用缓冲区来存储顶点数据,从而在性能上有显著的提升。以下是 THREE.BufferGeometry 的详细说明,包括其输入参数、输出结果、属性和方法。
创建实例
const geometry = new THREE.BufferGeometry();
属性
BufferGeometry 的主要属性有:
attributes: 存储几何体顶点属性的对象。例如,顶点位置、法线、颜色等。index: 用于定义顶点索引的属性,可以用于减少顶点重复。groups: 一个数组,用于定义几何体的多个子集。boundingBox: 几何体的轴对齐边界框(THREE.Box3对象)。boundingSphere: 几何体的边界球(THREE.Sphere对象)。drawRange: 一个对象,定义绘制的起始点和数量。userData: 一个可用于存储任意数据的对象。
方法
BufferGeometry 提供了丰富的方法,用于操作几何体数据:
-
addAttribute: 添加或更新属性。自 Three.js r125 版本起已废弃,推荐使用
setAttribute。geometry.setAttribute('position', new THREE.Float32BufferAttribute(vertices, 3)); -
setIndex: 设置顶点索引。
geometry.setIndex(indices); -
setAttribute: 添加或更新属性。
geometry.setAttribute('color', new THREE.Float32BufferAttribute(colors, 3)); -
getAttribute: 获取属性。
const positions = geometry.getAttribute('position'); -
deleteAttribute: 删除属性。
geometry.deleteAttribute('position'); -
applyMatrix4: 将几何体应用一个矩阵变换。
geometry.applyMatrix4(matrix); -
computeBoundingBox: 计算并更新
boundingBox属性。geometry.computeBoundingBox(); -
computeBoundingSphere: 计算并更新
boundingSphere属性。geometry.computeBoundingSphere(); -
computeVertexNormals: 计算并更新顶点法线。
geometry.computeVertexNormals(); -
normalizeNormals: 规范化法线。
geometry.normalizeNormals(); -
toNonIndexed: 将几何体转换为非索引形式。
geometry.toNonIndexed(); -
clone: 克隆几何体。
const clonedGeometry = geometry.clone(); -
copy: 从另一个几何体复制数据。
const newGeometry = new THREE.BufferGeometry().copy(geometry); -
dispose: 释放几何体相关的内存。
geometry.dispose(); -
merge: 合并两个几何体。
geometry.merge(geometry2); -
setDrawRange: 设置绘制范围。
geometry.setDrawRange(start, count);
示例
以下是一个完整示例,展示如何使用 THREE.BufferGeometry 创建一个简单的几何体并将其添加到场景中:
import * as THREE from 'three';

// 创建场景、相机和渲染器
const scene = new THREE.Scene();
const camera = new THREE.PerspectiveCamera(75, window.innerWidth / window.innerHeight, 0.1, 1000);
const renderer = new THREE.WebGLRenderer();
renderer.setSize(window.innerWidth, window.innerHeight);
document.body.appendChild(renderer.domElement);

// 定义顶点位置
const vertices = new Float32Array([
  -1.0, -1.0,  1.0,
   1.0, -1.0,  1.0,
   1.0,  1.0,  1.0,
  -1.0,  1.0,  1.0,
  -1.0, -1.0, -1.0,
   1.0, -1.0, -1.0,
   1.0,  1.0, -1.0,
  -1.0,  1.0, -1.0
]);

// 定义顶点索引
const indices = [
  0, 1, 2, 0, 2, 3,
  4, 5, 6, 4, 6, 7,
  0, 1, 5, 0, 5, 4,
  1, 2, 6, 1, 6, 5,
  2, 3, 7, 2, 7, 6,
  3, 0, 4, 3, 4, 7
];

// 创建 BufferGeometry 并设置属性
const geometry = new THREE.BufferGeometry();
geometry.setAttribute('position', new THREE.Float32BufferAttribute(vertices, 3));
geometry.setIndex(indices);

// 创建材质和网格
const material = new THREE.MeshBasicMaterial({ color: 0x00ff00, wireframe: true });
const mesh = new THREE.Mesh(geometry, material);

// 将网格添加到场景中
scene.add(mesh);

// 设置相机位置
camera.position.z = 5;

// 渲染循环
function animate() {
  requestAnimationFrame(animate);
  renderer.render(scene, camera);
}
animate();
总结
THREE.BufferGeometry 是一个强大的类,允许高效地处理几何体数据。它通过使用缓冲区存储顶点数据,提供了高性能的几何体处理方式。通过其丰富的方法和属性,可以方便地操作和变换几何体数据。
<!DOCTYPE html>
<html lang="en">
	<head>
		<title>three.js webgl - buffer geometry custom attributes - particles</title>
		<meta charset="utf-8">
		<meta name="viewport" content="width=device-width, user-scalable=no, minimum-scale=1.0, maximum-scale=1.0">
		<link type="text/css" rel="stylesheet" href="main.css">
	</head>
	<body>
		<div id="container"></div>
		<div id="info"><a href="https://threejs.org" target="_blank" rel="noopener">three.js</a> webgl - buffergeometry custom attributes - particles</div>

		<!-- 顶点着色器 -->
		<script type="x-shader/x-vertex" id="vertexshader">

			attribute float size;

			varying vec3 vColor;

			void main() {

				vColor = color;

				vec4 mvPosition = modelViewMatrix * vec4( position, 1.0 );

				gl_PointSize = size * ( 300.0 / -mvPosition.z );

				gl_Position = projectionMatrix * mvPosition;

			}

		</script>

		<!-- 片段着色器 -->
		<script type="x-shader/x-fragment" id="fragmentshader">

			uniform sampler2D pointTexture;

			varying vec3 vColor;

			void main() {

				gl_FragColor = vec4( vColor, 1.0 );

				gl_FragColor = gl_FragColor * texture2D( pointTexture, gl_PointCoord );

			}

		</script>

		<script type="importmap">
			{
				"imports": {
					"three": "../build/three.module.js",
					"three/addons/": "./jsm/"
				}
			}
		</script>

		<script type="module">

			import * as THREE from 'three';
			import Stats from 'three/addons/libs/stats.module.js';

			let renderer, scene, camera, stats;
			let particleSystem, uniforms, geometry;
			const particles = 100000; // 粒子数量

			init(); // 初始化
			animate(); // 动画循环

			function init() {

				// 创建相机
				camera = new THREE.PerspectiveCamera( 40, window.innerWidth / window.innerHeight, 1, 10000 );
				camera.position.z = 300;

				// 创建场景
				scene = new THREE.Scene();

				// 定义 uniforms 变量
				uniforms = {
					pointTexture: { value: new THREE.TextureLoader().load( 'textures/sprites/spark1.png' ) }
				};

				// 创建着色器材质
				const shaderMaterial = new THREE.ShaderMaterial( {
					uniforms: uniforms,
					vertexShader: document.getElementById( 'vertexshader' ).textContent,
					fragmentShader: document.getElementById( 'fragmentshader' ).textContent,
					blending: THREE.AdditiveBlending,
					depthTest: false,
					transparent: true,
					vertexColors: true
				} );

				const radius = 200; // 粒子分布半径
				geometry = new THREE.BufferGeometry();
				const positions = [];
				const colors = [];
				const sizes = [];
				const color = new THREE.Color();

				for ( let i = 0; i < particles; i ++ ) {

					// 随机生成粒子的位置
					positions.push( ( Math.random() * 2 - 1 ) * radius );
					positions.push( ( Math.random() * 2 - 1 ) * radius );
					positions.push( ( Math.random() * 2 - 1 ) * radius );

					// 设置粒子的颜色
					color.setHSL( i / particles, 1.0, 0.5 );
					colors.push( color.r, color.g, color.b );

					// 设置粒子的初始大小
					sizes.push( 20 );

				}

				// 将属性添加到几何体中
				geometry.setAttribute( 'position', new THREE.Float32BufferAttribute( positions, 3 ) );
				geometry.setAttribute( 'color', new THREE.Float32BufferAttribute( colors, 3 ) );
				geometry.setAttribute( 'size', new THREE.Float32BufferAttribute( sizes, 1 ).setUsage( THREE.DynamicDrawUsage ) );

				// 创建粒子系统
				particleSystem = new THREE.Points( geometry, shaderMaterial );
				scene.add( particleSystem );

				// 创建渲染器
				renderer = new THREE.WebGLRenderer();
				renderer.setPixelRatio( window.devicePixelRatio );
				renderer.setSize( window.innerWidth, window.innerHeight );

				const container = document.getElementById( 'container' );
				container.appendChild( renderer.domElement );

				// 添加统计信息
				stats = new Stats();
				container.appendChild( stats.dom );

				// 监听窗口大小变化
				window.addEventListener( 'resize', onWindowResize );

			}

			function onWindowResize() {

				// 更新相机和渲染器的尺寸
				camera.aspect = window.innerWidth / window.innerHeight;
				camera.updateProjectionMatrix();
				renderer.setSize( window.innerWidth, window.innerHeight );

			}

			function animate() {

				// 请求下一帧并渲染
				requestAnimationFrame( animate );
				render();
				stats.update();

			}

			function render() {

				const time = Date.now() * 0.005; // 获取当前时间

				particleSystem.rotation.z = 0.01 * time; // 旋转粒子系统

				const sizes = geometry.attributes.size.array;

				// 动态更新粒子大小
				for ( let i = 0; i < particles; i ++ ) {
					sizes[ i ] = 10 * ( 1 + Math.sin( 0.1 * i + time ) );
				}

				geometry.attributes.size.needsUpdate = true; // 标记属性需要更新
				renderer.render( scene, camera ); // 渲染场景

			}

		</script>

</body>
</html>
压图地址

一个功能强大的图片处理工具,它可以满足用户对于图片压缩、格式转换、质量调节以及长图片分割等多种需求。
【轻松压缩,一键搞定】您的图片处理神器来了!
压图地址
本内容来源于小豆包,想要更多内容请跳转小豆包 》



![[数据集][目标检测]剪刀石头布检测数据集VOC+YOLO格式1973张3类别](https://img-blog.csdnimg.cn/direct/984f8e1eb71b4a17a8ca842aac62d7a3.png)

