文章目录
- OpenCV
- Github
- 官网
- 安装
- 环境变量
- Go的OpenCV绑定库
- Github
- 文档
- 安装
- 搜索视频设备ID
- 显示视频
- 检测人脸
OpenCV
Github
- https://github.com/opencv/opencv/
官网
- https://opencv.org/
安装
brew install opencv
brew upgrade opencv
- 安装目录
cd /usr/local/opt/opencv@4
环境变量
vim ~/.zshrc
export PKG_CONFIG_PATH="/usr/local/opt/opencv@4/lib/pkgconfig:$PKG_CONFIG_PATH"
source ~/.zshrc
- 验证是否安装成功
pkg-config --cflags --libs opencv4

Go的OpenCV绑定库
Github
- https://github.com/hybridgroup/gocv
文档
- https://gocv.io/getting-started/macos/
安装
go get -u -d gocv.io/x/gocv
搜索视频设备ID
brew install ffmpeg
# 列出视频的设备ID
ffmpeg -f avfoundation -list_devices true -i ""

注意: [0] FaceTime HD Camera,deviceID := 0 是电脑摄像头。
显示视频
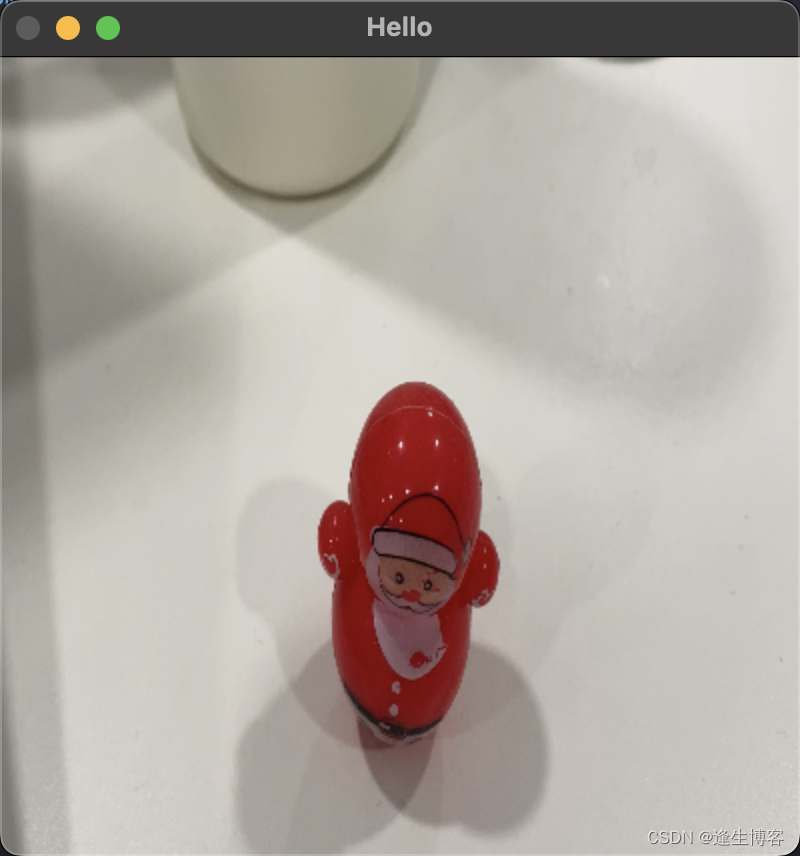
此示例使用设备“0”打开视频捕获设备,读取帧,并在GUI窗口中显示视频。
# 初始化
go mod init demo
# 安装库
go get -u -d gocv.io/x/gocv
package main

import (
	"fmt"
	"github.com/kbinani/screenshot"
	"gocv.io/x/gocv"
	"image"
)

func main() {
	deviceID := 0
	webcam, _ := gocv.OpenVideoCapture(deviceID)
	window := gocv.NewWindow("Hello")
	defer window.Close()

	// 调整窗口大小
	winWidth, winHeight := 400, 400
	window.ResizeWindow(winWidth, winHeight)
	// 获取屏幕分辨率
	width, height, _ := getScreenResolution()
	winX := (width - winWidth) / 2
	winY := (height - winHeight) / 2
	window.MoveWindow(winX, winY-100)

	img := gocv.NewMat()
	defer img.Close()

	for {
		webcam.Read(&img)
		// 调整图像大小
		size := image.Point{X: winWidth, Y: winHeight}
		gocv.Resize(img, &img, size, 0, 0, gocv.InterpolationDefault)

		window.IMShow(img)
		window.WaitKey(1)
	}
}

func getScreenResolution() (int, int, error) {
	// 获取活动显示器的数量
	numDisplays := screenshot.NumActiveDisplays()
	if numDisplays <= 0 {
		panic("no active display found")
	}

	// 获取第一个显示器的分辨率
	bounds := screenshot.GetDisplayBounds(0)
	width := bounds.Dx()
	height := bounds.Dy()

	fmt.Printf("Primary display resolution: %d x %d\n", width, height)
	return width, height, nil
}
检测人脸
这是一个使用设备“0”打开视频捕获设备的更完整示例。它还使用CascadeClassifier类来加载包含分类器数据的外部数据文件。该程序从视频中获取每一帧,然后使用分类器来检测人脸。如果找到任何人脸,它会在每个人脸周围绘制一个蓝色矩形,然后在输出窗口中显示视频。
haarcascade_frontalface_default.xml 是一个预训练的 Haar 特征分类器,用于人脸检测。它是由 OpenCV 提供的一个经典工具,基于 Viola-Jones 对象检测框架。该文件包含了一系列经过训练的特征,可以快速有效地检测图像中的人脸。
Haar 特征分类器是一种基于机器学习的方法,用于图像中对象的检测。以下是其主要特点:
-
简单矩形特征:Haar 特征由简单的矩形区域组成,这些区域被分成亮和暗部分。通过比较这些区域的亮度差异,可以确定特征的存在。
-
积分图像:为了快速计算矩形特征,使用积分图像(Integral Image)来加速特征计算。这使得检测过程非常高效。
-
级联分类器:级联分类器将多个弱分类器(简单的矩形特征)串联起来,以形成一个强大的分类器。通过逐级过滤非目标区域,逐步缩小检测范围,提高检测速度。
- 下载 haarcascade_frontalface_default.xml 文件
package main

import (
	"fmt"
	"github.com/kbinani/screenshot"
	"gocv.io/x/gocv"
	"image"
	"image/color"
)

func main() {
	// set to use a video capture device 0
	deviceID := 0

	// open webcam
	webcam, err := gocv.OpenVideoCapture(deviceID)
	if err != nil {
		fmt.Println(err)
		return
	}
	defer webcam.Close()

	// open display window
	window := gocv.NewWindow("Face Detect")
	defer window.Close()

	// 调整窗口大小
	winWidth, winHeight := 400, 400
	window.ResizeWindow(winWidth, winHeight)
	// 获取屏幕分辨率
	width, height, _ := getScreenResolution()
	winX := (width - winWidth) / 2
	winY := (height - winHeight) / 2
	window.MoveWindow(winX, winY-100)

	// prepare image matrix
	img := gocv.NewMat()
	defer img.Close()

	// color for the rect when faces detected
	blue := color.RGBA{0, 0, 255, 0}

	// load classifier to recognize faces
	classifier := gocv.NewCascadeClassifier()
	defer classifier.Close()

	if !classifier.Load("./haarcascade_frontalface_default.xml") {
		fmt.Println("Error reading cascade file: ./haarcascade_frontalface_default.xml")
		return
	}

	fmt.Printf("start reading camera device: %v\n", deviceID)
	for {
		if ok := webcam.Read(&img); !ok {
			fmt.Printf("cannot read device %v\n", deviceID)
			return
		}
		if img.Empty() {
			continue
		}

		// 调整图像大小
		size := image.Point{X: winWidth, Y: winHeight}
		gocv.Resize(img, &img, size, 0, 0, gocv.InterpolationDefault)

		// detect faces
		rects := classifier.DetectMultiScale(img)
		fmt.Printf("found %d faces\n", len(rects))

		// draw a rectangle around each face on the original image
		for _, r := range rects {
			gocv.Rectangle(&img, r, blue, 3)
		}

		// show the image in the window, and wait 1 millisecond
		window.IMShow(img)
		window.WaitKey(1)
	}
}

func getScreenResolution() (int, int, error) {
	// 获取活动显示器的数量
	numDisplays := screenshot.NumActiveDisplays()
	if numDisplays <= 0 {
		panic("no active display found")
	}

	// 获取第一个显示器的分辨率
	bounds := screenshot.GetDisplayBounds(0)
	width := bounds.Dx()
	height := bounds.Dy()

	fmt.Printf("Primary display resolution: %d x %d\n", width, height)
	return width, height, nil
}







![[算法][前缀和] [leetcode]724. 寻找数组的中心下标](https://img-blog.csdnimg.cn/direct/144f9617265b4ea1903495c20e8a474b.gif#pic_center)

![[DDR5 Jedec 3]DDR5 SDRAM 状态图 和 基本功能](https://img-blog.csdnimg.cn/direct/1539e07b5b744855a7397a81e7b8ae6f.png)


