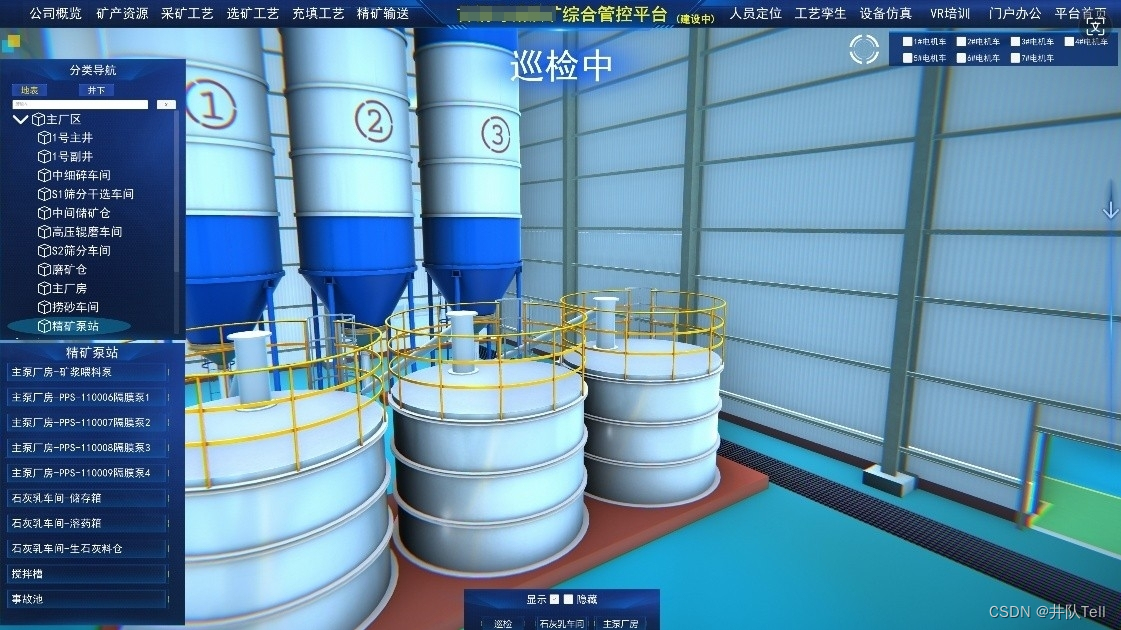
利用Unity 自带的Timeline 可轻松实现场景的巡检漫游效果,
基本使用参考以下链接:
Unity中的Timeline
Unity学习笔记——TimeLine的简单使用方法(一)
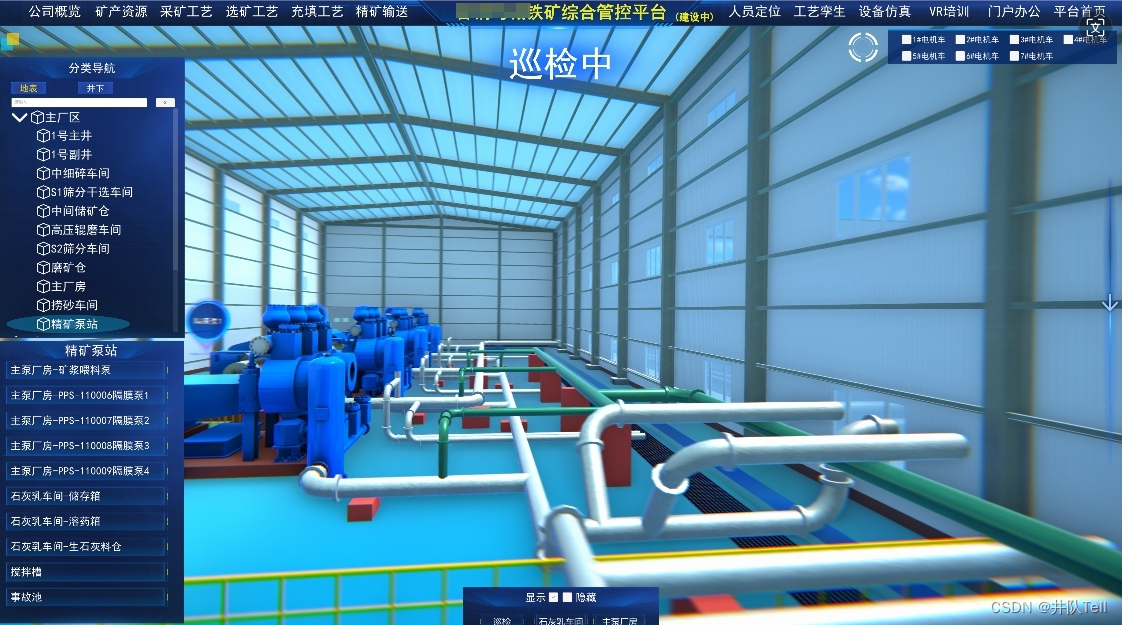
这里主要介绍如何通过滑动条控制播放的进度,效果图附上。
 话不多说,直接上干货!
 public GameObject TimeLine_ZCF;
 public Slider TimeLine_ZXS_Slider;

 void Start()
  {
    //给滑动条添加方法,值改变时触发,更改TimeLine的time值
    TimeLine_ZXS_Slider.onValueChanged.AddListener((float value) => {   TimeLine_ZXS.GetComponent<PlayableDirector>().time = value * TimeLine_ZXS.GetComponent<PlayableDirector>().duration; });
  }


 //控制漫游启停
 void ConTrolManYou(bool isStart)
 {
    if(isStart)
    {
       TimeLine.GetComponent<PlayableDirector>().Play();
	   InvokeRepeating("DelayedExeCuteSlider", 0f, 1f);
    }
   else
   {
      TimeLine.GetComponent<PlayableDirector>().Stop();
      TimeLine_ZXS_Slider.value =0;
	  CancelInvoke("DelayedExeCuteSlider");
   }

 }


  //将TimeLine运行的时间,反馈给滑动条
  //time 是运行的时间,duration是总时间,slider的值范围:0-1,所以用time /duration即可
  //这个方法可以放在Update里面,当然,考虑到性能,只有在漫游巡检时在赋值即可,通过携程或者Invoke重复调用
 private void DelayedExeCuteSlider()
 {
	TimeLine_ZXS_Slider.value = (float)(TimeLine_ZXS.GetComponent<PlayableDirector>().time / TimeLine_ZXS.GetComponent<PlayableDirector>().duration);
 }
这里是井队,天高任鸟飞,海阔凭鱼跃,点个关注不迷路,我们下期再见。