0. 环境
- ubuntu18
- esp32-cam
- usb转ttl ch340
硬件连接
| esp32-cam | ch340板子 |
| U0R | TXD |
| U0T | RXD |
| GND | GND |
| 5V | 5V |
1. 安装依赖
sudo apt-get install vim
sudo apt install git
sudo apt-get install git wget flex bison gperf python python-pip python-setuptools python-serial python-click python-cryptography python-future python-pyparsing python-pyelftools cmake ninja-build ccache libffi-dev libssl-dev
sudo apt-get install git wget flex bison gperf python3 python3-pip python3-setuptools cmake ninja-build ccache libffi-dev libssl-dev dfu-util libusb-1.0-0
2. 克隆源码
git clone --recurse-submodules http://github.com/Ai-Thinker-Open/Ai-Thinker-Open_ESP32-CAMERA_LAN.git问题:fatal: unable to access 'https://github.com/espressif/esp-face/': gnutls_handshake() failed: Error in the pull function.
解决办法:
$ gedit Ai-Thinker-Open_ESP32-CAMERA_LAN/.git/config
把
https
改为
http
再试:
git submodule update --recursive3. 设置环境
3.0 设置pip源
mkdir ~/.pip
gedit ~/.pip/pip.conf
添加内容:
[global]
index-url = https://pypi.tuna.tsinghua.edu.cn/simple
[install]
trusted-host = https://pypi.tuna.tsinghua.edu.cn
3.1 esp-idf安装工具
cd Ai-Thinker-Open_ESP32-CAMERA_LAN/esp-idf
切换分支(建议使用README.md 中说明的本仓库使用esp-idf v4.0)
git checkout release/v4.0安装
./install.sh3.2 环境变量
cd Ai-Thinker-Open_ESP32-CAMERA_LAN/esp-idf
. ./export.sh
4. 编译
cd Ai-Thinker-Open_ESP32-CAMERA_LAN/examples/single_chip/camera_web_server
make menuconfig
问题:Linux错误 curses.h:No such file or directory
sudo apt-get install libncurses5-dev libncursesw5-dev配置SPI FLASH
Serial flasher config ->
    -> Default serial port: /dev/ttyUSB0
    -> Default baud rate:    230400
    -> Flash SPI mode(DIO)
    -> Flash SPI speed: 40MHz
    -> FLash size: 4MB
根据板子配置引脚
Camera Web Server —>Camera Pins —> Select Camera Pinout —> 选择ESP32-CAM by AI-Thinker
配置wifi(AP模式)
camera_web -> Camera Web Server -> WiFi Settings
    -> 删除 WiFi STA SSID内容
    -> 删除 WiFi STA Password内容
    -> WiFi AP SSID:        AiThinker_Cam
    -> WiFi AP Password:
编译
make -j8串口权限
ls /dev/ttyUSB*
sudo chmod 777 /dev/ttyUSB1
永久修改
whoami
该用户添加至dialout用户组,因为tty设备是属于dialout用户组
sudo usermod -aG dialout sunrise5. 下载程序
5.1 ESP32进入BOOT模式
把 IO0 和 GND 用杜邦线或者跳线帽连接。
5.2 下载
make flash5.3 串口观察
make monitor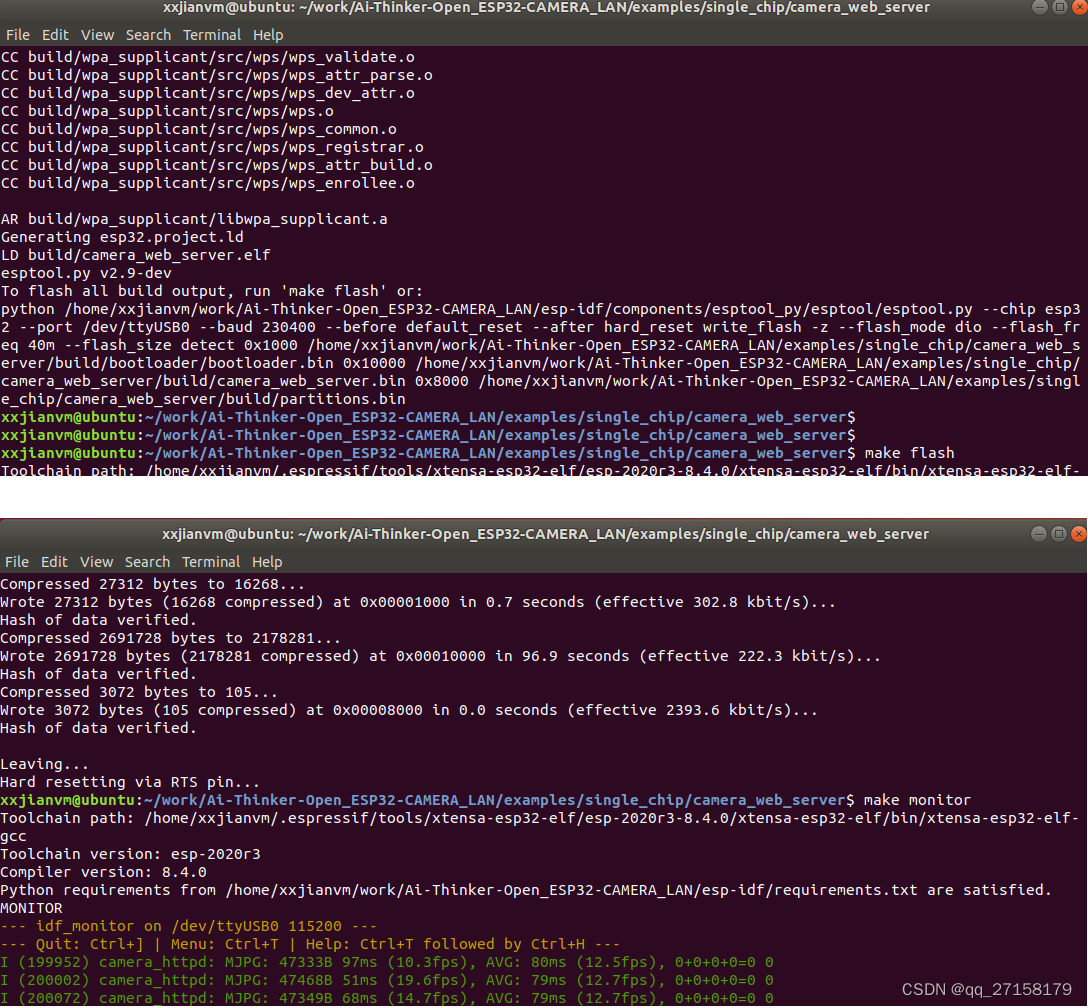
6. 测试
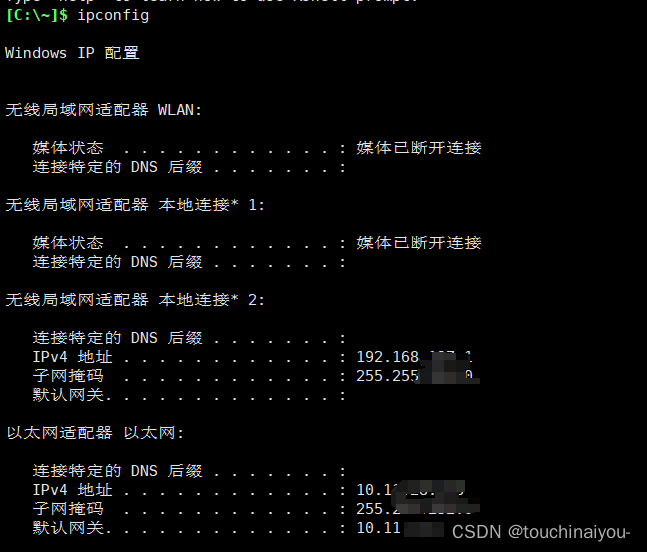
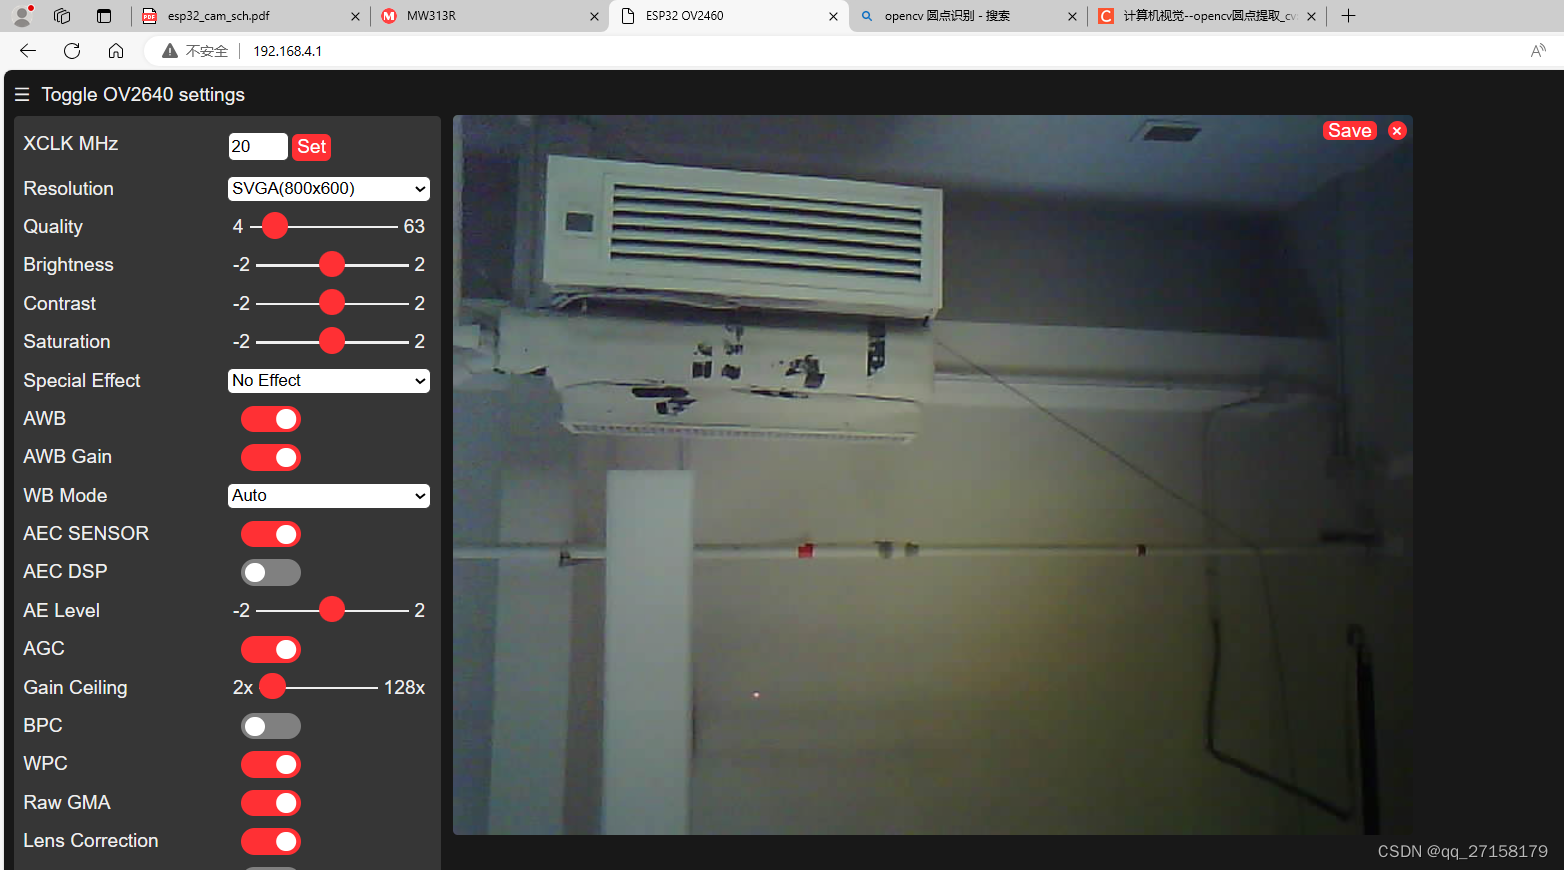
6.1 web
电脑连接ESP32,WIFI连接
浏览器打开 192.168.4.1
参考:
[1]ESP32-CAM摄像头开发板,https://docs.ai-thinker.com/esp32-cam
[2]安信可ESP32-CAM摄像头开发demo--局域网拍照、实时视频、人脸识别,https://aithinker.blog.csdn.net/article/details/108000974
[3]Stream Video from ESP32 to Raspberry Pi,
https://gpiocc.github.io/learn/raspberrypi/esp/ml/2020/11/08/martin-ku-stream-video-from-esp32-to-raspberry-pi.html
下篇:
esp32-cam 2. python opencv 拉取摄像头内容-CSDN博客文章浏览阅读118次。python opencv 获取esp32-cam的视频流https://blog.csdn.net/qq_27158179/article/details/138419426