SpringBoot 自定义拦截器
目录
- SpringBoot 自定义拦截器
- 一、自定义拦截器
- 二、编写控制器
- 三、添加拦截器对象,注入到容器的配置类中
- 另一种写法
- 四、最后application运行
一、自定义拦截器
创建登录拦截器
com/bjpowernode/springbootinterceptor02/interceptor
LoginInterceptor.java
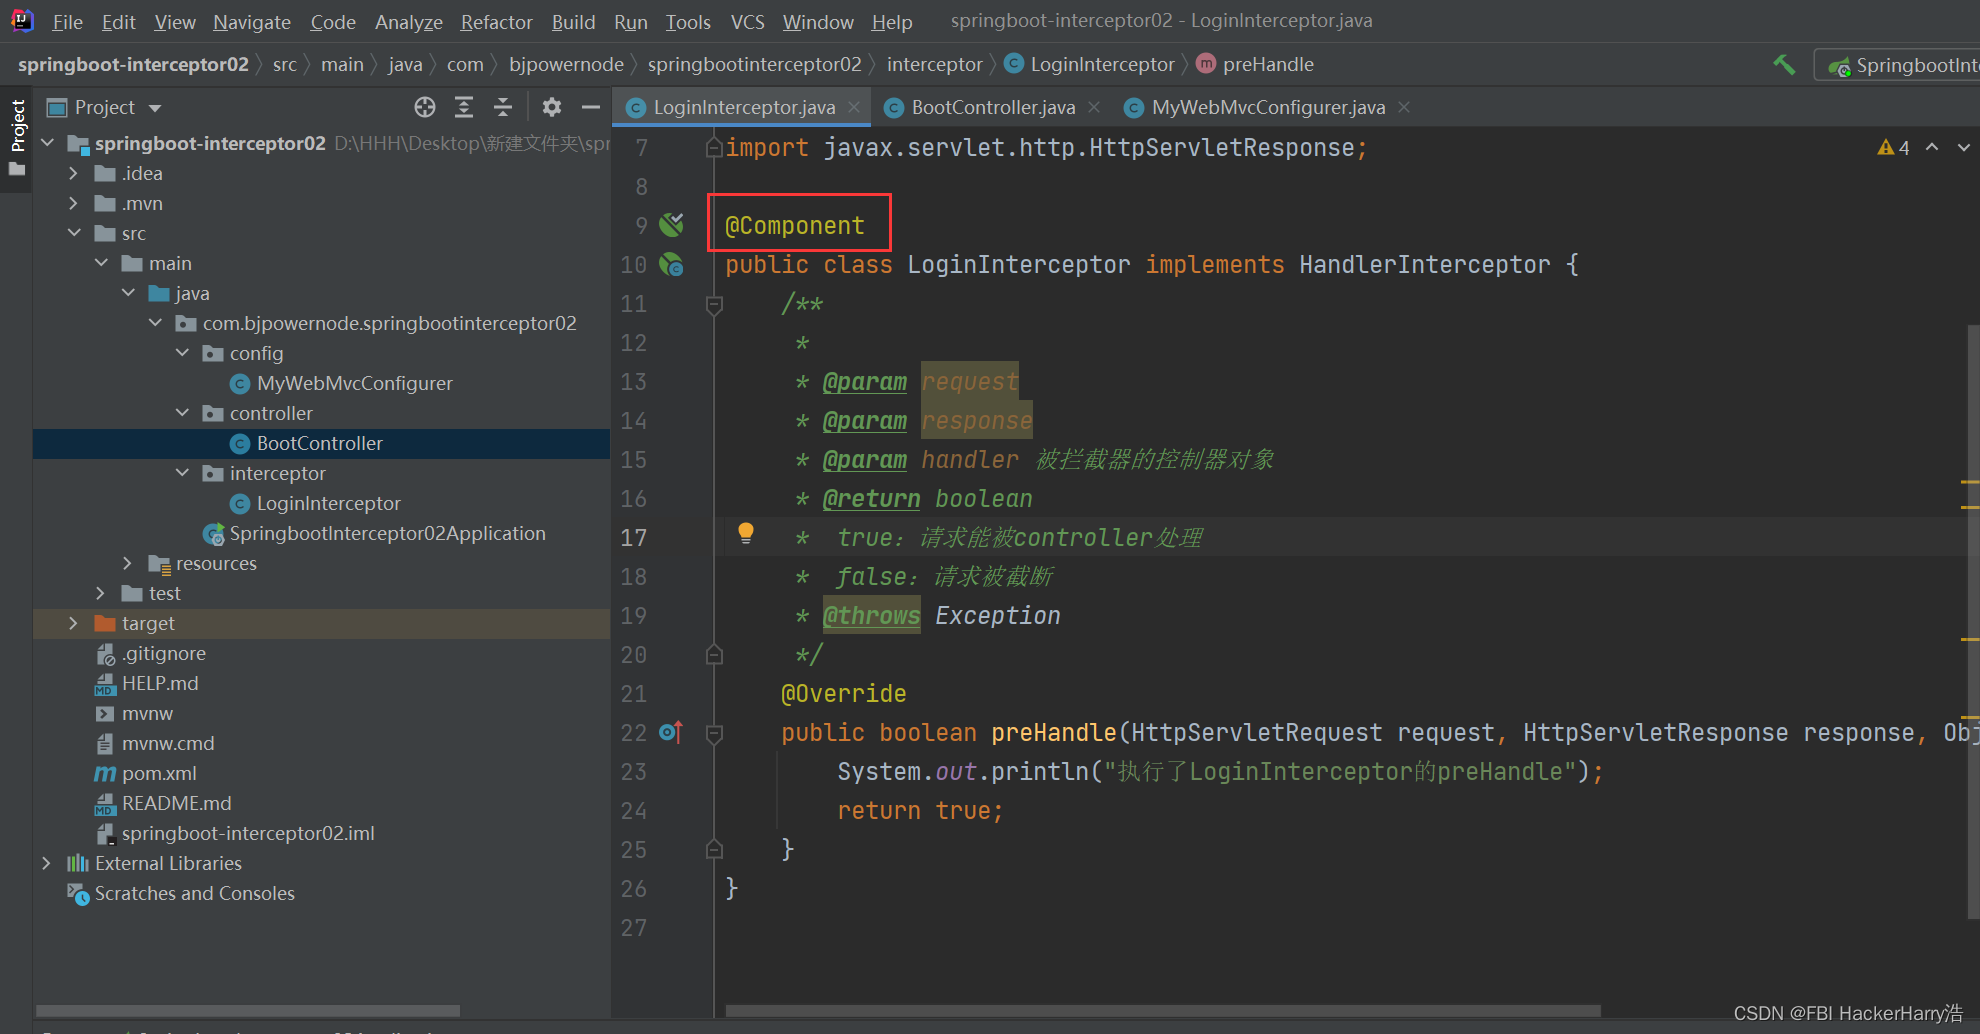
package com.bjpowernode.springbootinterceptor02.interceptor;

import org.springframework.stereotype.Component;
import org.springframework.web.servlet.HandlerInterceptor;

import javax.servlet.http.HttpServletRequest;
import javax.servlet.http.HttpServletResponse;

public class LoginInterceptor implements HandlerInterceptor {
    /**
     *
     * @param request
     * @param response
     * @param handler 被拦截器的控制器对象
     * @return boolean
     *  true:请求能被controller处理
     *  false:请求被截断
     * @throws Exception
     */
    @Override
    public boolean preHandle(HttpServletRequest request, HttpServletResponse response, Object handler) throws Exception {
        System.out.println("执行了LoginInterceptor的preHandle");
        return true;
    }
}
二、编写控制器
com/bjpowernode/springbootinterceptor02/controller
BootController.java
package com.bjpowernode.springbootinterceptor02.controller;
import org.springframework.stereotype.Controller;
import org.springframework.web.bind.annotation.RequestMapping;
import org.springframework.web.bind.annotation.ResponseBody;
@Controller
public class BootController {
@RequestMapping("/user/userAccount")
@ResponseBody
public String userAccount(){
return "访问user/userAccount";
}
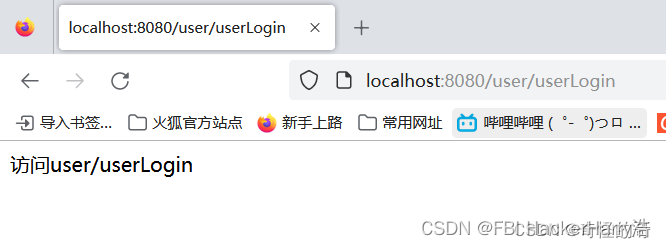
@RequestMapping("/user/userLogin")
@ResponseBody
public String userLogin(){
return "访问user/userLogin";
}
}
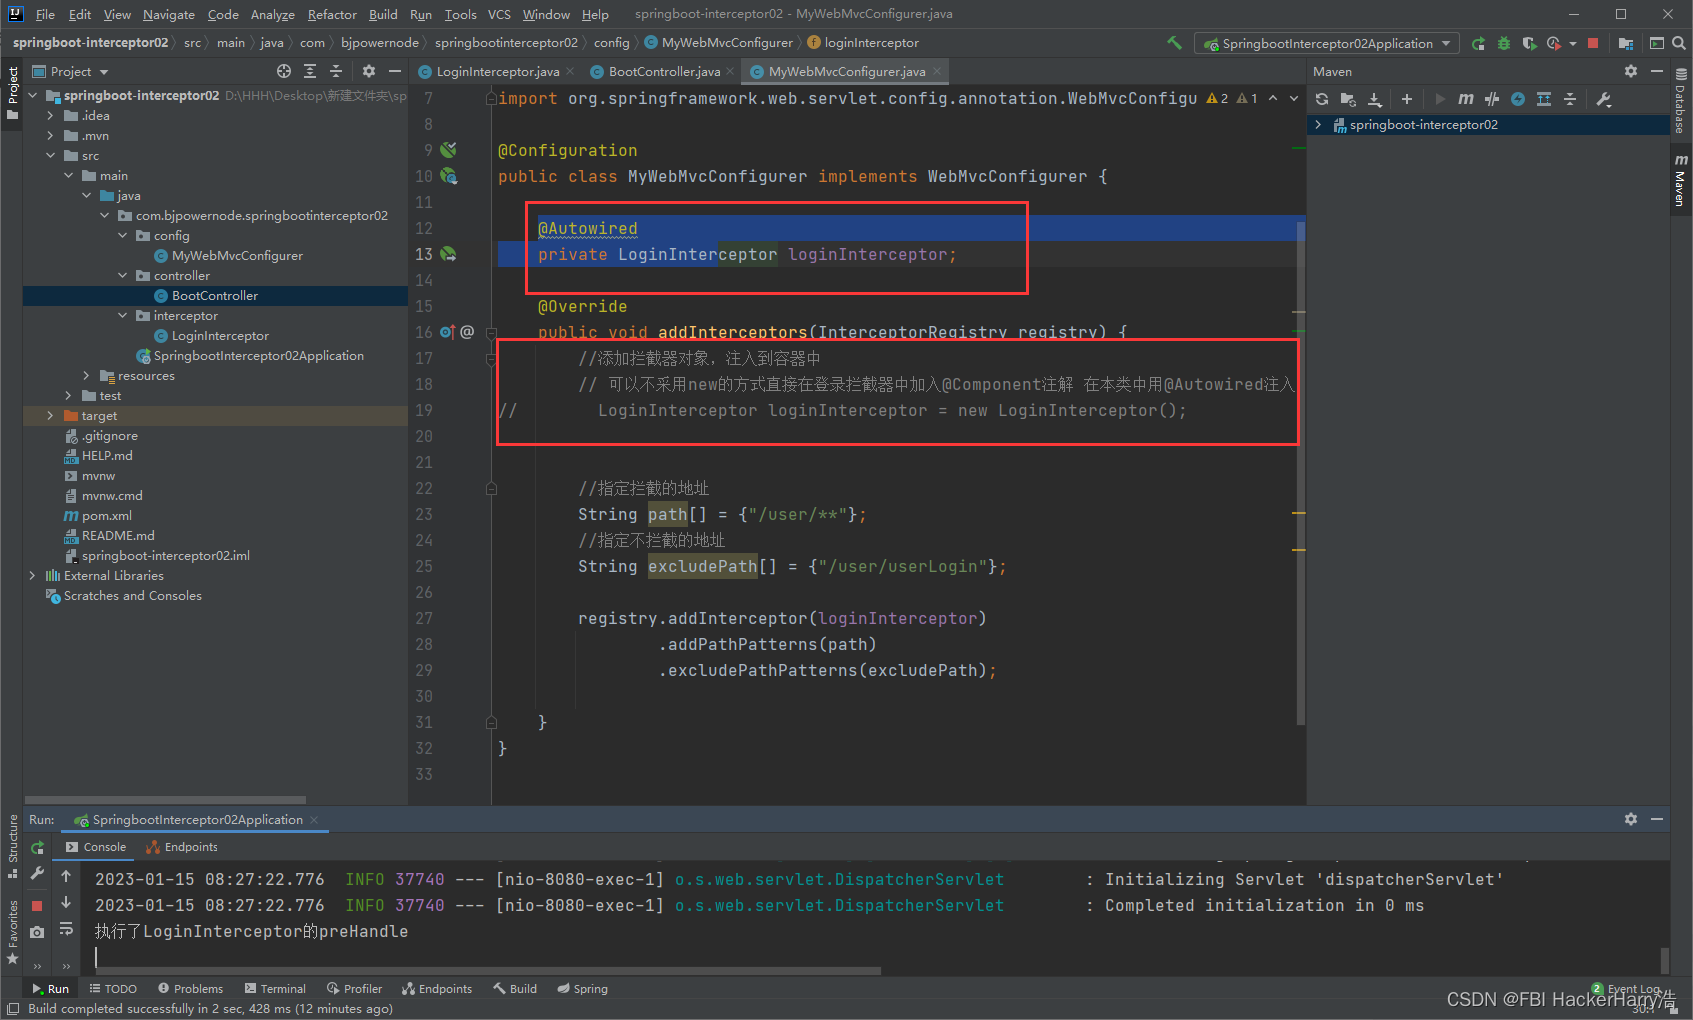
三、添加拦截器对象,注入到容器的配置类中
package com.bjpowernode.springbootinterceptor02.config;

import com.bjpowernode.springbootinterceptor02.interceptor.LoginInterceptor;
import org.springframework.beans.factory.annotation.Autowired;
import org.springframework.context.annotation.Configuration;
import org.springframework.web.servlet.config.annotation.InterceptorRegistry;
import org.springframework.web.servlet.config.annotation.WebMvcConfigurer;

@Configuration
public class MyWebMvcConfigurer implements WebMvcConfigurer {

    @Override
    public void addInterceptors(InterceptorRegistry registry) {
        //添加拦截器对象,注入到容器中
        // 可以不采用new的方式直接在登录拦截器中加入@Component注解 在本类中用@Autowired注入
        LoginInterceptor loginInterceptor = new LoginInterceptor();


        //指定拦截的地址
        String path[] = {"/user/**"};
        //指定不拦截的地址
        String excludePath[] = {"/user/userLogin"};

        registry.addInterceptor(loginInterceptor)
                .addPathPatterns(path)
                .excludePathPatterns(excludePath);

    }
}
另一种写法
也可以使用@Component注解将LoginController交给Spring容器管理
则在添加拦截器对象,注入到容器的配置类中
不需要使用new LoginController来创建对象
直接通过@Autowired注解注入即可
四、最后application运行
访问 localhost:8080/user/userLogin,拦截器放行
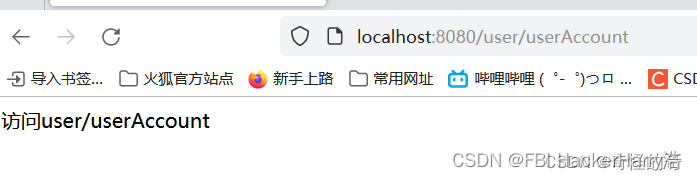
访问localhost:8080user/userAccount,拦截器生效
控制台输出: