文章目录
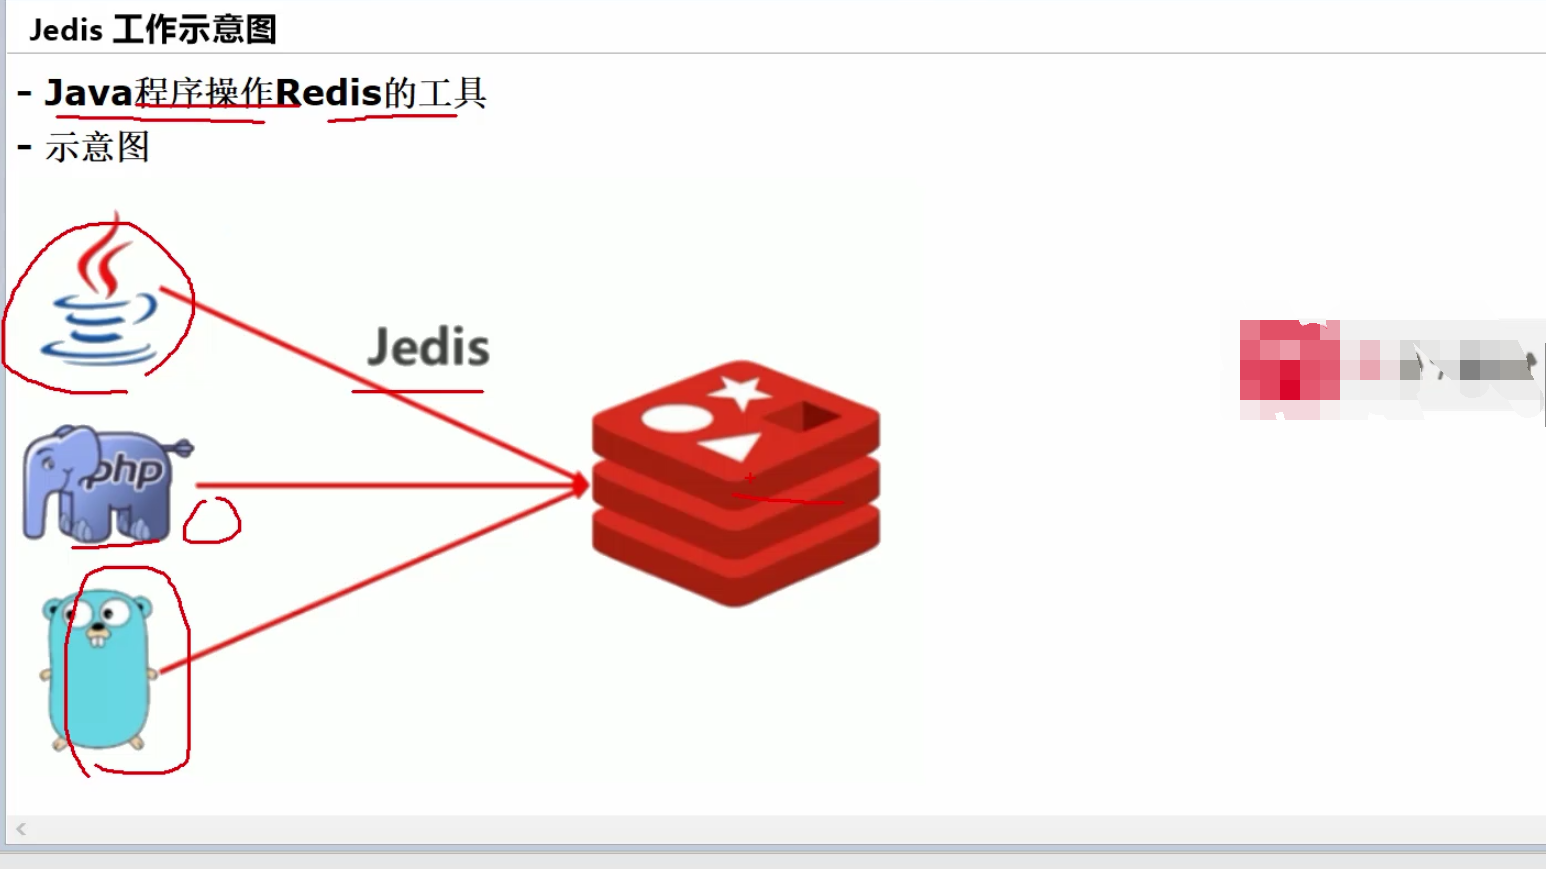
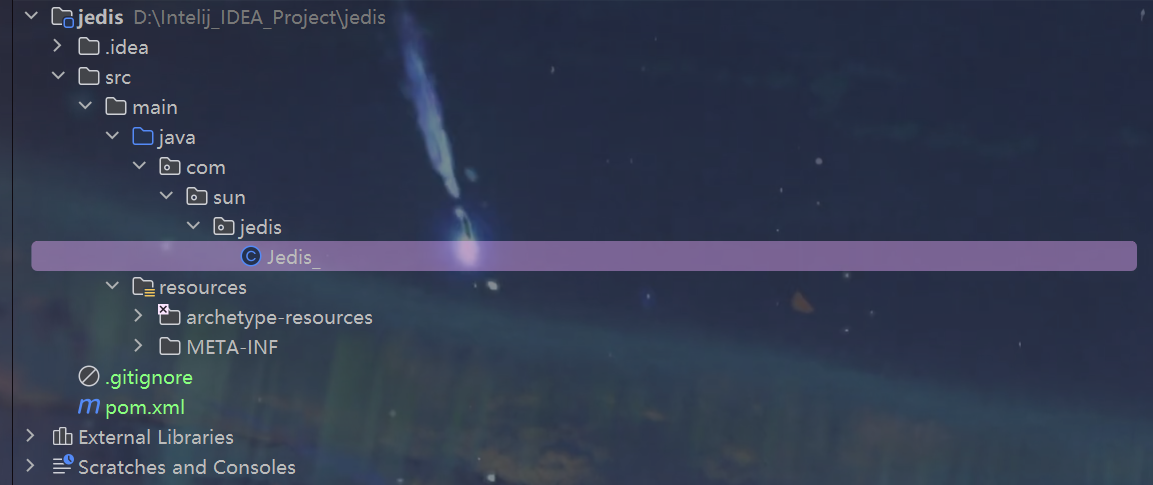
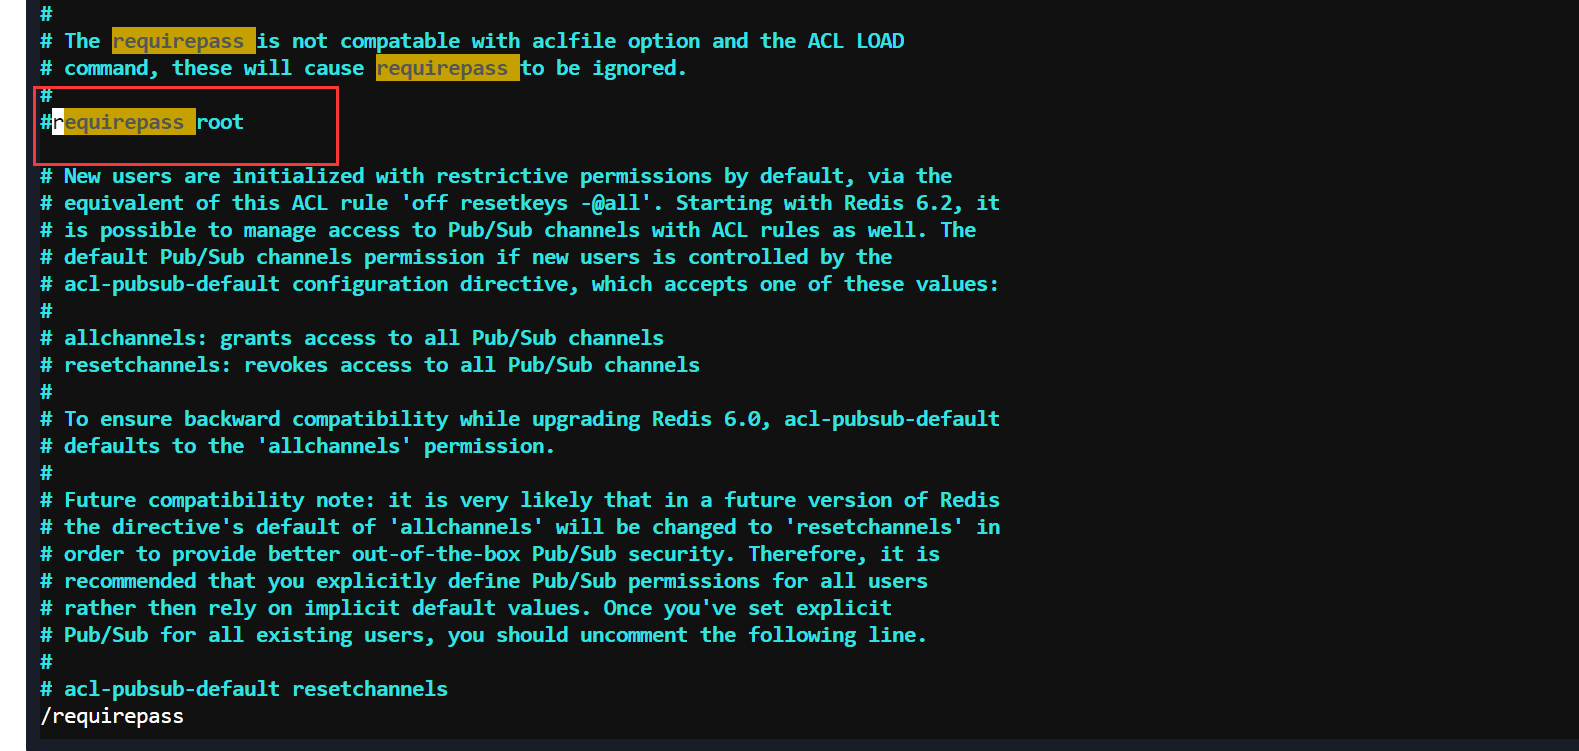
1.Jedis 1.介绍 2.环境配置 1.创建maven项目 2.pom.xml引入依赖 3.新建一个包并创建一个文件 3.Jedis远程连接到Redis 1.Redis放到服务器可以连接的前提条件 2.为Redis设置密码 1.编辑配置文件 2.找到 requirepass 3.设置密码为root 4.重启Redis,在shutdown的时候报错,原因是之前连接到了redis的客户端没有关闭,执行下面的指令关闭 5.然后再重启Redis,此时再次操作Redis就需要密码了 3.编写代码连接Redis 4.key操作
5.string操作
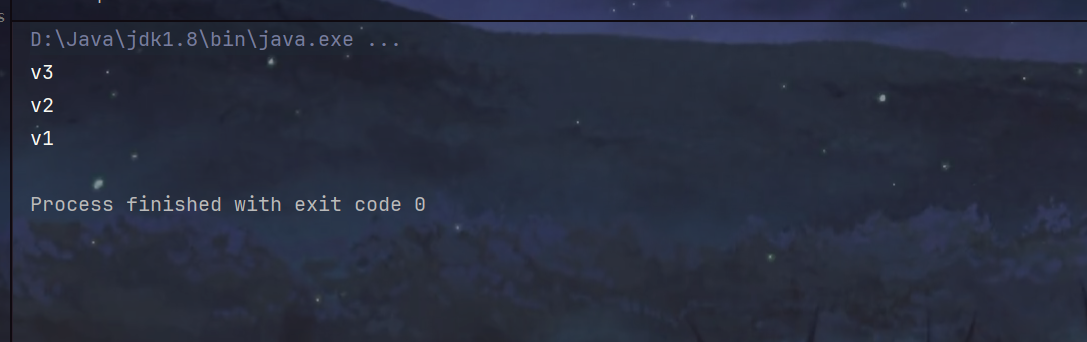
6.list操作
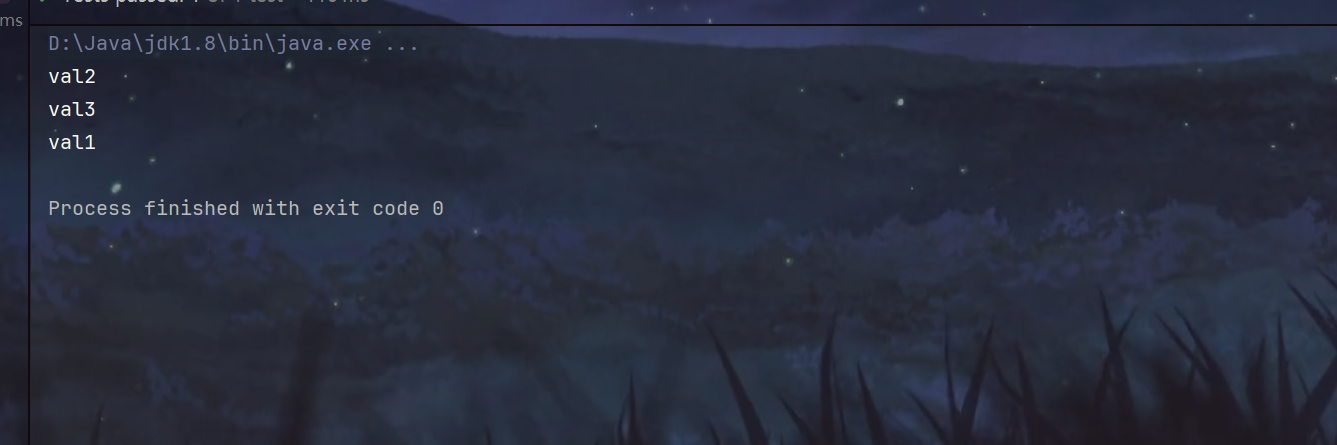
7.set操作
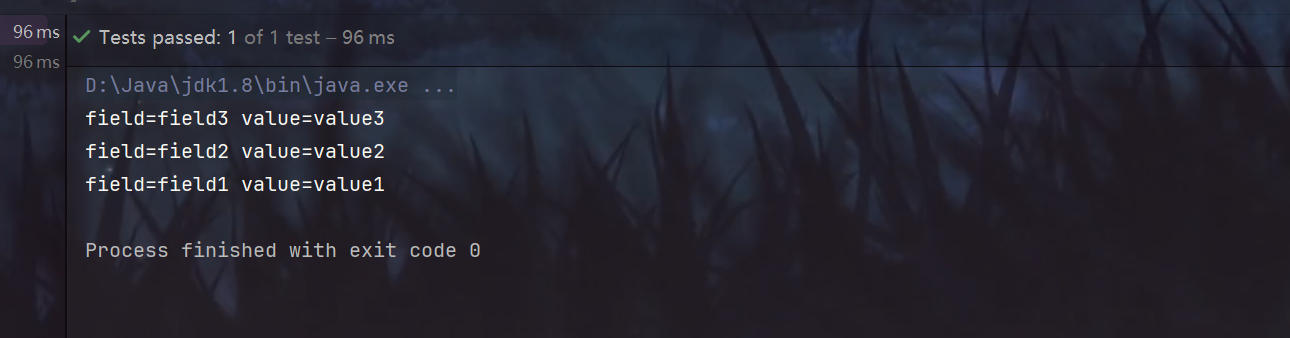
8.hash操作
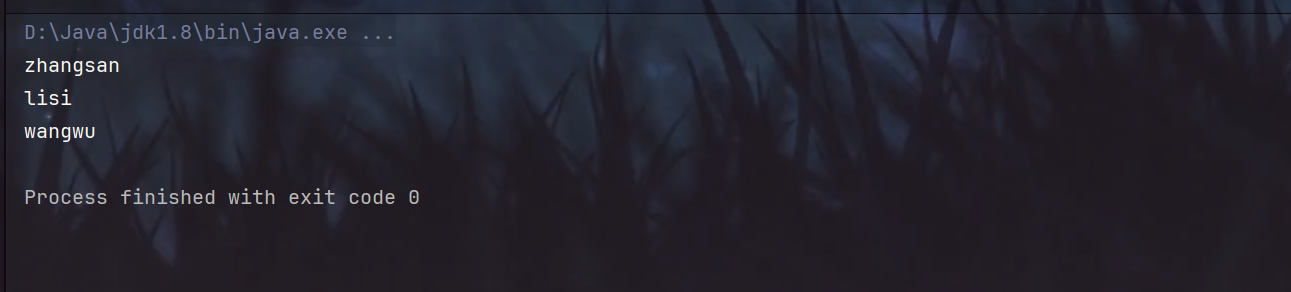
9.zset操作
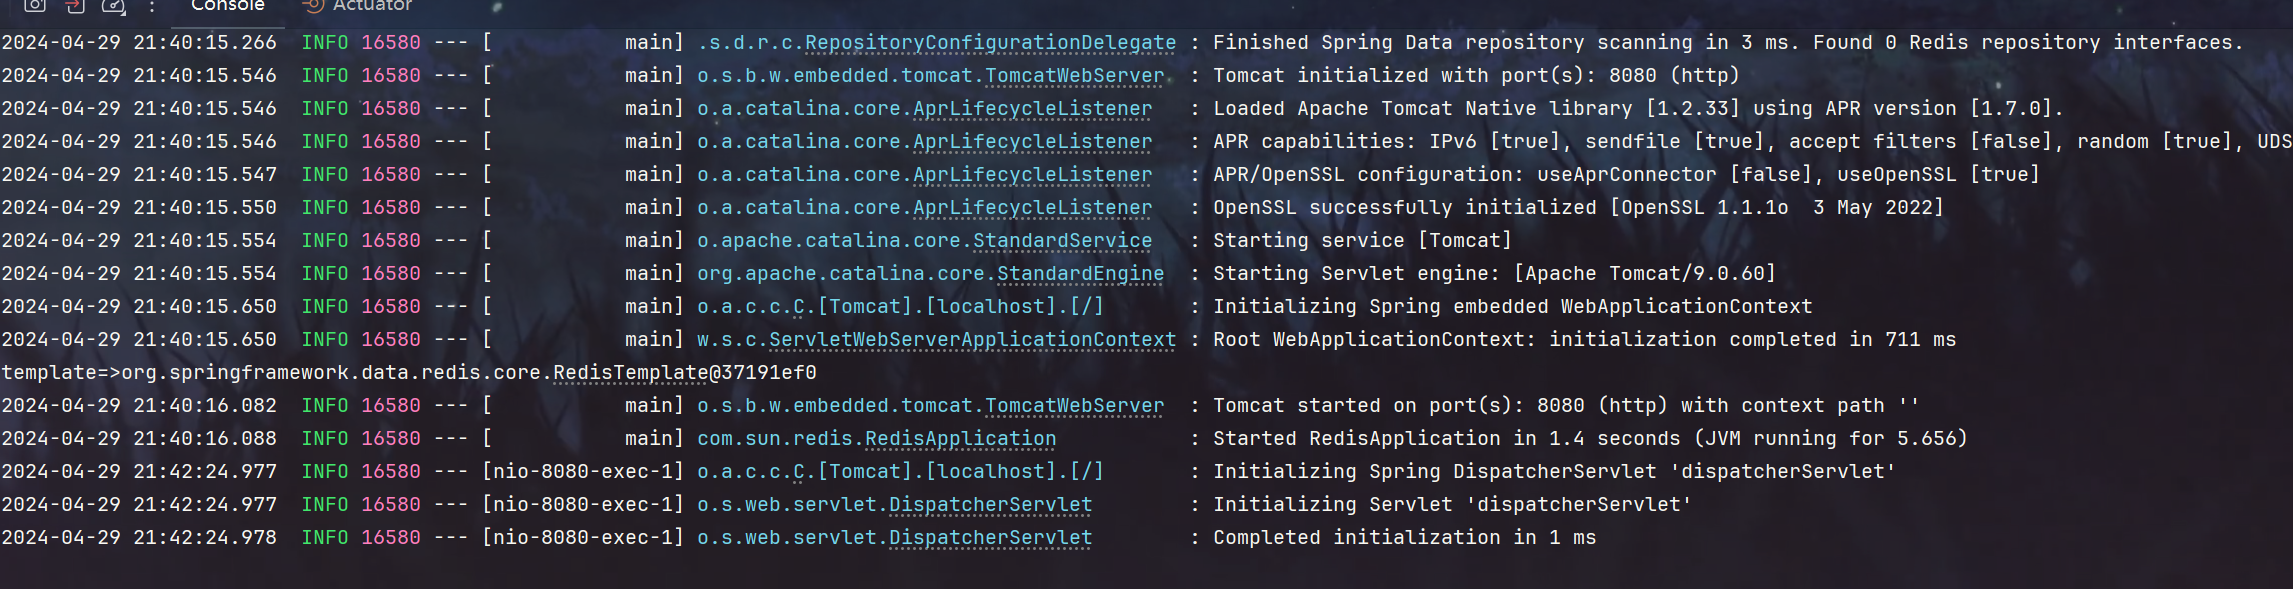
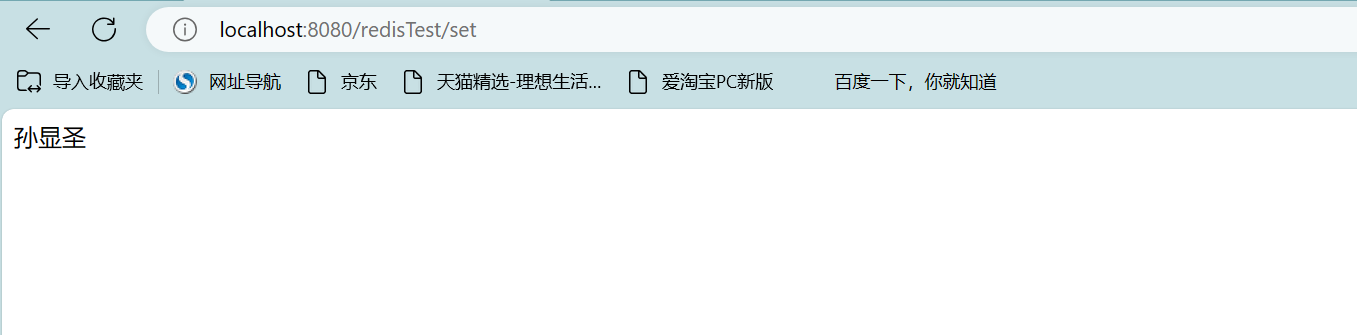
2.由于Redis被攻击了,所以重新配置 1.修改端口为7489 2.设置redis密码 3.使redis支持远程访问 4.重启redis 1.指定配置文件启动redis 2.查看是否启动 3.指定端口连接redis 4.测试密码 5.如果要关闭redis,在命令行关闭redis,输入shutdown 5.开放7489端口 1.宝塔开启端口 2.腾讯云开启端口 3.为了安全只允许本机ip访问 2.SpringBoot2整合Redis 1.环境配置 1.创建maven项目 2.pom.xml引入依赖 3.application.yml 配置redis 4.添加Redis的配置类(使用SpringBoot默认的会出些问题关于序列化的)RedisConfig.java 2.测试 1.编写测试的Controller 2.编写主启动类 3.启动测试 [localhost:8080/redisTest/set](http://localhost:8080/redisTest/set) 3.对list进行操作
4.注意事项 1.先看报错是无法识别的token 2.如果使用redisTemplate进行set会先序列化,然后读取的时候也会反序列化,但是直接在客户端set不会进行序列化,所以在使用redisTemplate进行反序列化的时候就会出现问题 3.解决方式:都使用程序进行操作即可
< dependency> < groupId> </ groupId> < artifactId> </ artifactId> < version> </ version> </ dependency>
确认端口开启 protected-mode(设置no支持远程访问) 注销bind = 127.0.0.1 最好设置一个密码在requirepass vim /etc/redis.conf
redis-cli shutdown nosave
package com. sun. jedis ;
import org. junit. Test ;
import redis. clients. jedis. Jedis ;
public class Jedis_ {
@Test
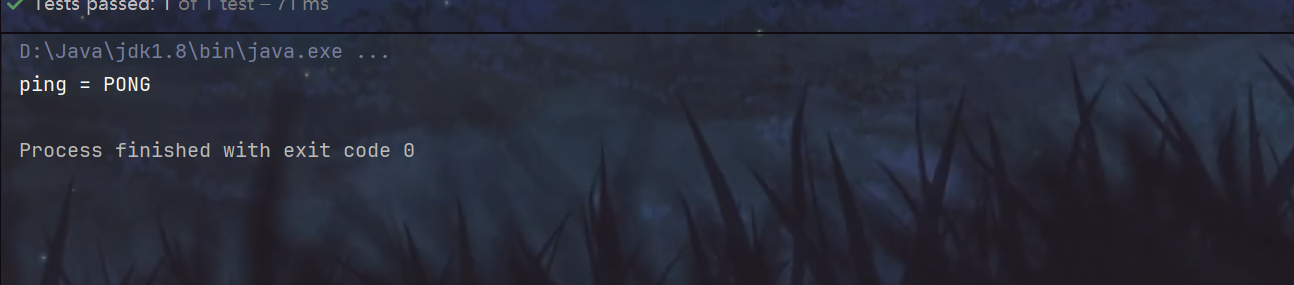
public void con ( ) {
Jedis jedis = new Jedis ( "xxxx" , xxx) ;
jedis. auth ( "root" ) ;
String ping = jedis. ping ( ) ;
System . out. println ( "ping = " + ping) ;
jedis. close ( ) ;
}
}
@Test
public void key ( ) {
Jedis jedis = new Jedis ( "xxxxxx" , xxxx) ;
jedis. auth ( "root" ) ;
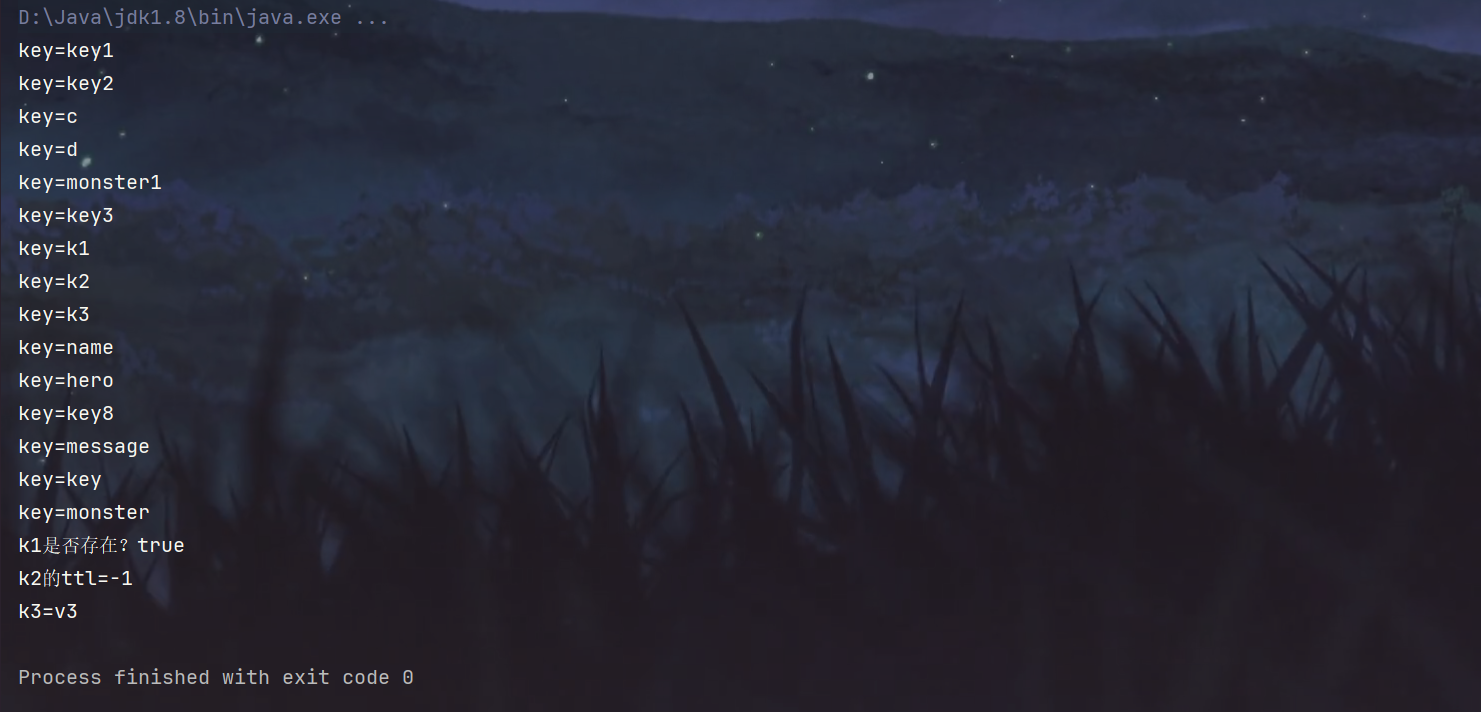
jedis. set ( "k1" , "v1" ) ;
jedis. set ( "k2" , "v2" ) ;
jedis. set ( "k3" , "v3" ) ;
Set < String > = jedis. keys ( "*" ) ;
for ( String key : keys) {
System . out. println ( "key=" + key) ;
}
Boolean k1 = jedis. exists ( "k1" ) ;
System . out. println ( "k1是否存在?" + k1) ;
System . out. println ( "k2的ttl=" + jedis. ttl ( "k2" ) ) ;
String k3 = jedis. get ( "k3" ) ;
System . out. println ( "k3=" + k3) ;
jedis. close ( ) ;
}
@Test
public void string ( ) {
Jedis jedis = new Jedis ( "xxxxxx" , xxxx) ;
jedis. auth ( "root" ) ;
jedis. flushDB ( ) ;
jedis. mset ( "k1" , "v1" , "k2" , "v2" , "k3" , "v3" ) ;
List < String > = jedis. mget ( "k1" , "k2" , "k3" ) ;
for ( String s : mget) {
System . out. println ( s) ;
}
jedis. close ( ) ;
}
@Test
public void list ( ) {
Jedis jedis = new Jedis ( "xxxxxx" , xxxx) ;
jedis. auth ( "root" ) ;
jedis. flushDB ( ) ;
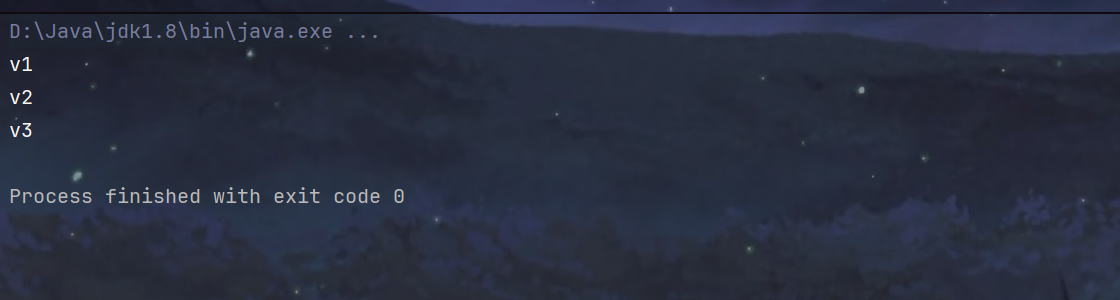
jedis. lpush ( "key" , "v1" , "v2" , "v3" ) ;
List < String > = jedis. lrange ( "key" , 0 , - 1 ) ;
for ( String s : key) {
System . out. println ( s) ;
}
jedis. close ( ) ;
}
}
@Test
public void set ( ) {
Jedis jedis = new Jedis ( "xxxxxx" , xxxx) ;
jedis. auth ( "root" ) ;
jedis. flushDB ( ) ;
jedis. sadd ( "key" , "val1" , "val2" , "val3" ) ;
Set < String > = jedis. smembers ( "key" ) ;
for ( String s : key) {
System . out. println ( s) ;
}
jedis. close ( ) ;
}
@Test
public void hash ( ) {
Jedis jedis = new Jedis ( "xxxxxx" , xxxx) ;
jedis. auth ( "xxxxxxx" ) ;
jedis. flushDB ( ) ;
Map < String , String > = new HashMap < String , String > ( ) ;
map. put ( "field1" , "value1" ) ;
map. put ( "field2" , "value2" ) ;
map. put ( "field3" , "value3" ) ;
jedis. hset ( "key" , map) ;
List < String > = jedis. hmget ( "key" , "field1" , "field2" , "field3" ) ;
for ( String s : hmget) {
System . out. println ( s) ;
}
jedis. close ( ) ;
}
@Test
public void zset ( ) {
Jedis jedis = new Jedis ( "xxxx" , xxxx) ;
jedis. auth ( "xxxx" ) ;
jedis. flushDB ( ) ;
jedis. zadd ( "key" , 1 , "zhangsan" ) ;
jedis. zadd ( "key" , 2 , "lisi" ) ;
jedis. zadd ( "key" , 3 , "wangwu" ) ;
Set < String > = jedis. zrange ( "key" , 0 , - 1 ) ;
for ( String s : key) {
System . out. println ( s) ;
}
jedis. close ( ) ;
}
/usr/local/bin/redis-server /etc/redis.conf
ps -aux | grep redis
/usr/local/bin/redis-cli -p 7489
systemctl start firewalld && firewall-cmd --permanent --add-port= 7489 /tcp && firewall-cmd --reload && firewall-cmd --query-port= 7489 /tcp
< parent> < groupId> </ groupId> < artifactId> </ artifactId> < version> </ version> < relativePath/> </ parent> < properties> < java.version> </ java.version> </ properties> < dependencies> < dependency> < groupId> </ groupId> < artifactId> </ artifactId> </ dependency> < dependency> < groupId> </ groupId> < artifactId> </ artifactId> </ dependency> < dependency> < groupId> </ groupId> < artifactId> </ artifactId> </ dependency> < dependency> < groupId> </ groupId> < artifactId> </ artifactId> < scope> </ scope> </ dependency> < dependency> < groupId> </ groupId> < artifactId> </ artifactId> < version> </ version> </ dependency> </ dependencies> < build> < plugins> < plugin> < groupId> </ groupId> < artifactId> </ artifactId> </ plugin> </ plugins> </ build> spring :
redis :
host : xxxxxx
port : xxxx
password : ******
database : 0
timeout : 1800000
lettuce :
pool :
max-active : 20
max-wait : -1
max-idle : 10
min-idle : 0
package com. sun. redis. config ;
import com. fasterxml. jackson. annotation. JsonAutoDetect ;
import com. fasterxml. jackson. annotation. JsonTypeInfo ;
import com. fasterxml. jackson. annotation. PropertyAccessor ;
import com. fasterxml. jackson. databind. ObjectMapper ;
import com. fasterxml. jackson. databind. jsontype. impl. LaissezFaireSubTypeValidator ;
import org. springframework. cache. CacheManager ;
import org. springframework. cache. annotation. CachingConfigurerSupport ;
import org. springframework. cache. annotation. EnableCaching ;
import org. springframework. context. annotation. Bean ;
import org. springframework. context. annotation. Configuration ;
import org. springframework. data. redis. cache. RedisCacheConfiguration ;
import org. springframework. data. redis. cache. RedisCacheManager ;
import org. springframework. data. redis. connection. RedisConnectionFactory ;
import org. springframework. data. redis. core. RedisTemplate ;
import org. springframework. data. redis. serializer. Jackson2JsonRedisSerializer ;
import org. springframework. data. redis. serializer. RedisSerializationContext ;
import org. springframework. data. redis. serializer. RedisSerializer ;
import org. springframework. data. redis. serializer. StringRedisSerializer ;
import java. time. Duration ;
@EnableCaching
@Configuration
public class RedisConfig extends CachingConfigurerSupport {
@Bean
public RedisTemplate < String , Object > redisTemplate ( RedisConnectionFactory factory) {
RedisTemplate < String , Object > =
new RedisTemplate < > ( ) ;
System . out. println ( "template=>" + template) ;
RedisSerializer < String > =
new StringRedisSerializer ( ) ;
Jackson2JsonRedisSerializer jackson2JsonRedisSerializer =
new Jackson2JsonRedisSerializer ( Object . class ) ;
ObjectMapper om = new ObjectMapper ( ) ;
om. setVisibility ( PropertyAccessor . ALL , JsonAutoDetect. Visibility . ANY ) ;
om. activateDefaultTyping (
LaissezFaireSubTypeValidator . instance, ObjectMapper. DefaultTyping . NON_FINAL , JsonTypeInfo. As . WRAPPER_ARRAY ) ;
jackson2JsonRedisSerializer. setObjectMapper ( om) ;
template. setConnectionFactory ( factory) ;
template. setKeySerializer ( redisSerializer) ;
template. setValueSerializer ( jackson2JsonRedisSerializer) ;
template. setHashValueSerializer ( jackson2JsonRedisSerializer) ;
return template;
}
@Bean
public CacheManager cacheManager ( RedisConnectionFactory factory) {
RedisSerializer < String > =
new StringRedisSerializer ( ) ;
Jackson2JsonRedisSerializer jackson2JsonRedisSerializer = new
Jackson2JsonRedisSerializer ( Object . class ) ;
ObjectMapper om = new ObjectMapper ( ) ;
om. setVisibility ( PropertyAccessor . ALL , JsonAutoDetect. Visibility . ANY ) ;
om. activateDefaultTyping (
LaissezFaireSubTypeValidator . instance, ObjectMapper. DefaultTyping . NON_FINAL , JsonTypeInfo. As . WRAPPER_ARRAY ) ;
jackson2JsonRedisSerializer. setObjectMapper ( om) ;
RedisCacheConfiguration config = RedisCacheConfiguration . defaultCacheConfig ( )
. entryTtl ( Duration . ofSeconds ( 600 ) )
. serializeKeysWith ( RedisSerializationContext. SerializationPair . fromSerializer ( redisSerializer) )
. serializeValuesWith ( RedisSerializationContext. SerializationPair . fromSerializer ( jackson2JsonRedisSerializer) )
. disableCachingNullValues ( ) ;
RedisCacheManager cacheManager = RedisCacheManager . builder ( factory)
. cacheDefaults ( config)
. build ( ) ;
return cacheManager;
}
}
package com. sun. redis. controller ;
import org. springframework. data. redis. core. RedisTemplate ;
import org. springframework. web. bind. annotation. RequestMapping ;
import org. springframework. web. bind. annotation. RestController ;
import javax. annotation. Resource ;
@RestController
@RequestMapping ( "/redisTest" )
public class TestController {
@Resource
private RedisTemplate < String , Object > ;
@RequestMapping ( "/set" )
public String set ( ) {
redisTemplate. opsForValue ( ) . set ( "name" , "孙显圣" ) ;
return redisTemplate. opsForValue ( ) . get ( "name" ) . toString ( ) ;
}
}
package com. sun. redis ;
import org. springframework. boot. SpringApplication ;
import org. springframework. boot. autoconfigure. SpringBootApplication ;
@SpringBootApplication
public class RedisApplication {
public static void main ( String [ ] args) {
SpringApplication . run ( RedisApplication . class , args) ;
}
}
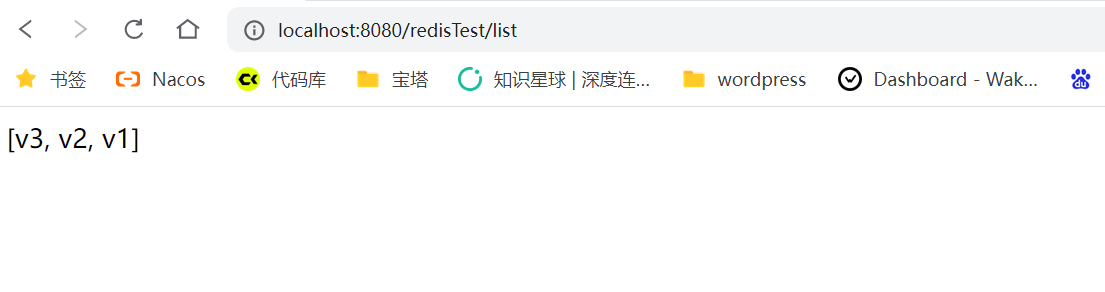
@RequestMapping ( "/list" )
public String list ( ) {
redisTemplate. delete ( "key" ) ;
redisTemplate. opsForList ( ) . leftPushAll ( "key" , "v1" , "v2" , "v3" ) ;
List < Object > = redisTemplate. opsForList ( ) . range ( "key" , 0 , - 1 ) ;
return range. toString ( ) ;
}


![[C语言]指针进阶详解](https://img-blog.csdnimg.cn/direct/ea216a1d1fa74434a27cc37910a17837.png)