1. 安装Pinia
在项目路径下执行npm install pinia

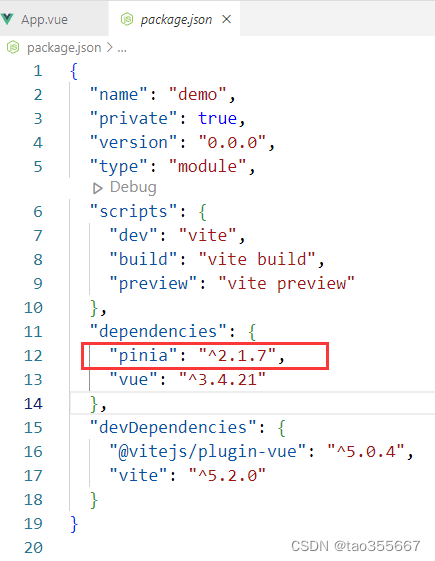
在package.json中查看
2. 使用store
在main.js中添加
import { createPinia } from 'pinia'
const pinia = createPinia()
修改createApp方法
最后示例如下(三处修改)
import { createApp } from 'vue'
//修改1
import { createPinia } from 'pinia'

import App from './App.vue'

//修改2
const pinia = createPinia()

// createApp(App).mount('#app')
//修改3
const app = createApp(App)
app.use(pinia)
app.mount('#app')
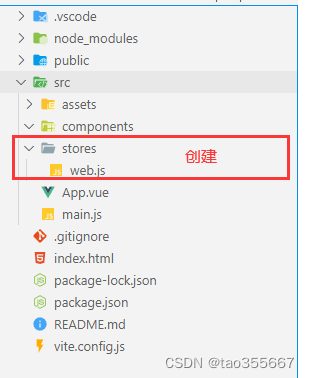
程序
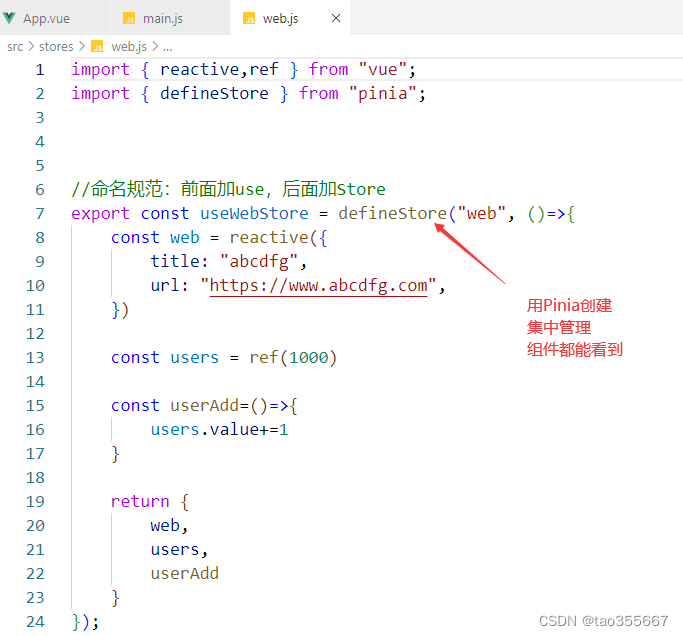
stores/web.js
import { reactive,ref } from "vue";
import { defineStore } from "pinia";


//命名规范:前面加use,后面加Store
export const useWebStore = defineStore("web", ()=>{
    const web = reactive({
        title: "abcdfg",
        url: "https://www.abcdfg.com",
    })

    const users = ref(1000)

    const userAdd=()=>{
        users.value+=1
    }

    return {
        web,
        users,
        userAdd
    }
});
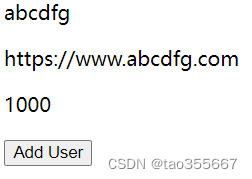
App.vue
<template>
  <p>{{ webStore.web.title }} </p>
  <p>{{ webStore.web.url }} </p>
  <p>{{ webStore.users }} </p>


  <button @click="webStore.userAdd()">Add User</button>

</template>

<script setup>
import { reactive, ref, toRef, toRefs } from 'vue';
import { useWebStore } from './stores/web';


const webStore = useWebStore()

console.log(webStore.web)
console.log(webStore.users)

</script>

<style lang="scss" scoped></style>
参考
https://www.bilibili.com/video/BV1nV411Q7RX


![[入门]测试原则-ApiHug准备-测试篇-006](https://img-blog.csdnimg.cn/img_convert/016ed28023b501ad5080767a14c9e45c.gif)

![57、通过EEG数据的SHAPE变化,揭开EEG-TCNet的黑匣子[看好了小子,我只教这一次]](https://img-blog.csdnimg.cn/direct/4bfd5dc808914483b13712f3dc09f189.png)