一、基本环境安装配置
1.英文RabbitMQ是基于erlang开发的所以需要erlang环境,点击以下链接下载安装
Downloads - Erlang/OTP
![]()
2.官网下载RabbitMQ安装包并安装
Installing on Windows — RabbitMQ
![]()
3.配置erlang本地环境变量(和JAVAHOME类似)

4.cmd查看erlang版本
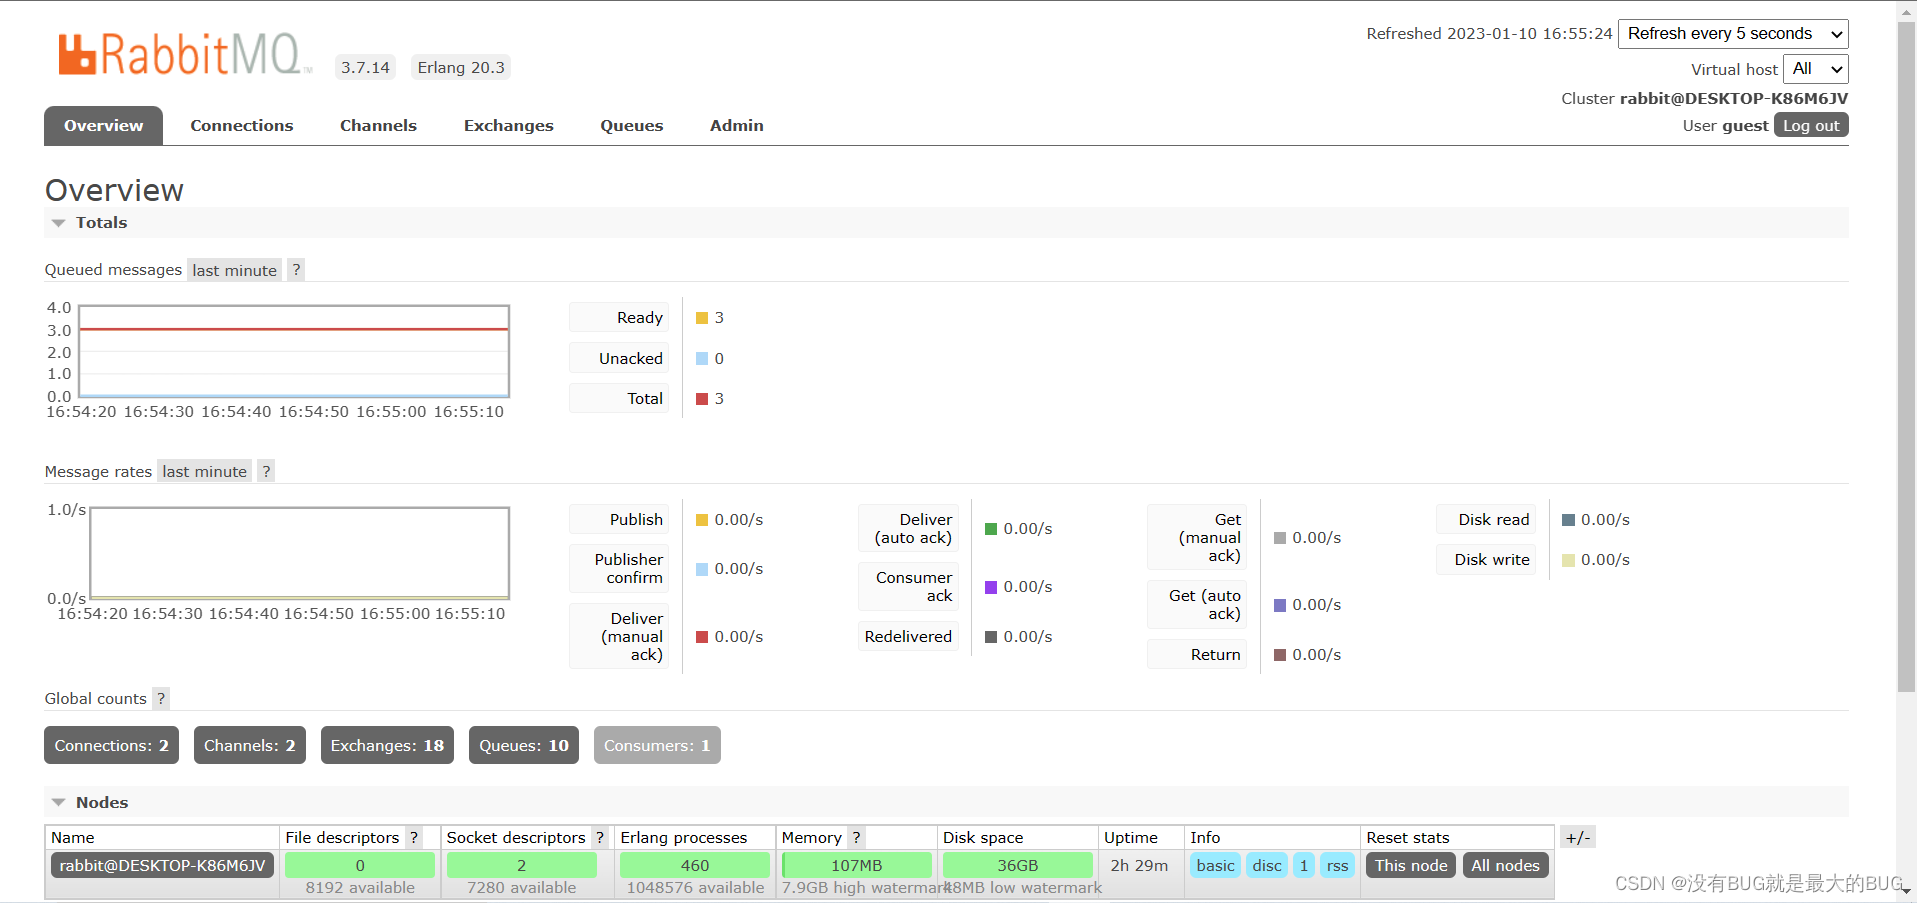
 5.点击以下链接进入RabbitMQ控制台
http://localhost:15672/#/
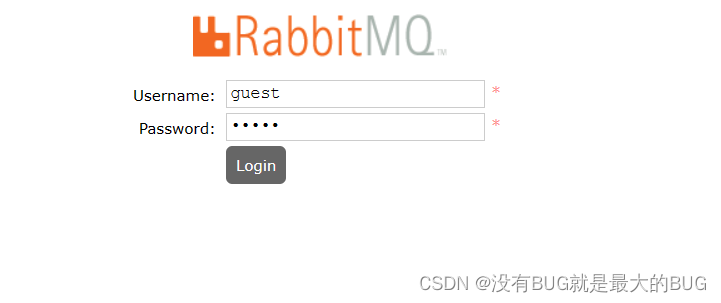
6.账号密码初始都是guest,进行登录
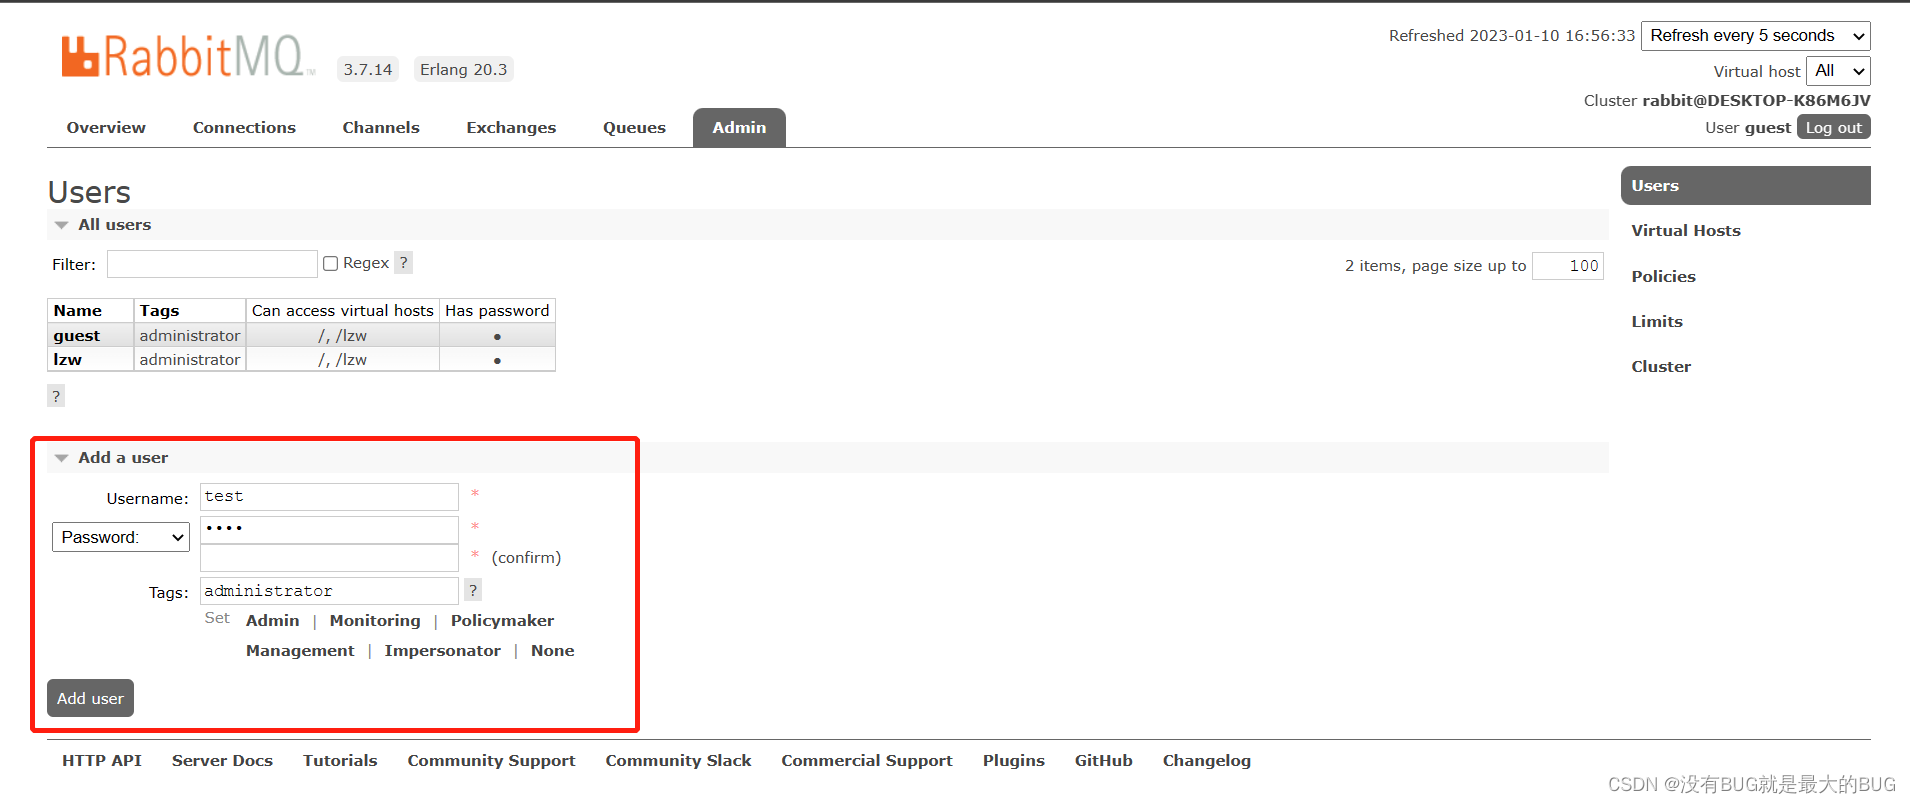
7.可以自定义用户 test
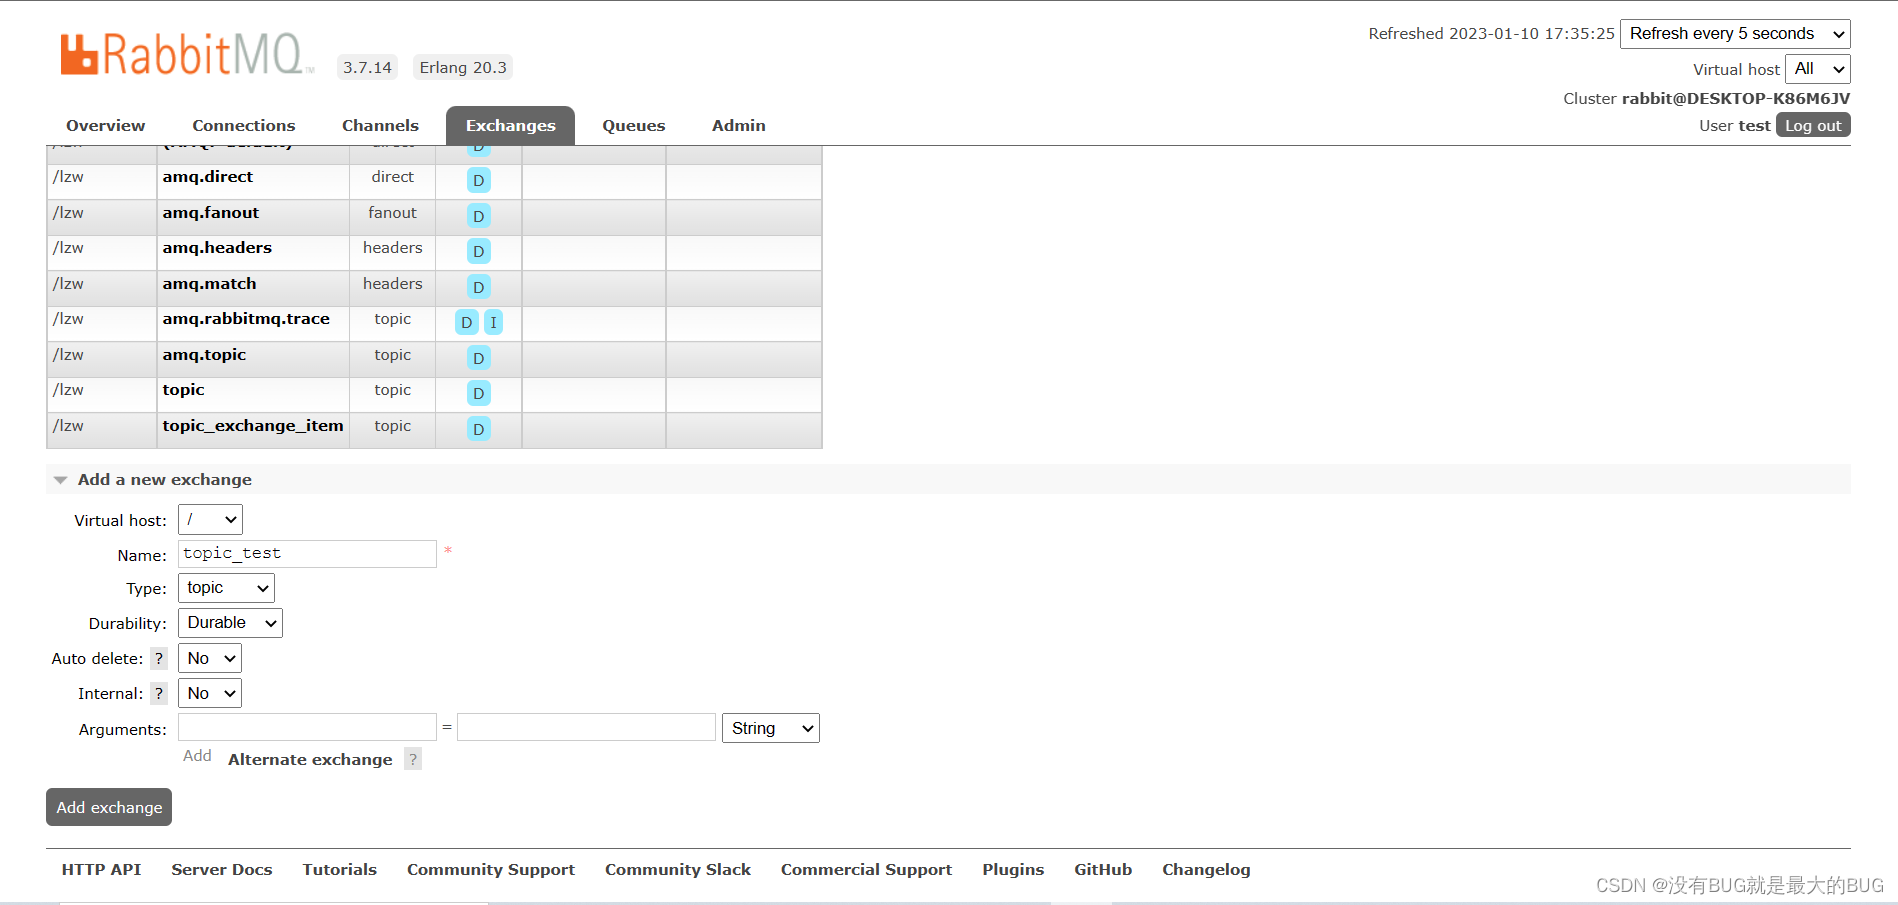
8.创建交换机 topic_test
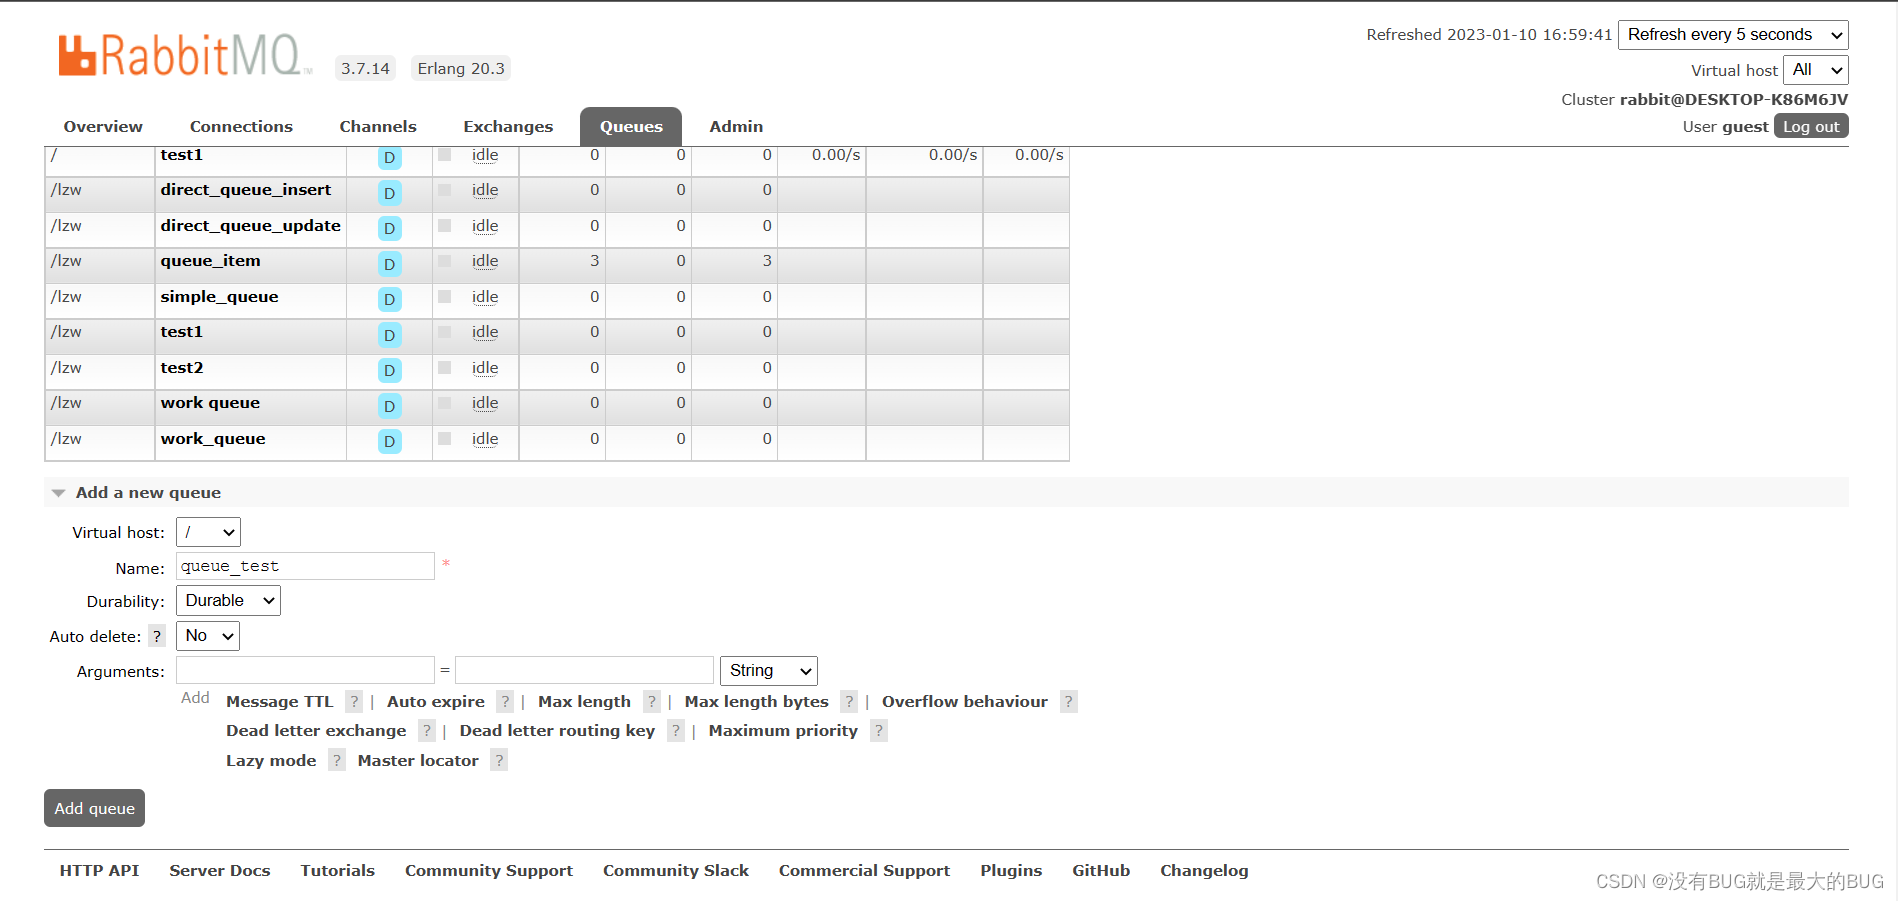
9.创建队列 queue_test
二、创建生产者
1.引入相关依赖
    <parent>
        <groupId>org.springframework.boot</groupId>
        <artifactId>spring-boot-starter-parent</artifactId>
        <version>2.1.1.RELEASE</version>
        <relativePath/> <!-- lookup parent from repository -->
    </parent>
    <dependencies>
        <!--SpringBoot-->
        <dependency>
            <groupId>org.springframework.boot</groupId>
            <artifactId>spring-boot-starter-web</artifactId>
        </dependency>
        <!--Lombok-->
        <dependency>
            <groupId>org.projectlombok</groupId>
            <artifactId>lombok</artifactId>
            <scope>provided</scope>
        </dependency>
        <!--Commons-->
        <dependency>
            <groupId>org.apache.commons</groupId>
            <artifactId>commons-lang3</artifactId>
        </dependency>
        <!--amqp-->
        <dependency>
            <groupId>org.springframework.boot</groupId>
            <artifactId>spring-boot-starter-amqp</artifactId>
        </dependency>
    </dependencies>
2.yml配置
server:
  port: 8081

spring:
  rabbitmq:
    host: 127.0.0.1
    port: 5672
    username: test
    password: test
3.编写RabbitMQ配置类
package cn.sdata.config;
import org.springframework.amqp.core.*;
import org.springframework.beans.factory.annotation.Qualifier;
import org.springframework.context.annotation.Bean;
import org.springframework.context.annotation.Configuration;
/**
* @author lzw
* @create 2021-09-07-14:21
* RabbitMQ配置类
* 交换机
* 队列
* 队列绑定交换机
*/
@Configuration
public class RabbitMQConfig {
//定义交换机名称
public static String TOPIC_EXCHANGE_ITEM = "topic_test";
//定义队列名称
public static String QUEUE_ITEM ="queue_test";
//定义交换机
@Bean("topicExchange")
public Exchange topicExchange(){
return ExchangeBuilder.topicExchange(TOPIC_EXCHANGE_ITEM).durable(true).build();
}
//定义队列
@Bean("itemQueue")
public Queue itemQueue(){
return QueueBuilder.durable(QUEUE_ITEM).build();
}
//队列绑定到交换机
@Bean
public Binding itemQueueExchange(@Qualifier("itemQueue") Queue queue,@Qualifier("topicExchange") Exchange exchange){
return BindingBuilder.bind(queue).to(exchange).with("item.*").noargs();
}
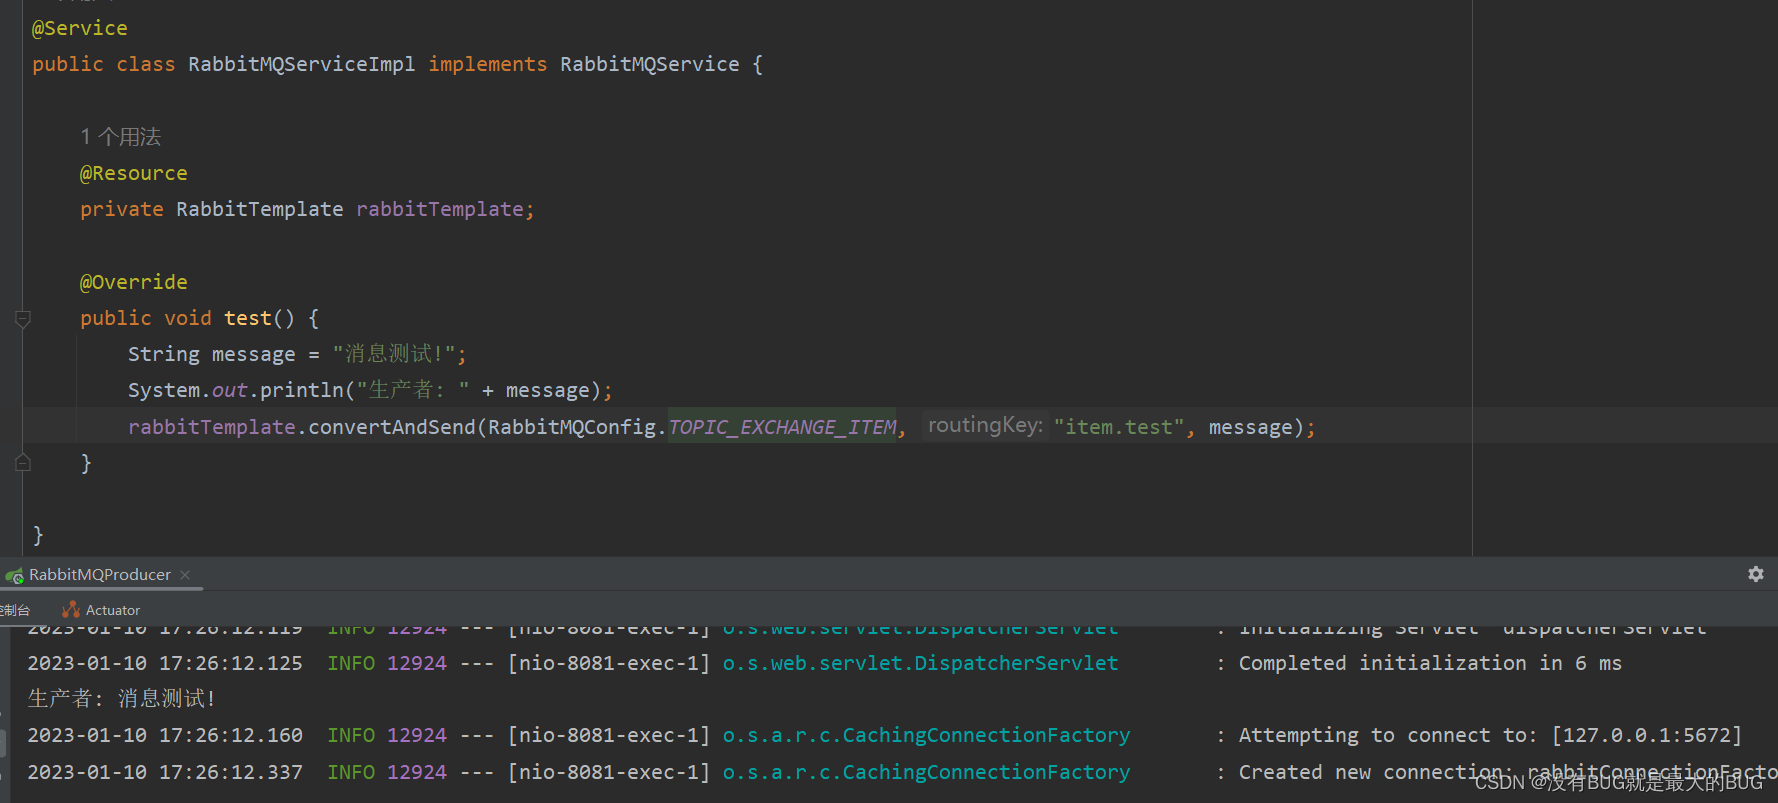
}4.模拟生产者发送消息(此处提供serviceImpl代码,剩余service、controller代码自行补齐即可)
@Service
public class RabbitMQServiceImpl implements RabbitMQService {

    @Resource
    private RabbitTemplate rabbitTemplate;

    @Override
    public void test() {
        rabbitTemplate.convertAndSend(RabbitMQConfig.TOPIC_EXCHANGE_ITEM,"item.test","生产了一条消息!");
    }
}
三、创建消费者
1.引入相关依赖同上
2.yml配置
server:
  port: 8082

spring:
  rabbitmq:
    host: 127.0.0.1
    port: 5672
    username: test
    password: test
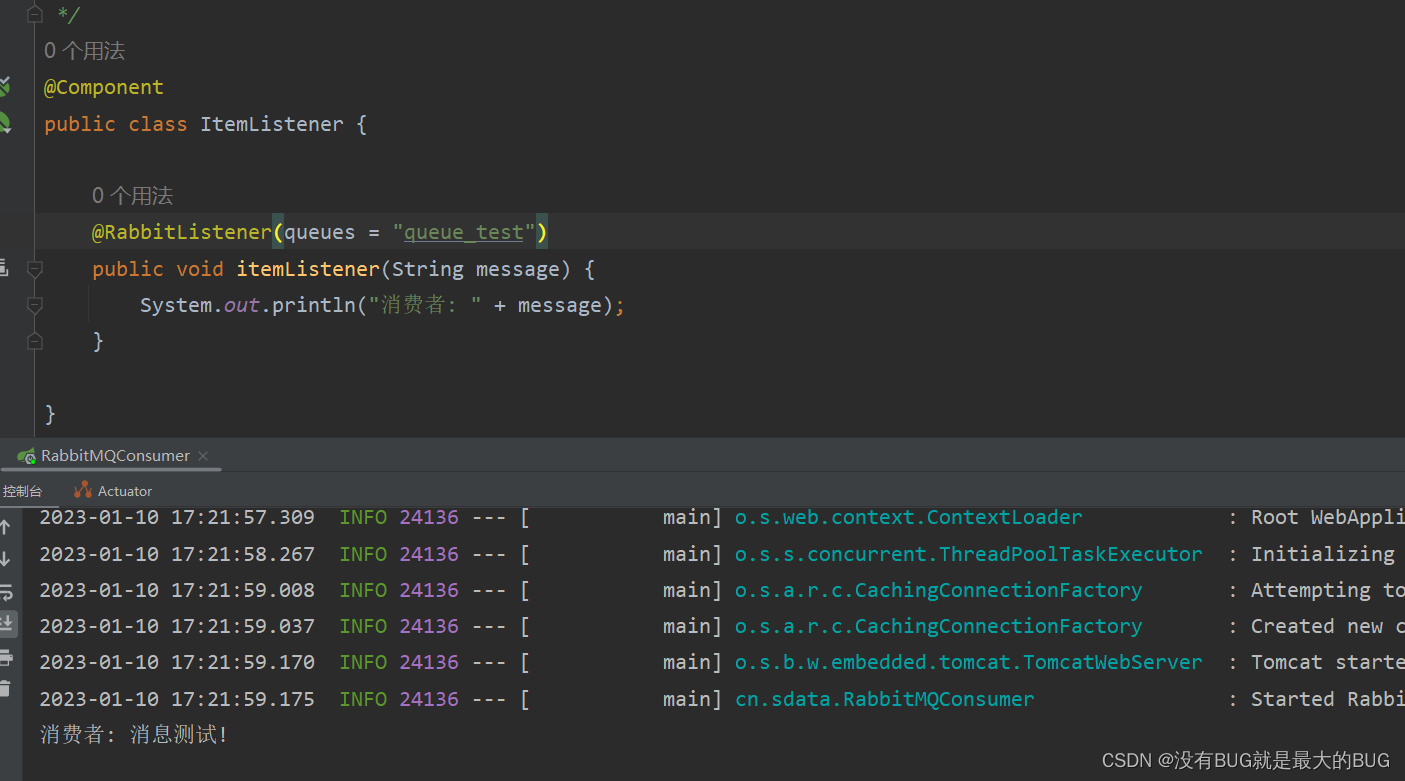
3.创建一个类用来监听消息
package cn.sdata.listener;

import org.springframework.amqp.rabbit.annotation.RabbitListener;
import org.springframework.stereotype.Component;

/**
 * @author lzw
 * @create 2021-09-07-14:47
 */
@Component
public class ItemListener {

    @RabbitListener(queues = "test1")
    public void itemListener(String message){
        System.out.println("接收到的消息"+message);
    }

}
四、测试
1.依次启动生产者、消费者
2.生产者输出
3.消费者输出
RabbitMQ发送消息有六种模式,简易模式、工作模式、广播模式、路由模式、主题模式、6RPC模式(基本不用),我这边用的是主题模式(Topic)