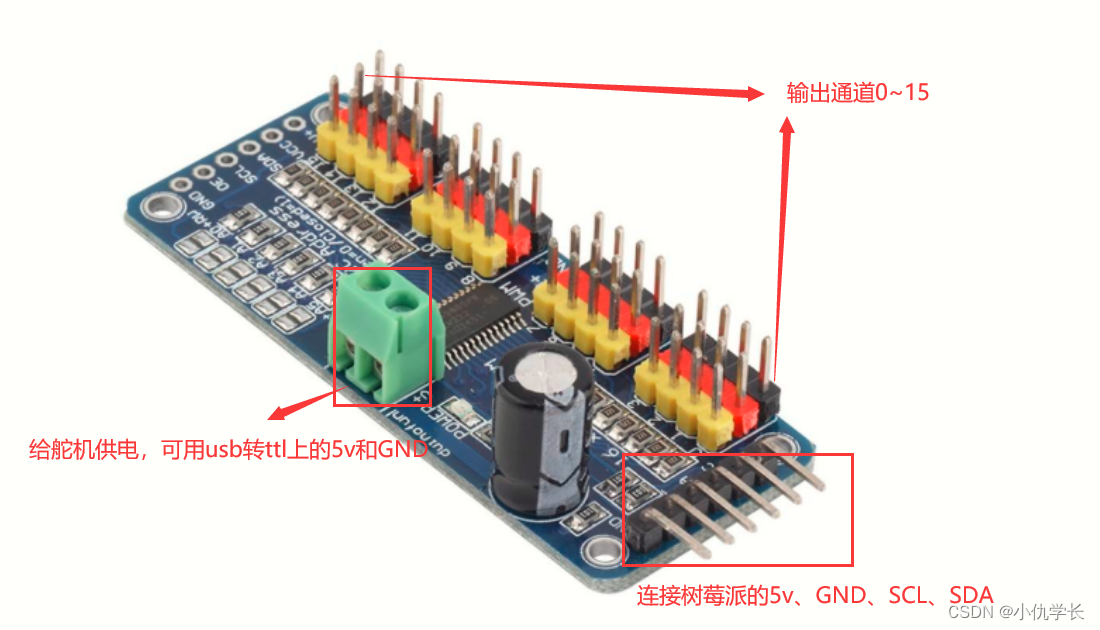
一、硬件连线
二、软件配置
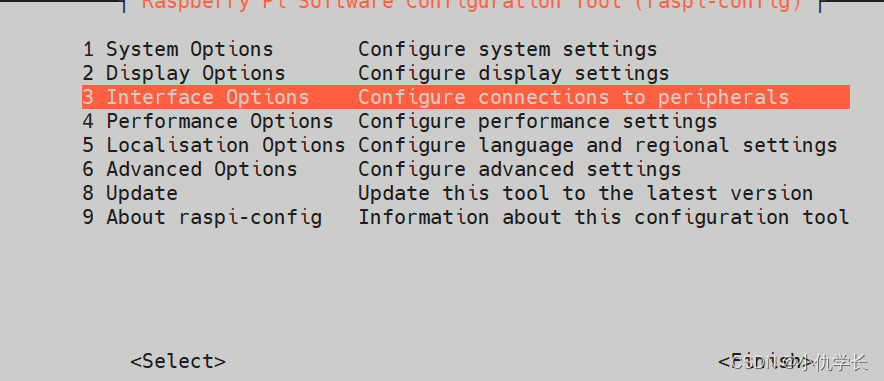
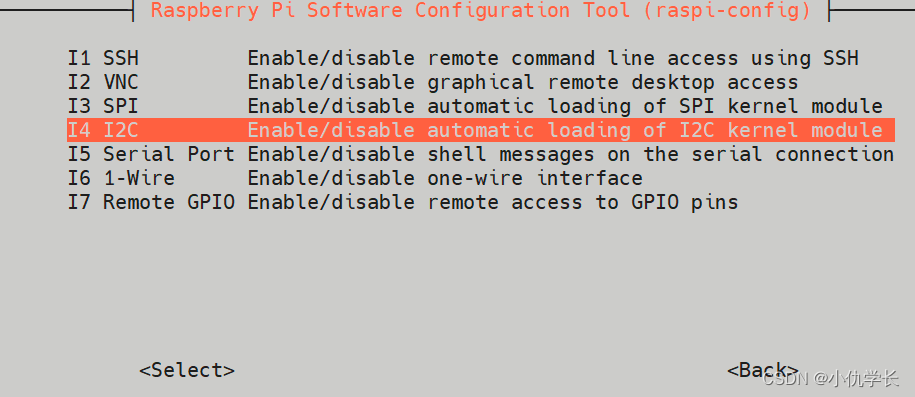
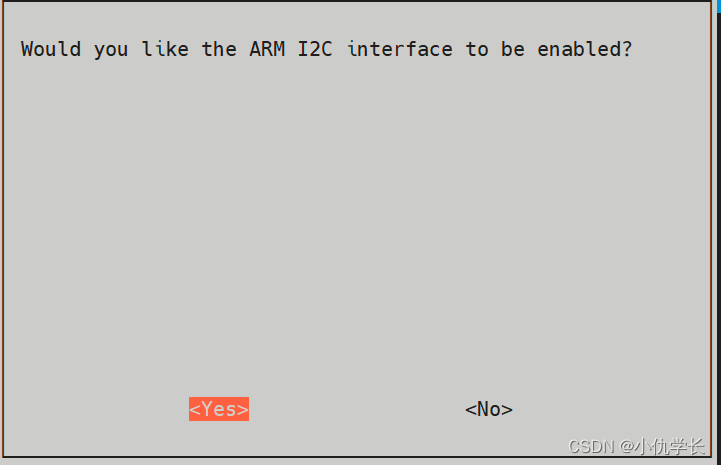
- 打开树莓派的IIC
sudo raspi-config
- 下载Adafruit_PCA9685
坑:如果直接使用命令安装会发现,报下面的错误。我们需要先安装conda,然后创建一个虚拟环境,创建完成后,激活环境。不要在自己创建的虚拟环境下安装,不然安装不了。先退出环境,然后再运行下面的安装指令。conda安装教程!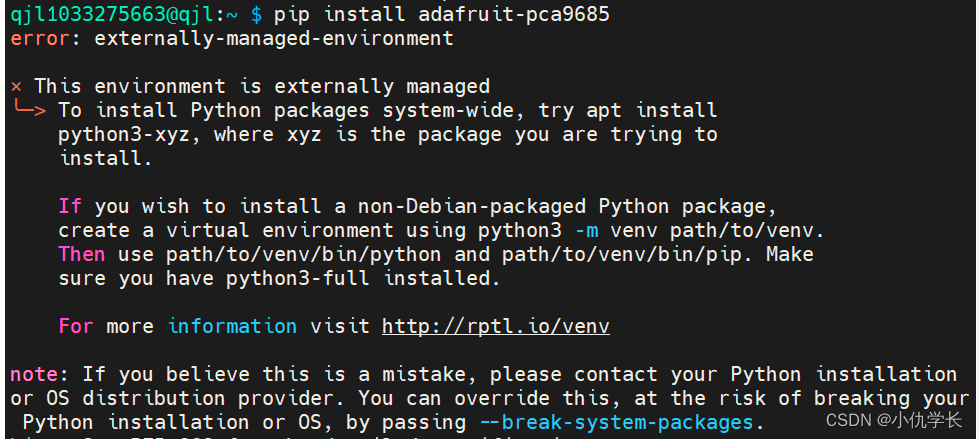
pip3 install adafruit-pca9685
- 查看IIC所有总线
i2cdetect -l

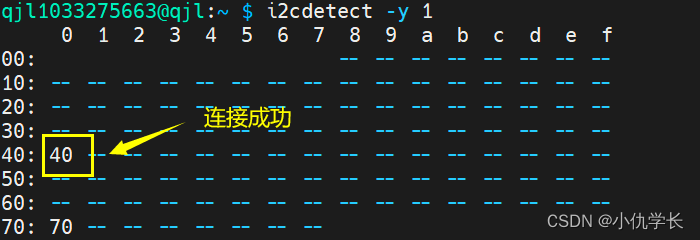
- 查看PCA9685设备是否连接
将PCA9685连接好以后,使用下面命令查看。
i2cdetect -y 总线号
i2cdetect -y 1
- 代码中调用
import  Adafruit_PCA9685
pwm = Adafruit_PCA9685.PCA9685(busnum=1)
调用时,设备连接的哪个总线就写哪个总线号!

- 代码
from __future__ import division
import time

# Import the PCA9685 module.
import Adafruit_PCA9685
# Initialise the PCA9685 using the default address (0x40).
pwm = Adafruit_PCA9685.PCA9685(busnum=1)
# Configure min and max servo pulse lengths
servo_min = 150
# Min pulse length out of 4096
servo_max = 600
# Max pulse length out of 4096
# Helper function to make setting a servo pulse width simpler.
def set_servo_pulse(channel, pulse):
    pulse_length = 1000000
    # 1,000, 000 us per second
    pulse_length //= 60
    #60 Hz
    print ('{0}us per period'.format(pulse_length))
    pulse_length //= 4096
    # 12 bits of resolution
    print ('{0}us per bit'.format(pulse_length))
    pulse *= 1000
    pulse //= pulse_length
    pwm.set_pwm(channel, 0, pulse)

def set_servo_angle (channe1, angle):
    angle=4096*((angle*11)+500)/20000
    pwm.set_pwm(channe1,0,int(angle))
    # Set frequency to 50hz, good for servos.

pwm.set_pwm_freq (50)
print (" Moving servo on channel 0, press CtrI-C to quit...")
set_servo_angle (4, 50)
time.sleep (1)
set_servo_angle (5, 50)
time.sleep (1)
# pwm. set pwm (4, 0, 300)
# time. sleep (1)
# pwm. set pwm (5, 0, 300)
# time. sleep (1)