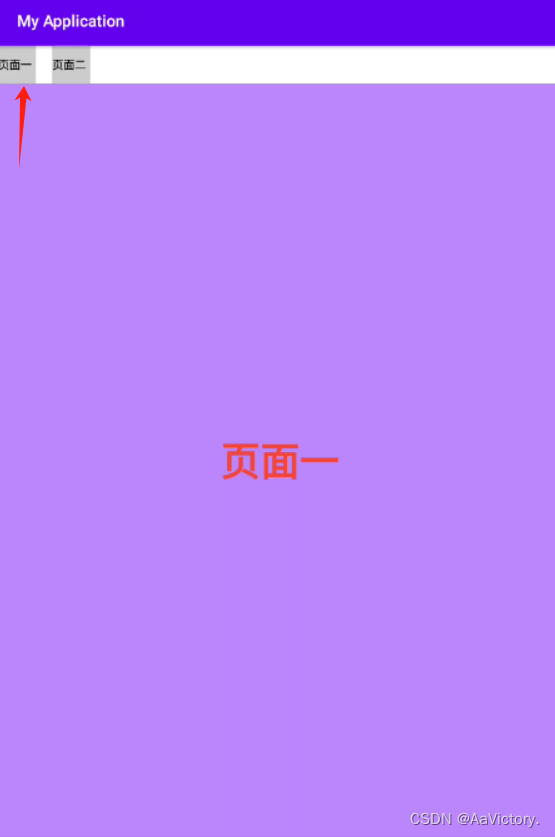
效果图:两个点击事件,显示不同的fragment布局
默认是如下图,点击页面一也如下图
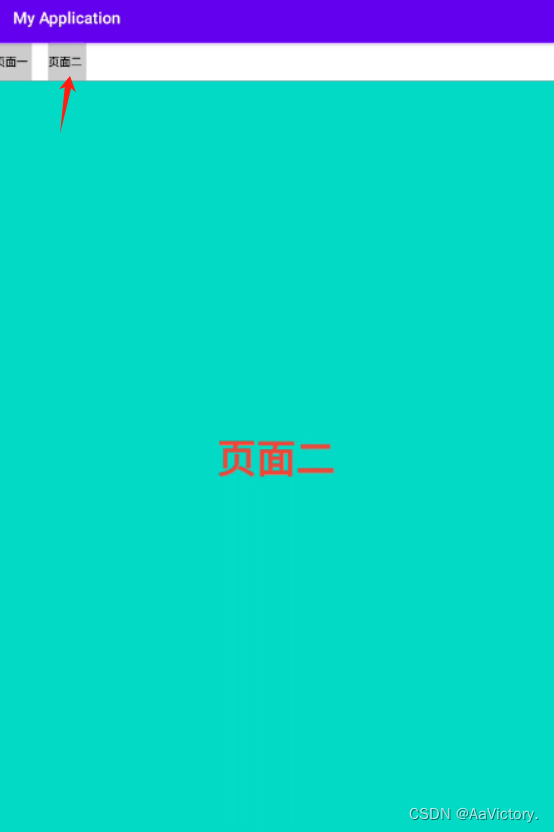
点击页面二如下图:
Android Fragment的生命周期是与其所在的Activity紧密相关的。当一个Fragment被添加到Activity中时,它将经历一系列的生命周期回调方法。以下是Fragment生命周期的主要阶段
- onAttach():当Fragment与Activity关联时调用。在此方法中,Fragment可以访问它所在的Activity实例,例如通过getActivity()方法。
- onCreate():创建Fragment时调用。在此方法中,应初始化Fragment所需的组件。
- onCreateView():Fragment需要创建视图时调用。在此方法中,Fragment应该初始化它的UI组件并返回一个View对象,这个View对象将成为Fragment的根视图。如果Fragment不提供UI,可以返回null。
- onActivityCreated():当Activity的onCreate()方法完成后调用。此时,Fragment可以与Activity中的视图进行交互。
- onStart():Fragment变为可见时调用。
- onResume():Fragment开始与用户交互时调用。此时,Fragment可以接收用户输入。
- onPause():Fragment将要停止与用户交互时调用。在此方法中,应提交任何需要持久化的更改。
- onStop():Fragment不再可见时调用。
- onDestroyView():Fragment的视图被销毁时调用。此时,应释放与视图相关的所有资源。
- onDestroy():销毁Fragment时调用。在此方法中,应清理Fragment持有的所有资源。
- onDetach():Fragment与Activity解除关联时调用。
需要注意的是,Fragment的生命周期受其所属的Activity影响。例如,当Activity进入暂停状态时,其中的所有Fragment也会进入暂停状态。当Activity被销毁时,所有的Fragment也会被销毁。
Java代码实现
public class MainActivity extends AppCompatActivity {
    private RadioGroup rg;

    @Override
    protected void onCreate(Bundle savedInstanceState) {
        super.onCreate(savedInstanceState);
        setContentView(R.layout.activity_main);
        rg=findViewById(R.id.rg);
        FrameLayout fragment=findViewById(R.id.fragment);
        //默认显示的Fragment
        fragment.getViewTreeObserver().addOnGlobalLayoutListener(new ViewTreeObserver.OnGlobalLayoutListener() {
            @Override
            public void onGlobalLayout() {
                //getSupportFragmentManager 管理器
                FragmentTransaction transaction = getSupportFragmentManager().beginTransaction();
                transaction.replace(R.id.fragment,new FirstLayout());
                transaction.commit();
                fragment.getViewTreeObserver().removeOnGlobalLayoutListener(this);
            }
        });
        //点击选中
        rg.setOnCheckedChangeListener(new RadioGroup.OnCheckedChangeListener() {
            @Override
            public void onCheckedChanged(RadioGroup radioGroup, int i) {
                switch (radioGroup.getCheckedRadioButtonId()){
                    case R.id.rb1:
                        FragmentTransaction transaction = getSupportFragmentManager().beginTransaction();
                        transaction.replace(R.id.fragment,new FirstLayout());
                        transaction.commit();
                        break;
                    case R.id.rb2:
                        FragmentTransaction transaction1 = getSupportFragmentManager().beginTransaction();
                        transaction1.replace(R.id.fragment,new SecondFragment());
                        transaction1.commit();
                        break;
                }
            }
        });

    }
}
- xml
<?xml version="1.0" encoding="utf-8"?>
<LinearLayout xmlns:android="http://schemas.android.com/apk/res/android"
    xmlns:app="http://schemas.android.com/apk/res-auto"
    xmlns:tools="http://schemas.android.com/tools"
    android:layout_width="match_parent"
    android:layout_height="match_parent"
    android:orientation="vertical"
    tools:context=".MainActivity6">
    <RadioGroup
        android:id="@+id/rg"
        android:layout_width="match_parent"
        android:orientation="horizontal"
        android:layout_height="wrap_content">
        <RadioButton
            android:id="@+id/rb1"
            android:layout_width="wrap_content"
            android:layout_height="wrap_content"
            android:button="@null"
            android:text="页面一"
            android:background="@color/bgdialogpress"
            />
        <RadioButton
            android:id="@+id/rb2"
            android:layout_marginLeft="20dp"
            android:layout_width="wrap_content"
            android:layout_height="wrap_content"
            android:button="@null"
            android:text="页面二"
            android:background="@color/bgdialogpress"
            />
    </RadioGroup>
    <FrameLayout
        android:id="@+id/fragment"
        android:layout_width="match_parent"
        android:layout_height="match_parent"
        />
</LinearLayout>
- 下面列举 FirstLayout 、 xml布局,SecondFragment和下面相似,自己建一个就行
//Java处理
public class FirstLayout extends Fragment {
    @Nullable
    @Override
    public View onCreateView(@NonNull LayoutInflater inflater, @Nullable ViewGroup container, @Nullable Bundle savedInstanceState) {
        View inflate = inflater.inflate(R.layout.fragment_first, container, false);
        return inflate;
    }
}
//xml布局
<RelativeLayout xmlns:android="http://schemas.android.com/apk/res/android"
    xmlns:tools="http://schemas.android.com/tools"
    android:layout_width="match_parent"
    android:layout_height="match_parent"
    android:padding="16dp"
    tools:context=".MainActivity">
    <Button
        android:layout_centerInParent="true"
        android:id="@+id/resetButton"
        android:layout_width="wrap_content"
        android:layout_height="wrap_content"
        android:text="页面一"/>
</RelativeLayout>