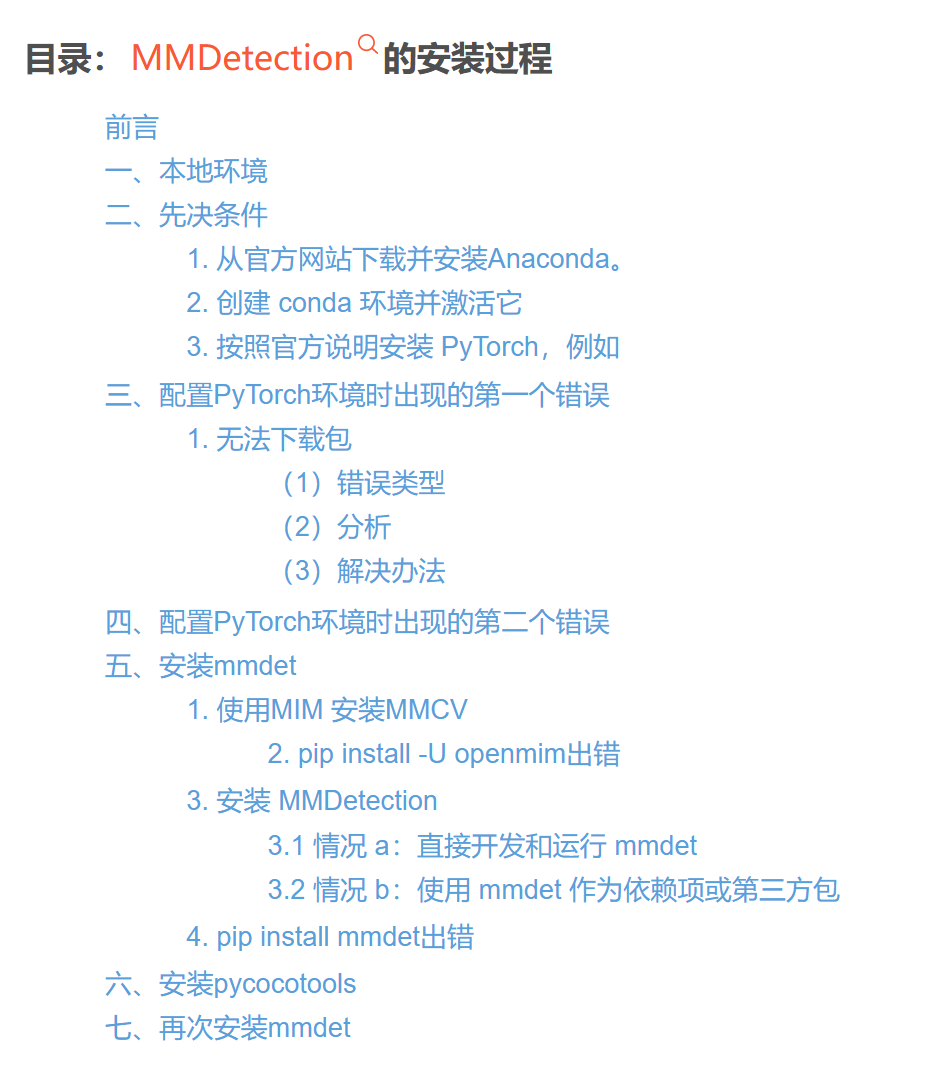
目录:Mask rcnn代码实现Pytorch版
- 一、环境
- 二、mmdetection环境搭建
- 三、测试
- 四、结果展示
为什么选择使用Pytorch版本?因为本人换电脑了,显卡升级为30系列,而30系列显卡的 CUDA 版本要求是 11.x。
一、环境
cudatoolkit               11.3.1
numpy                     1.23.5
mmcv-full                 1.7.1
opencv-python             4.7.0.68
openmim                   0.3.4
pycocotools               2.0.6
python                    3.8.15
pytorch                   1.12.1
torchaudio                0.12.1
torchvision               0.13.1
其中,我的CUDA版本为11.3。
二、mmdetection环境搭建
这里,我有写过详细的博客介绍,直接放上链接!
包括debug的过程,也有详细记载:
https://blog.csdn.net/wzk4869/article/details/127797092?spm=1001.2014.3001.5502
三、测试
我们可以直接用mmdetection框架的框架测试。
项目下载地址为:
https://github.com/open-mmlab/mmdetection
我们解压后新建一个文件夹,checkpoints,用于存储模型参数。
模型参数的下载地址为:
https://github.com/open-mmlab/mmdetection/blob/master/configs/mask_rcnn/metafile.yml
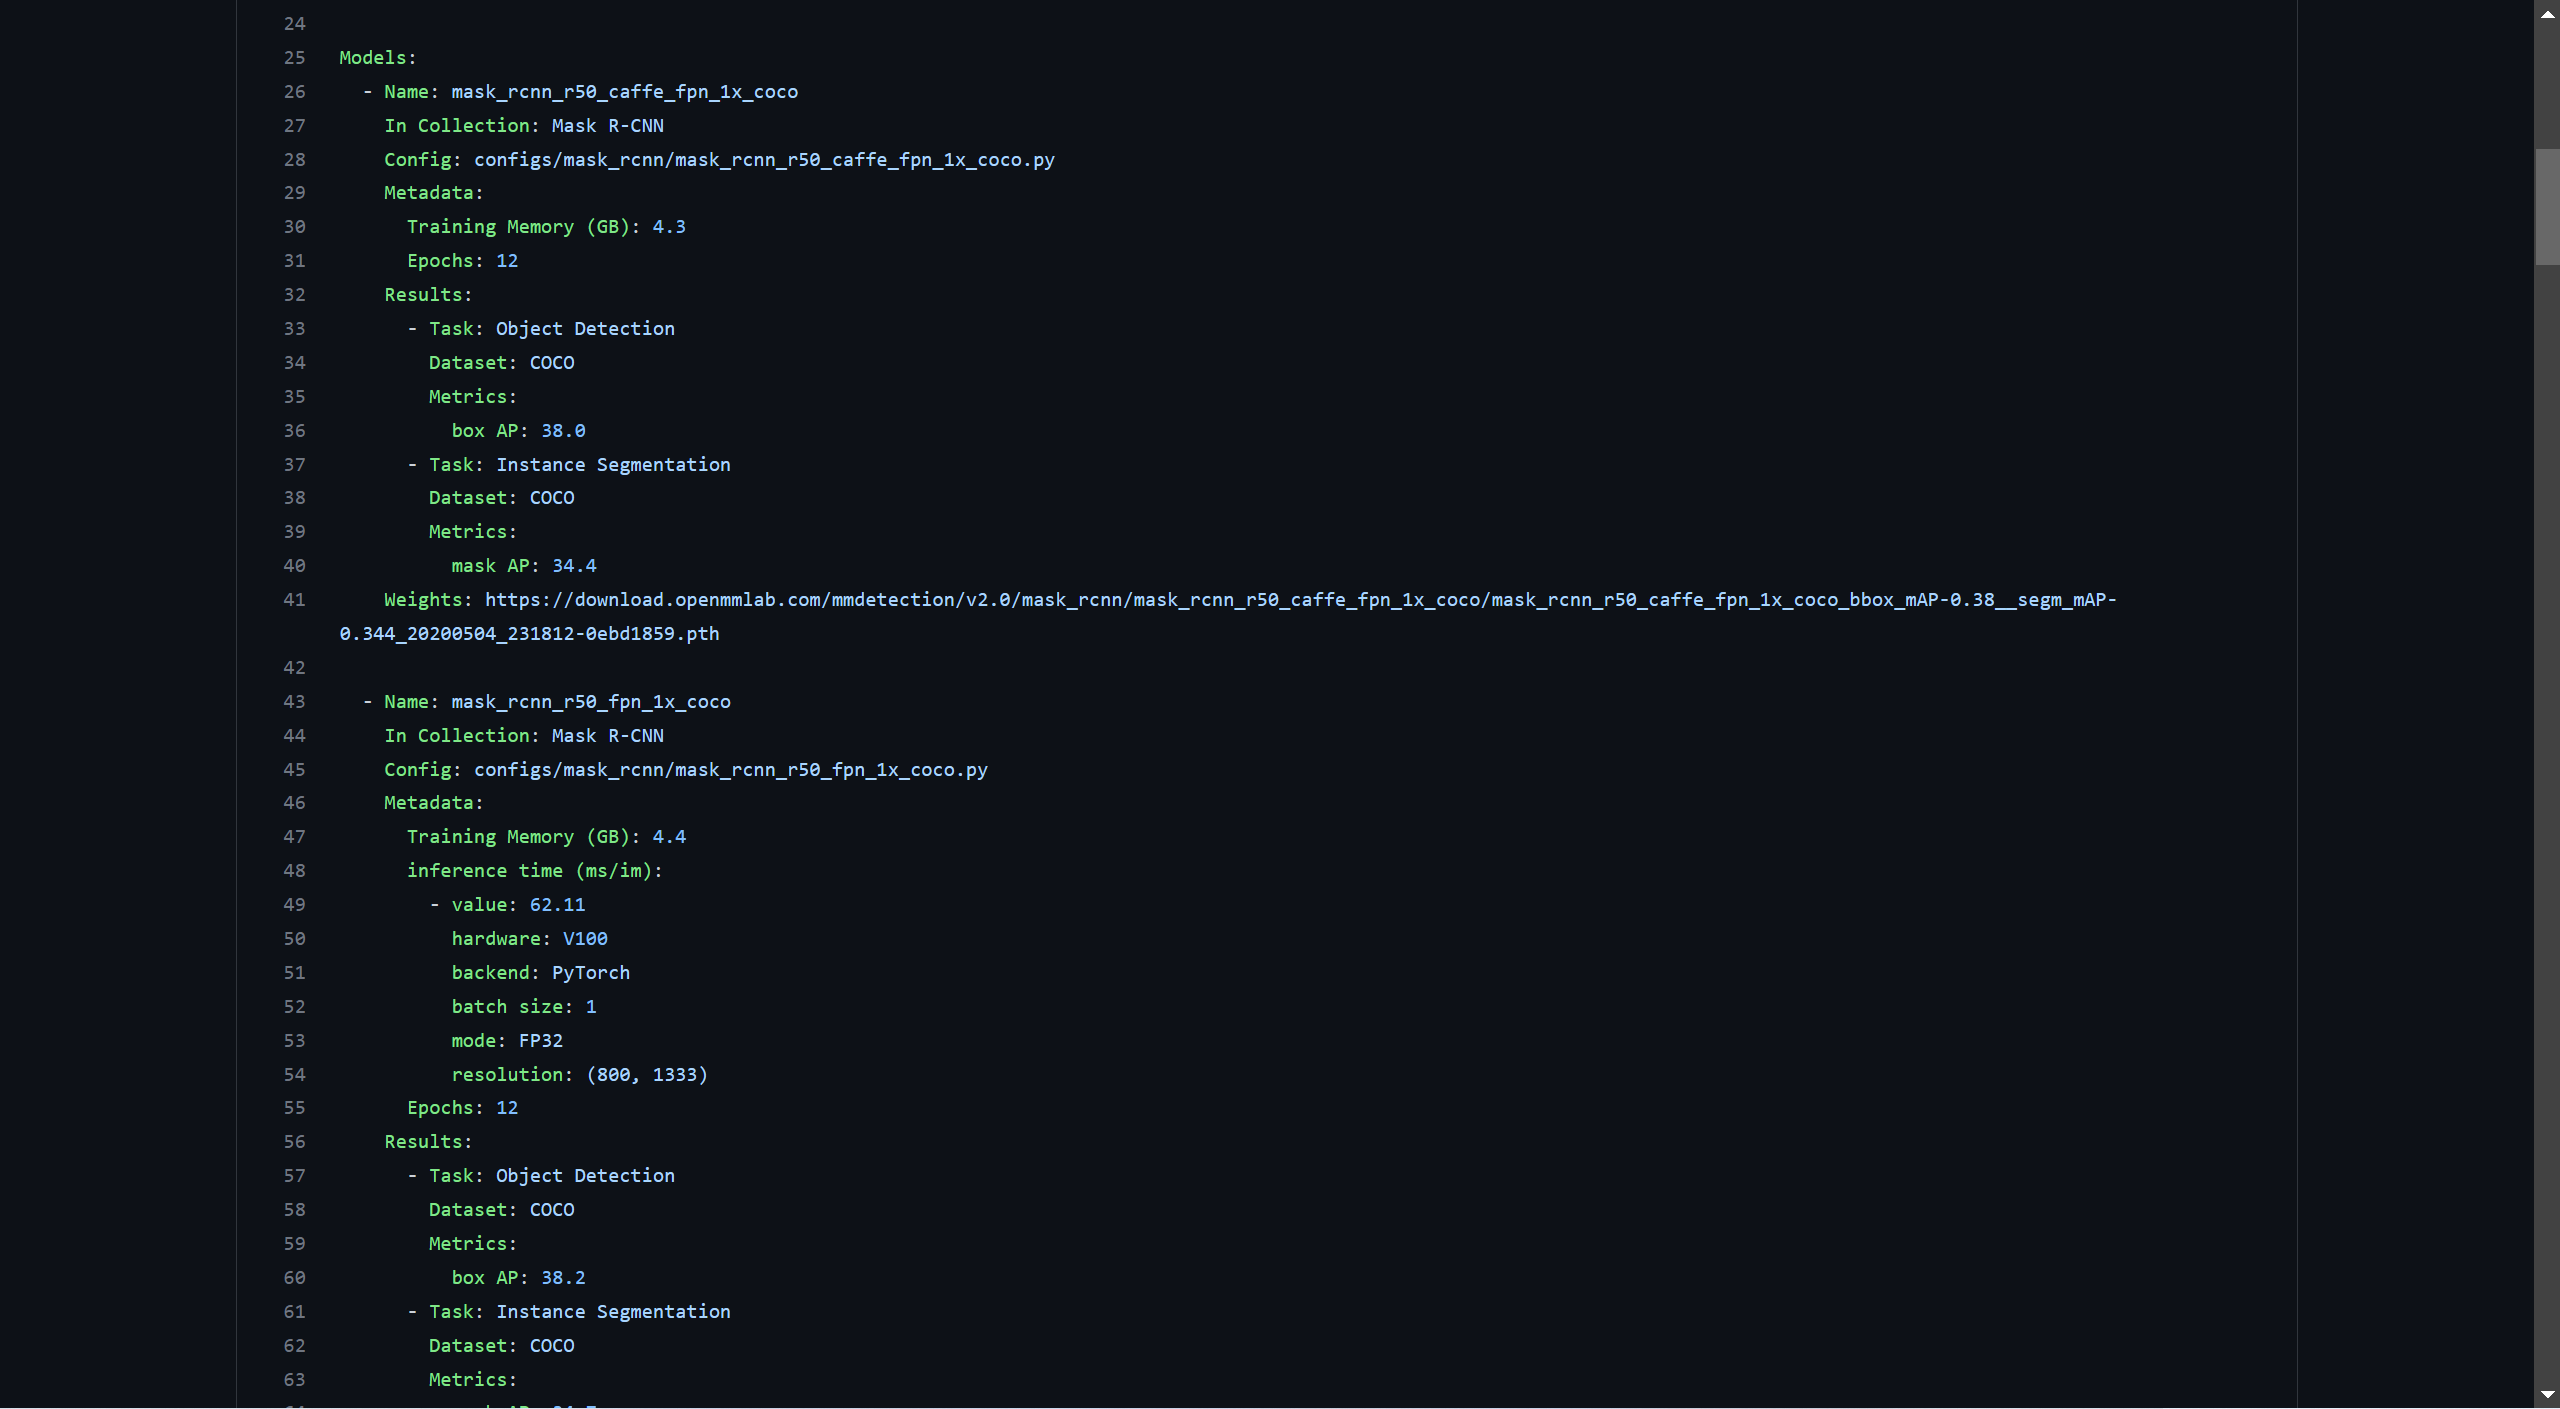
参数要对应!
四、结果展示
我们的测试代码如下:
python mmdetection-master/demo/image_demo.py mmdetection-master/demo/demo.jpg mmdetection-master/configs/mask_rcnn/mask_rcnn_r50_fpn_1x_coco.py mmdetection-master/checkpoints/mask_rcnn_r50_fpn_1x_coco_20200205-d4b0c5d6.pth
结果为:
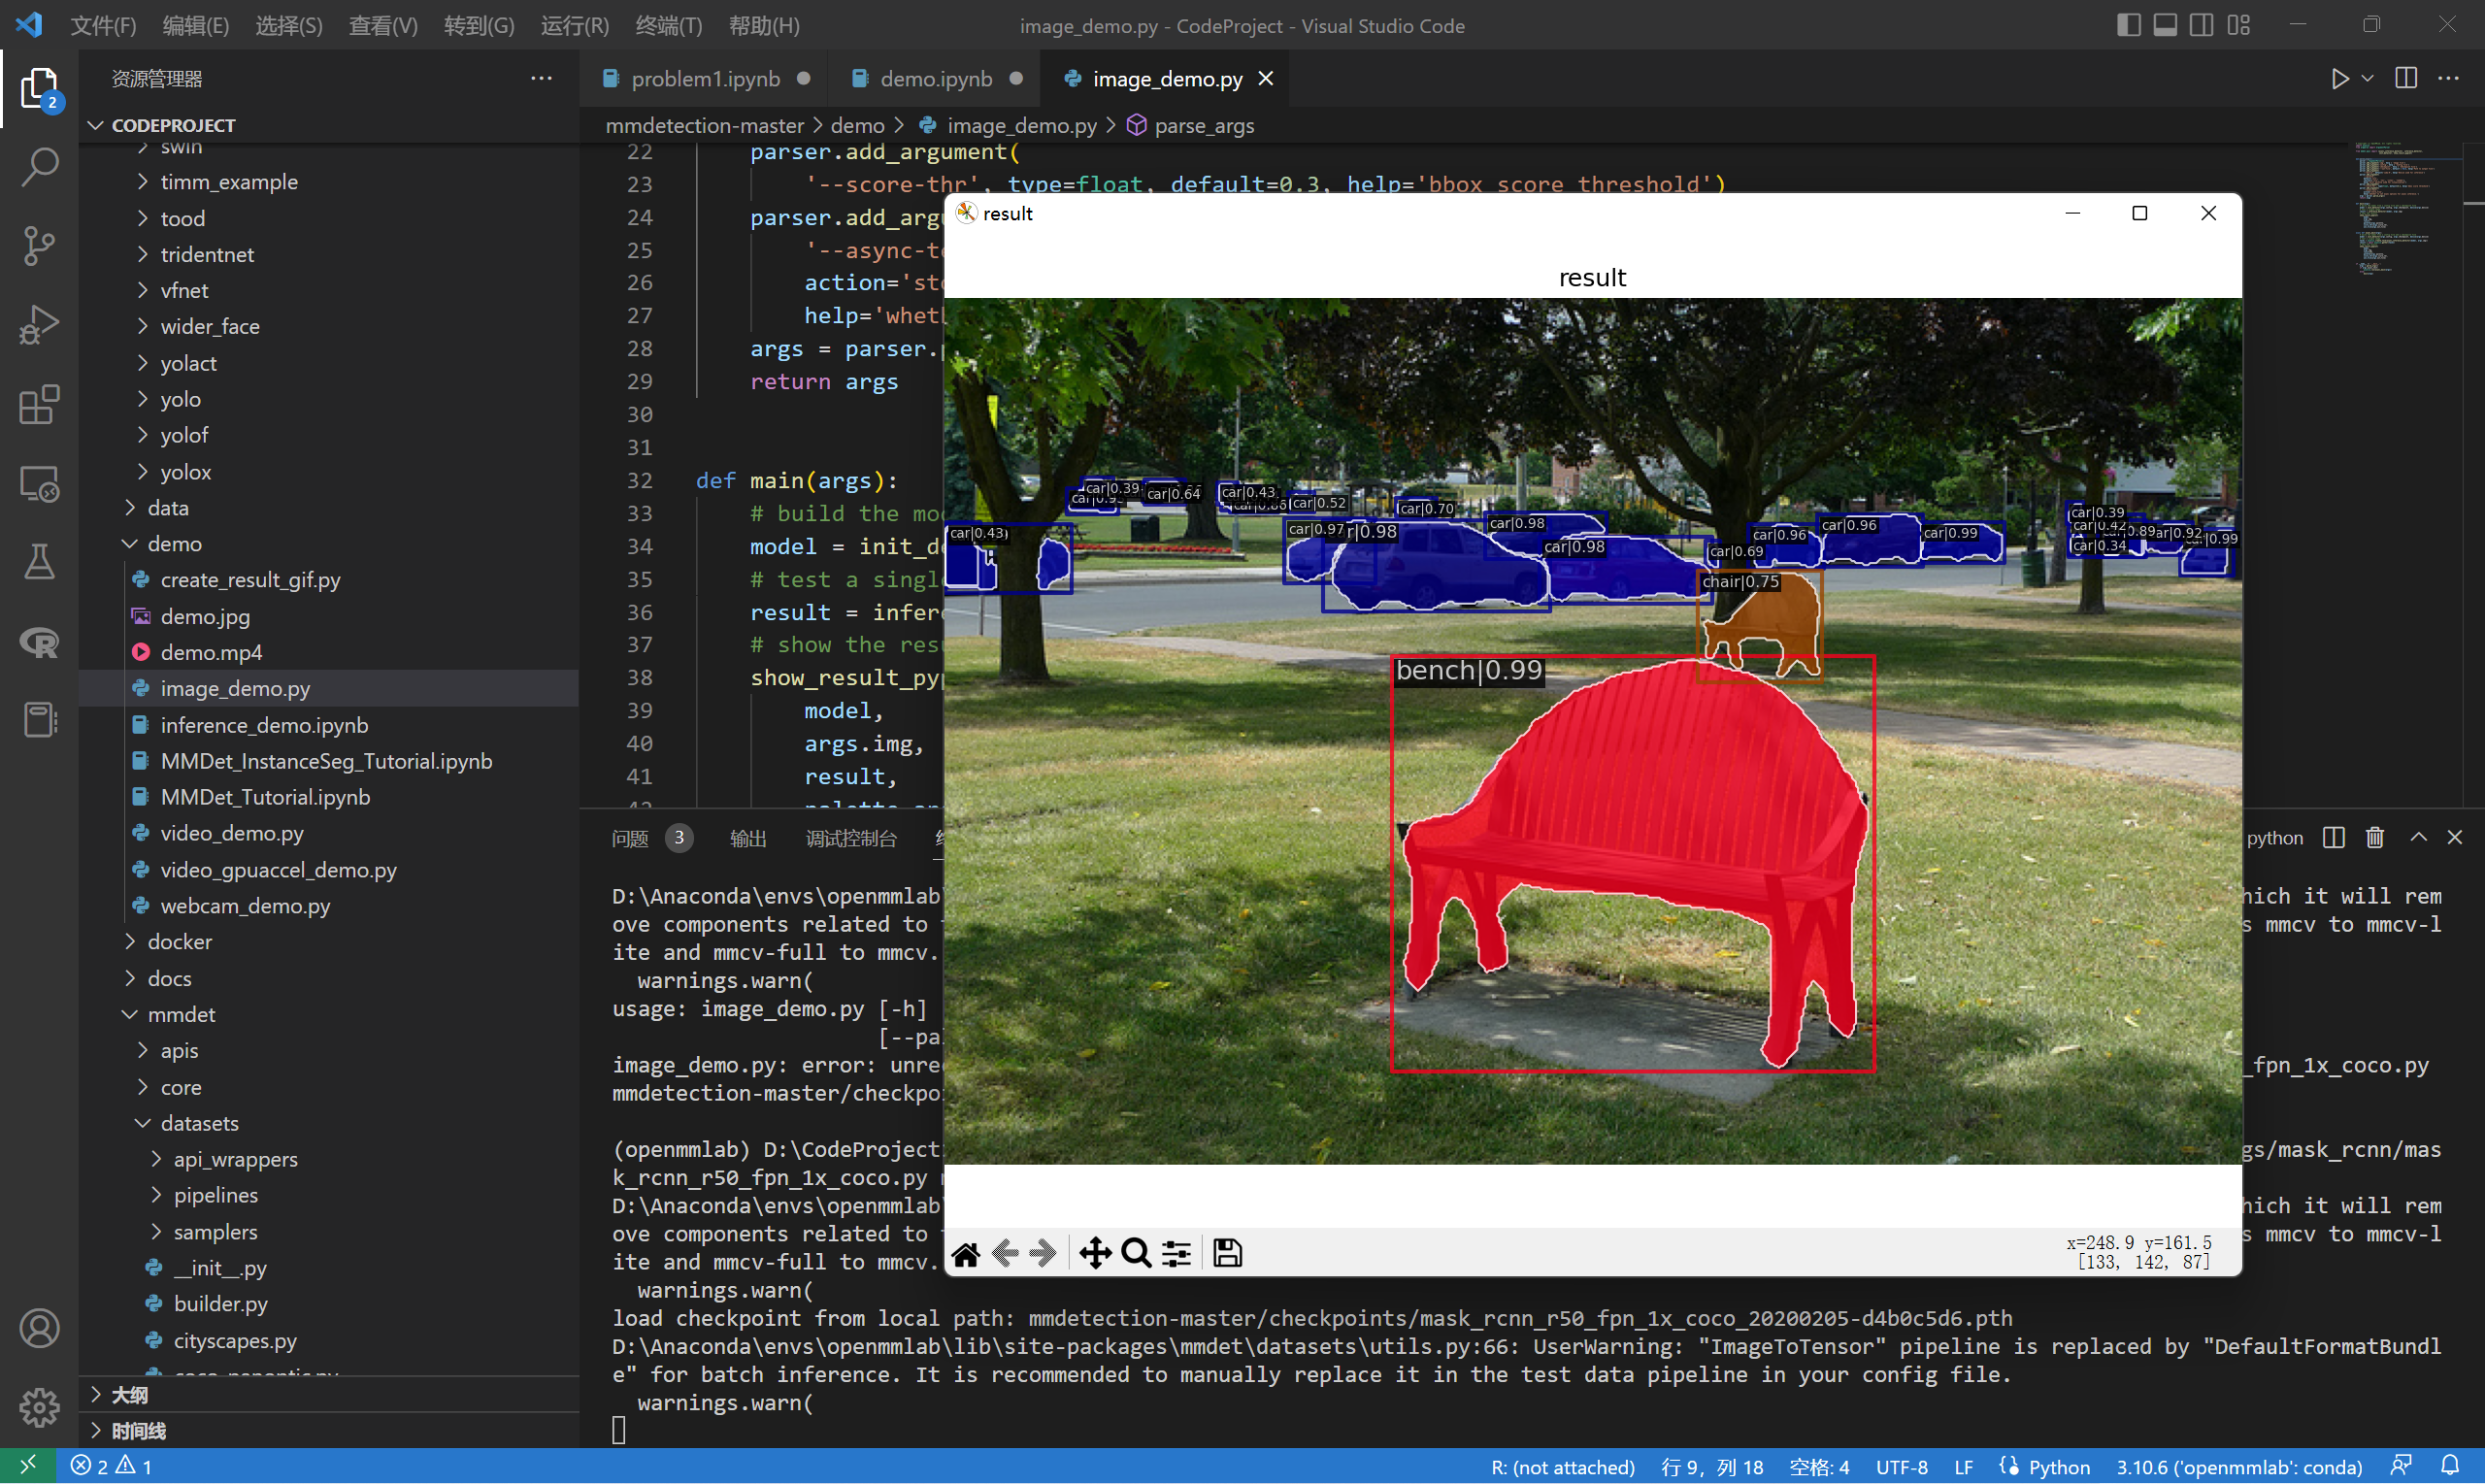
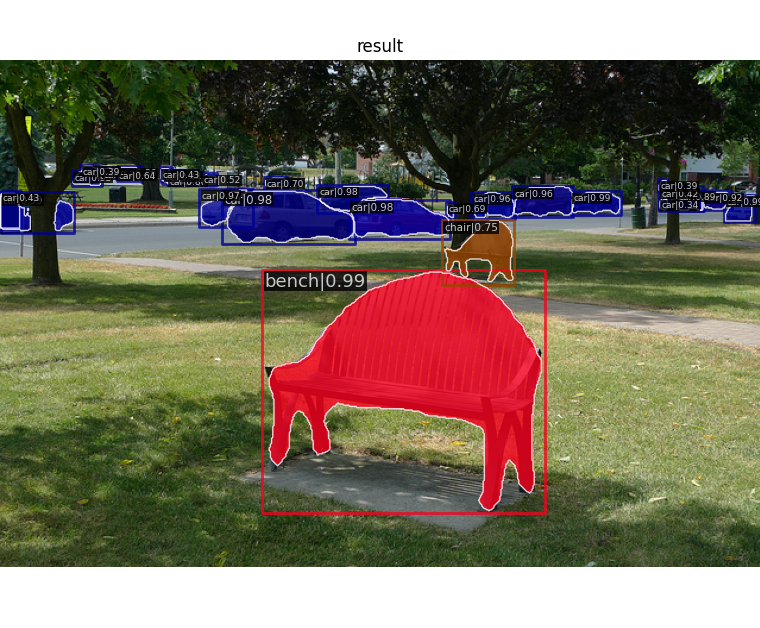
运行成功!