1、i18n概述
国际化也称作i18n,其来源是英文单词 internationalization的首末字符i和n,18为中间的字符数。由于软件发行可能面向多个国家,对于不同国家的用户,软件显示不同语言的过程就是国际化。通常来讲,软件中的国际化是通过配置文件来实现的,假设要支撑两种语言,那么就需要两个版本的配置文件。
2、Java国际化
Java国际化是一种重要的技术,它允许您的应用程序在不同的语言环境和地域之间无缝切换,以提供更广泛的用户群体。Java提供了一些关键的类和机制来实现国际化,其中包括java.util.Locale和java.util.ResourceBundle。
1. java.util.Locale
Locale类用于表示用户的语言环境和地域信息。它包括语言代码和国家/地区代码。您可以使用Locale来确定用户所在的语言环境,然后加载相应的本地化资源。例如:
Locale usLocale = new Locale("en", "US"); // 英语(美国)
2. java.util.ResourceBundle
ResourceBundle类用于加载本地化资源。资源束是包含本地化文本、图像、音频等资源的文件。这些资源文件的命名规则是基于基本文件名加上语言和国家/地区的标识符。例如,如果有一个名为"messages"的资源束文件,那么可以有以下命名的资源文件:
messages.properties(默认)messages_en_US.properties(英语(美国))messages_fr_FR.properties(法语(法国))messages_zh_CN.properties(中文(中国))
ResourceBundle会根据Locale自动选择合适的资源文件。如果找不到特定的本地化资源文件,它会回退到默认资源文件。
3. 配置文件命名规则
在Java国际化中,配置文件必须遵循特定的命名规则,以便Java能够正确识别。这些规则是:
- 必须包括基本文件名,例如"messages"。
- 语言和国家/地区代码是可选的,例如"_en_US"表示英语(美国)。
Java将首先查找与给定Locale完全匹配的资源文件,然后回退到默认资源文件。所有的配置文件必须位于classpath中,通常放在resources目录下。
4. 演示Java国际化
第一步 创建子模块spring6-i18n,
引入spring依赖
<dependencies>
        <!--spring context依赖-->
        <!--当你引入Spring Context依赖之后,表示将Spring的基础依赖引入了-->
        <dependency>
            <groupId>org.springframework</groupId>
            <artifactId>spring-context</artifactId>
            <version>6.0.2</version>
        </dependency>

        <!--spring对junit的支持相关依赖-->
        <dependency>
            <groupId>org.springframework</groupId>
            <artifactId>spring-test</artifactId>
            <version>6.0.2</version>
        </dependency>

        <!--junit5测试-->
        <dependency>
            <groupId>org.junit.jupiter</groupId>
            <artifactId>junit-jupiter-api</artifactId>
            <version>5.9.0</version>
        </dependency>

        <!--log4j2的依赖-->
        <dependency>
            <groupId>org.apache.logging.log4j</groupId>
            <artifactId>log4j-core</artifactId>
            <version>2.19.0</version>
        </dependency>
        <dependency>
            <groupId>org.apache.logging.log4j</groupId>
            <artifactId>log4j-slf4j2-impl</artifactId>
            <version>2.19.0</version>
        </dependency>

        <!-- junit测试 -->
        <dependency>
            <groupId>junit</groupId>
            <artifactId>junit</artifactId>
            <version>4.12</version>
        </dependency>
    </dependencies>
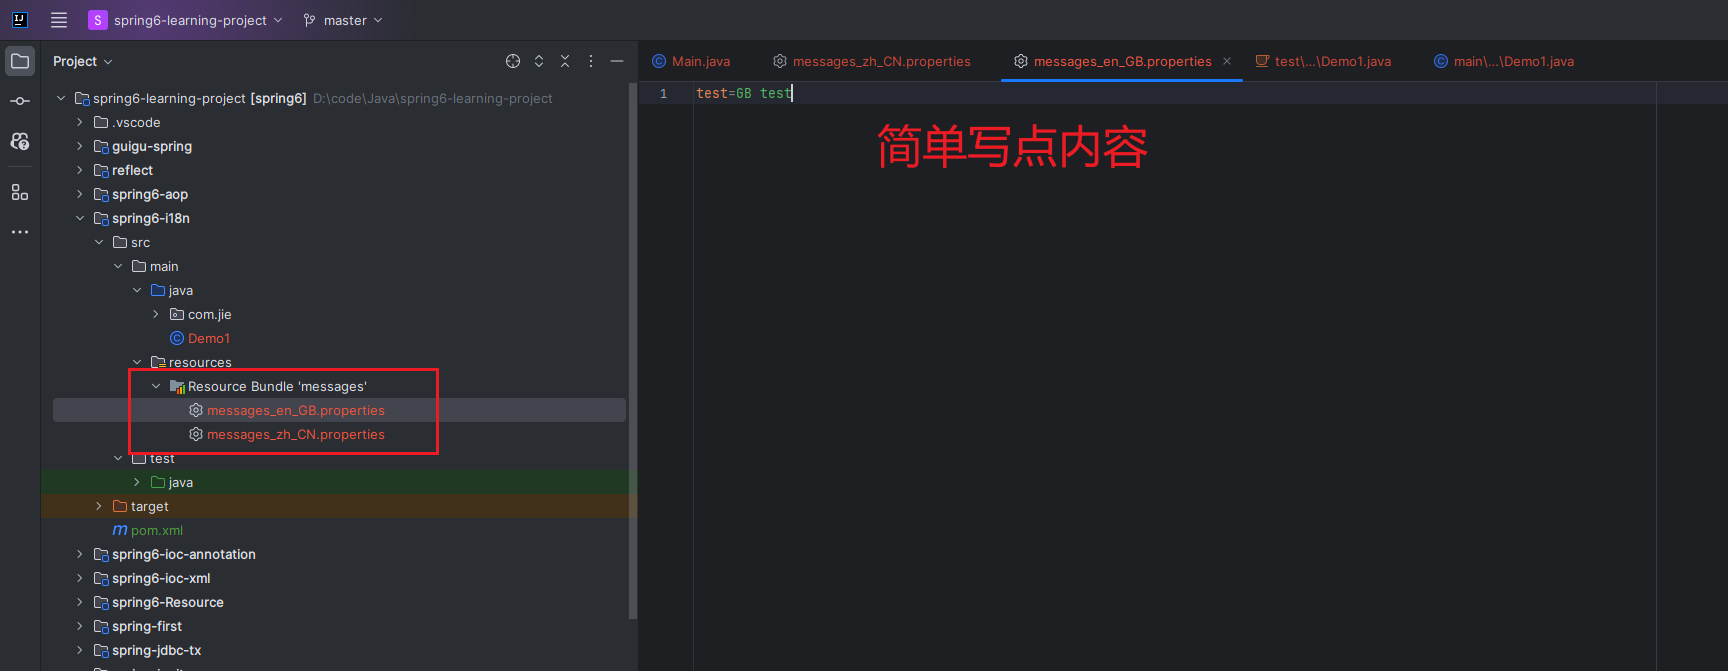
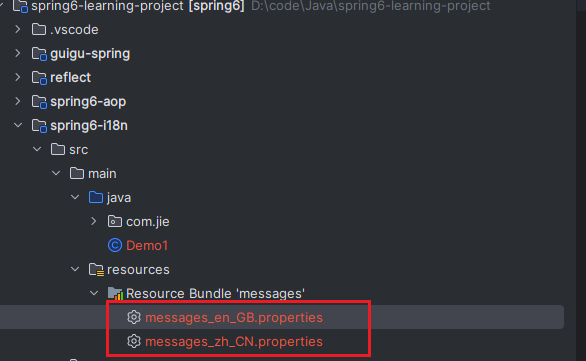
第二步 在resource目录下创建两个配置文件:messages_zh_CN.properties和messages_en_GB.properties
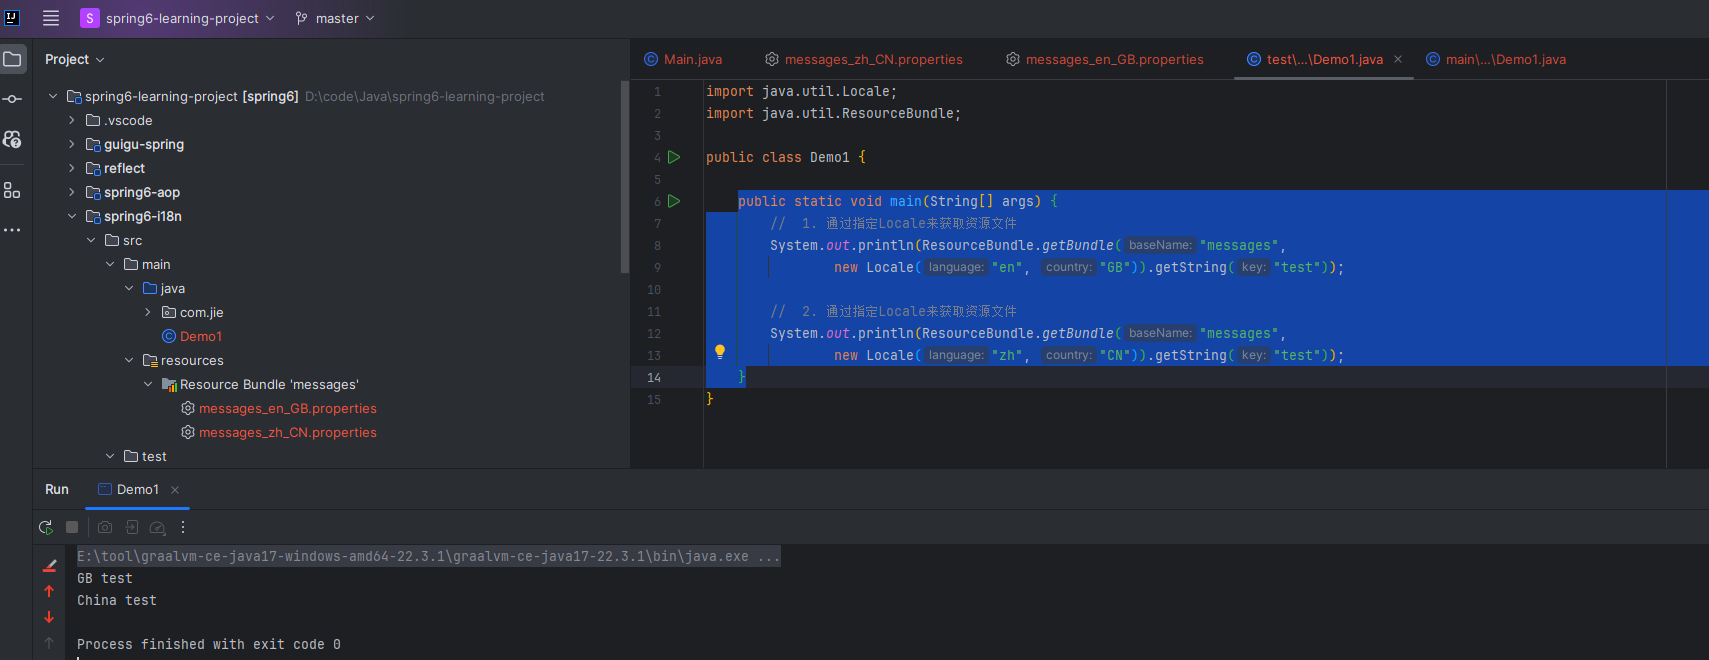
第三步 测试
public static void main(String[] args) {
        //  1. 通过指定Locale来获取资源文件
        System.out.println(ResourceBundle.getBundle("messages",
                new Locale("en", "GB")).getString("test"));

        //  2. 通过指定Locale来获取资源文件
        System.out.println(ResourceBundle.getBundle("messages",
                new Locale("zh", "CN")).getString("test"));
    }
3、Spring6国际化
3.1 MessageSource接口
Spring框架支持国际化通过MessageSource接口来实现,这允许您在应用程序中轻松管理多语言和本地化资源。
常见实现类
ResourceBundleMessageSource
ResourceBundleMessageSource是一个常见的MessageSource实现,它基于Java的ResourceBundle基础类。它允许您仅通过资源名加载国际化资源。这意味着您可以将不同语言版本的资源存储在不同的属性文件中,并根据需要加载它们。
ReloadableResourceBundleMessageSource
ReloadableResourceBundleMessageSource与ResourceBundleMessageSource类似,但它提供了一个额外的功能,即定时刷新。这允许您在不重启应用程序的情况下更新资源信息。这对于需要经常更新本地化内容的应用程序非常有用。
StaticMessageSource
StaticMessageSource是另一个MessageSource实现,它允许您通过编程的方式提供国际化信息。这意味着您可以在代码中动态添加和管理本地化消息,甚至从数据库中提取国际化信息。这对于需要动态管理本地化内容的情况非常有用。
通过使用这些不同的MessageSource实现,Spring框架使国际化在应用程序中变得更加灵活和可定制。我们可以选择最适合您项目需求的实现来管理多语言和本地化资源,以提供更好的用户体验。
3.2 使用Spring6国际化
第一步 创建资源文件
国际化文件命名格式:基本名称 _ 语言 _ 国家.properties
messages_en_GB.properties
test=welcome {0},时间:{1}
messages_zh_CN.properties
test=welcome {0},时间:{1}
解释:{0},{1}这样内容,就是动态参数
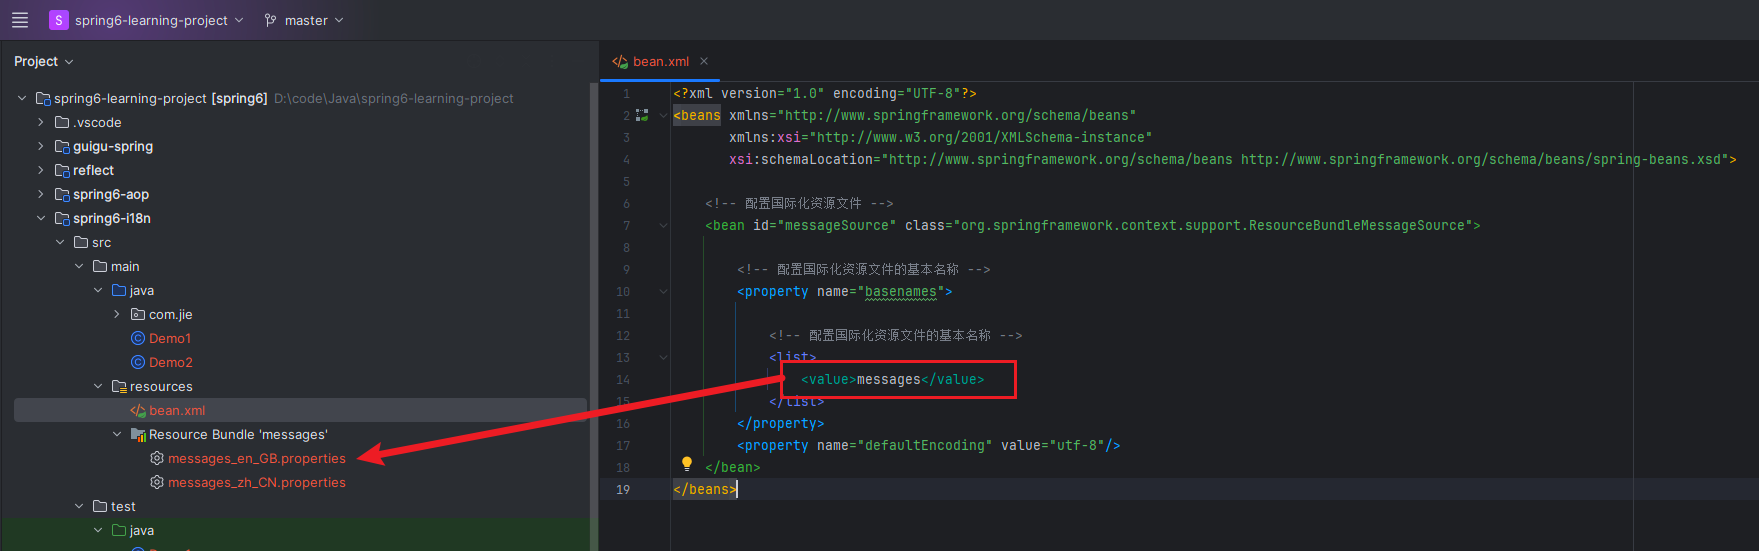
第二步 创建spring配置文件,配置MessageSource
<?xml version="1.0" encoding="UTF-8"?>
<beans xmlns="http://www.springframework.org/schema/beans"
       xmlns:xsi="http://www.w3.org/2001/XMLSchema-instance"
       xsi:schemaLocation="http://www.springframework.org/schema/beans http://www.springframework.org/schema/beans/spring-beans.xsd">

    <!-- 配置国际化资源文件 -->
    <bean id="messageSource" class="org.springframework.context.support.ResourceBundleMessageSource">

        <!-- 配置国际化资源文件的基本名称 -->
        <property name="basenames">

            <!-- 配置国际化资源文件的基本名称 -->
            <list>
                <value>messages</value>
            </list>
        </property>
        <property name="defaultEncoding" value="utf-8"/>
    </bean>
</beans>
第三步 创建测试类
import org.springframework.context.ApplicationContext;
import org.springframework.context.support.ClassPathXmlApplicationContext;

import java.util.Date;
import java.util.Locale;

public class Demo2 {

    public static void main(String[] args) {
        // 1. 加载Spring配置文件,根据创建对象
        ApplicationContext context = new ClassPathXmlApplicationContext("bean.xml");

        // 传递动态参数,使用数组形式对应{0} {1}顺序
        Object[] objs = new Object[]{"test", new Date().toString()};

        //test为资源文件的key值,
        //objs为资源文件value值所需要的参数,Local.CHINA为国际化为语言
        String str = context.getMessage("test", objs, Locale.CHINA);
        System.out.println(str);
    }
}


![[足式机器人]Part2 Dr. CAN学习笔记-自动控制原理Ch1-7Lead Compensator超前补偿器(调节根轨迹)](https://img-blog.csdnimg.cn/direct/105e56e5878941d5a652acbc8bc72eab.png#pic_center)