配置文件改成yaml格式:
application.yml
server:
  port: 9090

spring:
  datasource:
    driver-class-name: com.mysql.cj.jdbc.Driver
    url: jdbc:mysql://localhost:3306/joyce?serverTimezone=GMT%2b8
    username: root
    password: 123456
写基本的功能来验证后台数据查询功能
利用navicat在数据库下创建sys_user表
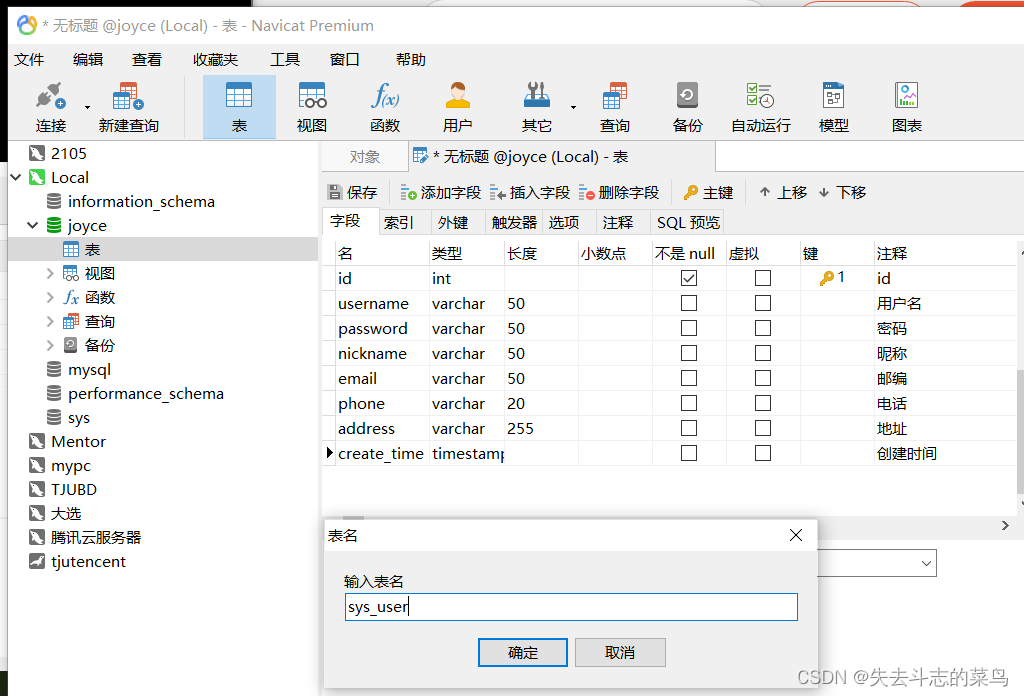
随便放一个数据

创建如下的包以及java文件
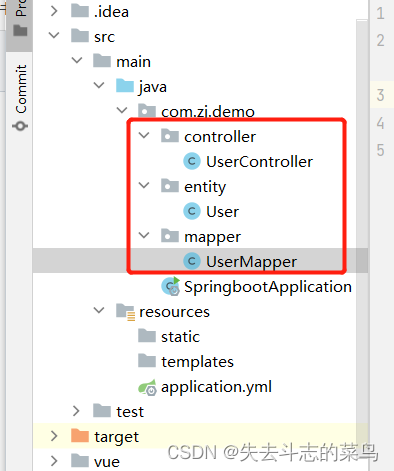
具体代码如下:
SpringBootApplication.java
package com.qingge.springboot;

import org.springframework.boot.SpringApplication;
import org.springframework.boot.autoconfigure.SpringBootApplication;

@SpringBootApplication
public class SpringbootApplication {

    public static void main(String[] args) {
        SpringApplication.run(SpringbootApplication.class, args);
    }

}
实体类: User.java
package com.zj.demo.entity;

import lombok.Data;

@Data

public class User {
    private String id;
    private String username;
    private String password;
    private String nickname;
    private String email;
    private String phone;
    private String address;


}
数据库查询接口UserMapper.java
package com.zj.demo.mapper;

import com.zj.demo.entity.User;
import org.apache.ibatis.annotations.Mapper;
import org.apache.ibatis.annotations.Select;

import java.util.List;

@Mapper
public interface UserMapper {

    @Select("SELECT * from sys_user")
    List<User> findAll();

}
UserController.java
package com.zj.demo.controller;

import com.zj.demo.entity.User;
import com.zj.demo.mapper.UserMapper;
import org.springframework.beans.factory.annotation.Autowired;
import org.springframework.web.bind.annotation.GetMapping;
import org.springframework.web.bind.annotation.RestController;

import java.util.List;

@RestController
public class UserController {
    @Autowired
    private UserMapper userMapper;

    @GetMapping("/")
    public List<User> index() {
        List<User> all = userMapper.findAll();
        return all;
    }

}
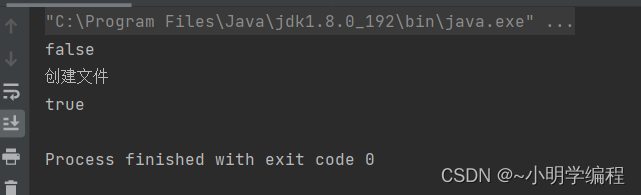
页面测试:
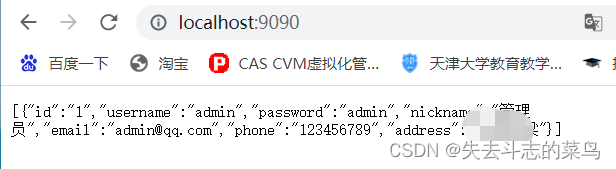
PS: Ctrl+ALt+O可以去掉无用的包


![[Verilog]Verilog经典电路设计(一)](https://img-blog.csdnimg.cn/fe4f7ebcefc947ae8ac1f1efb5578c61.png)