一、图像语义分割
图像语义分割是计算机视觉领域的一项重要任务,旨在将图像中的每个像素分配到其所属的语义类别,从而实现对图像内容的细粒度理解。与目标检测不同,图像语义分割要求对图像中的每个像素进行分类,而不仅仅是确定物体的边界框。deeplabv3_resnet50 就是一个常用的语义分割模型,它巧妙地将两个强大的神经网络架构融合在一起,为像素级别的图像理解提供了强大的解决方案。
首先,DeepLabV3是一种专门设计用于语义分割的架构。通过采用扩张卷积(也称为空洞卷积)能够在不损失空间分辨率的情况下捕捉多尺度信息。这使得模型能够对图像进行精细的分割,识别并分类每个像素的语义信息。
其次,ResNet50是ResNet系列中的一员,拥有50层深度的残差网络结构。通过引入残差连接,ResNet50解决了深层神经网络中梯度消失的问题,使得网络更易于训练。作为骨干网络,ResNet50提供了强大的特征提取能力,有助于捕捉图像中的高级语义特征。
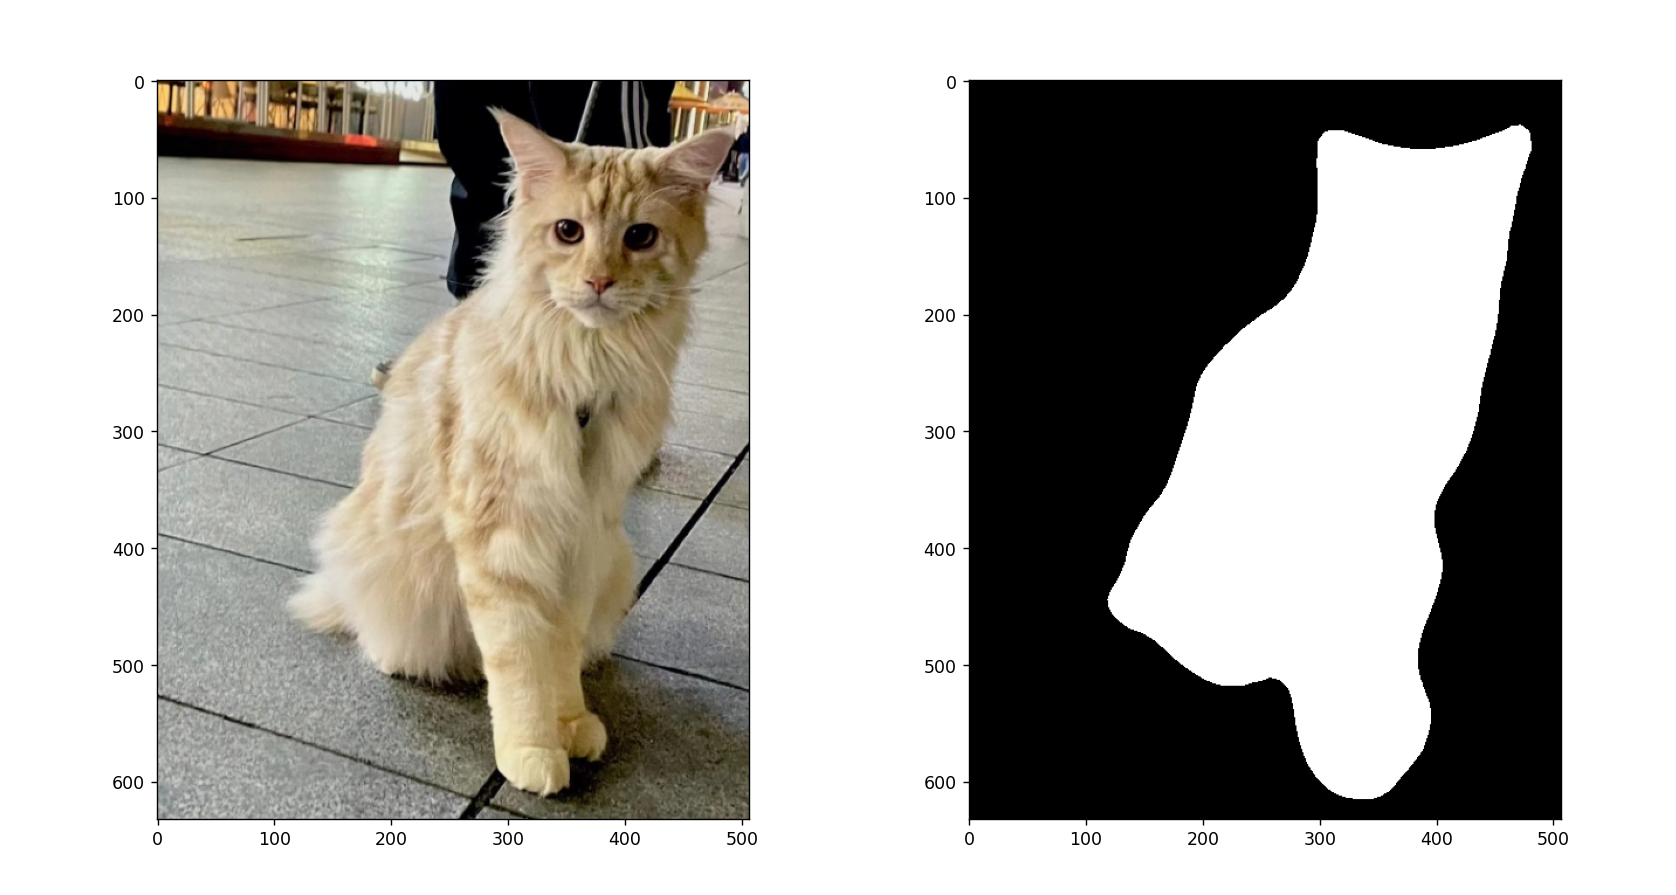
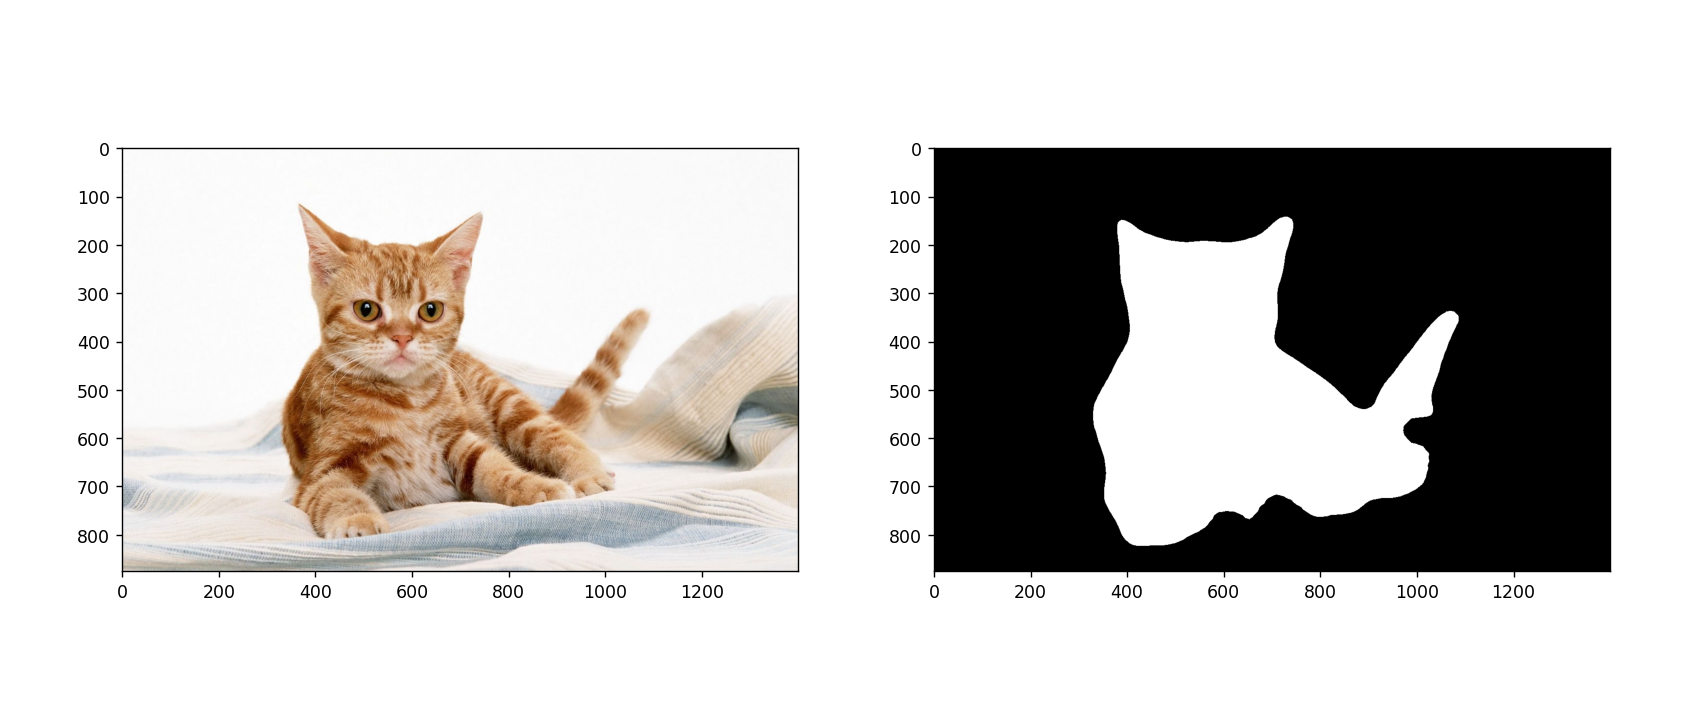
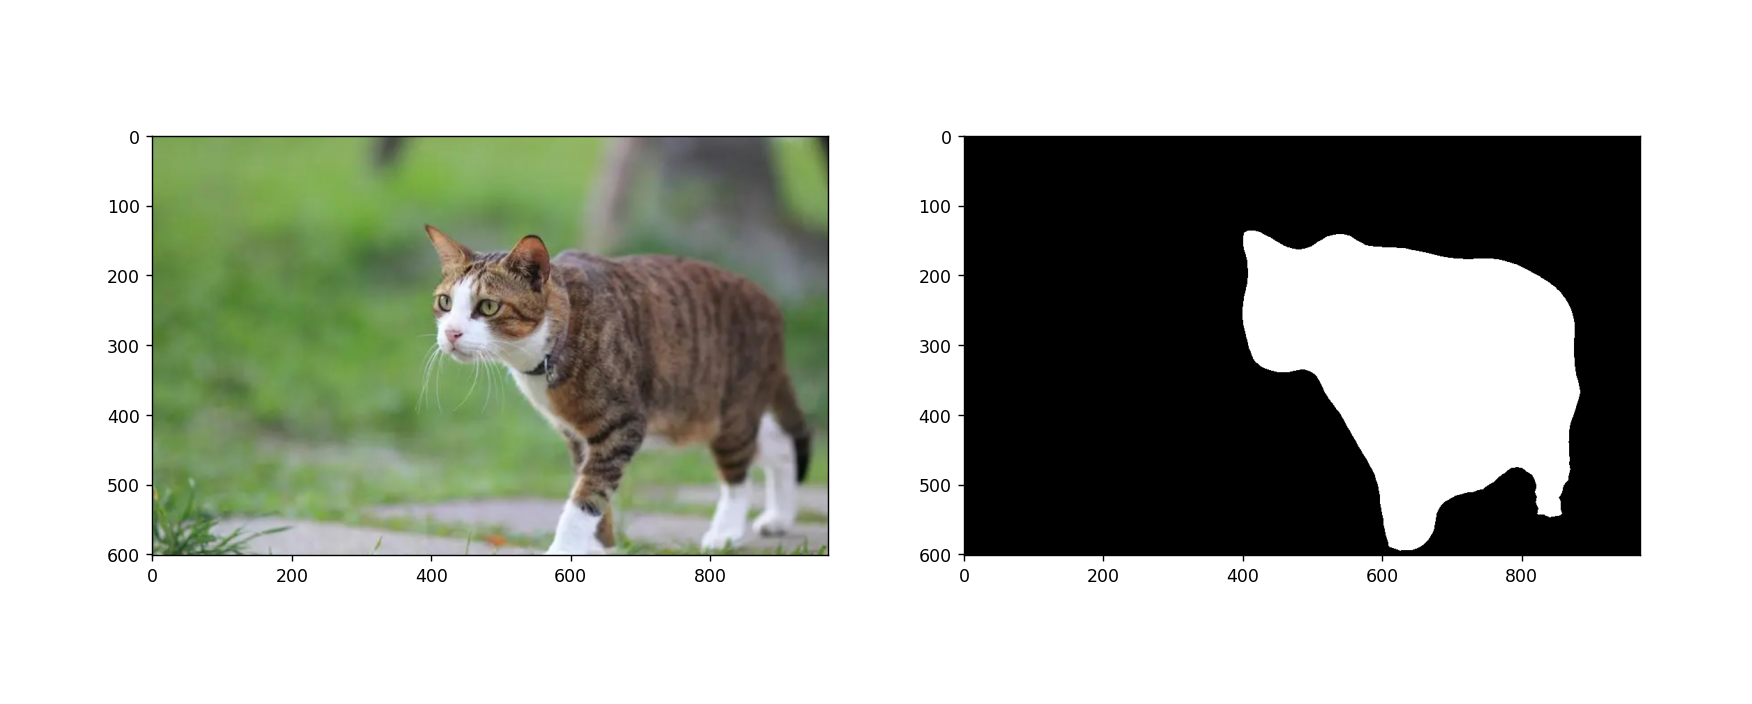
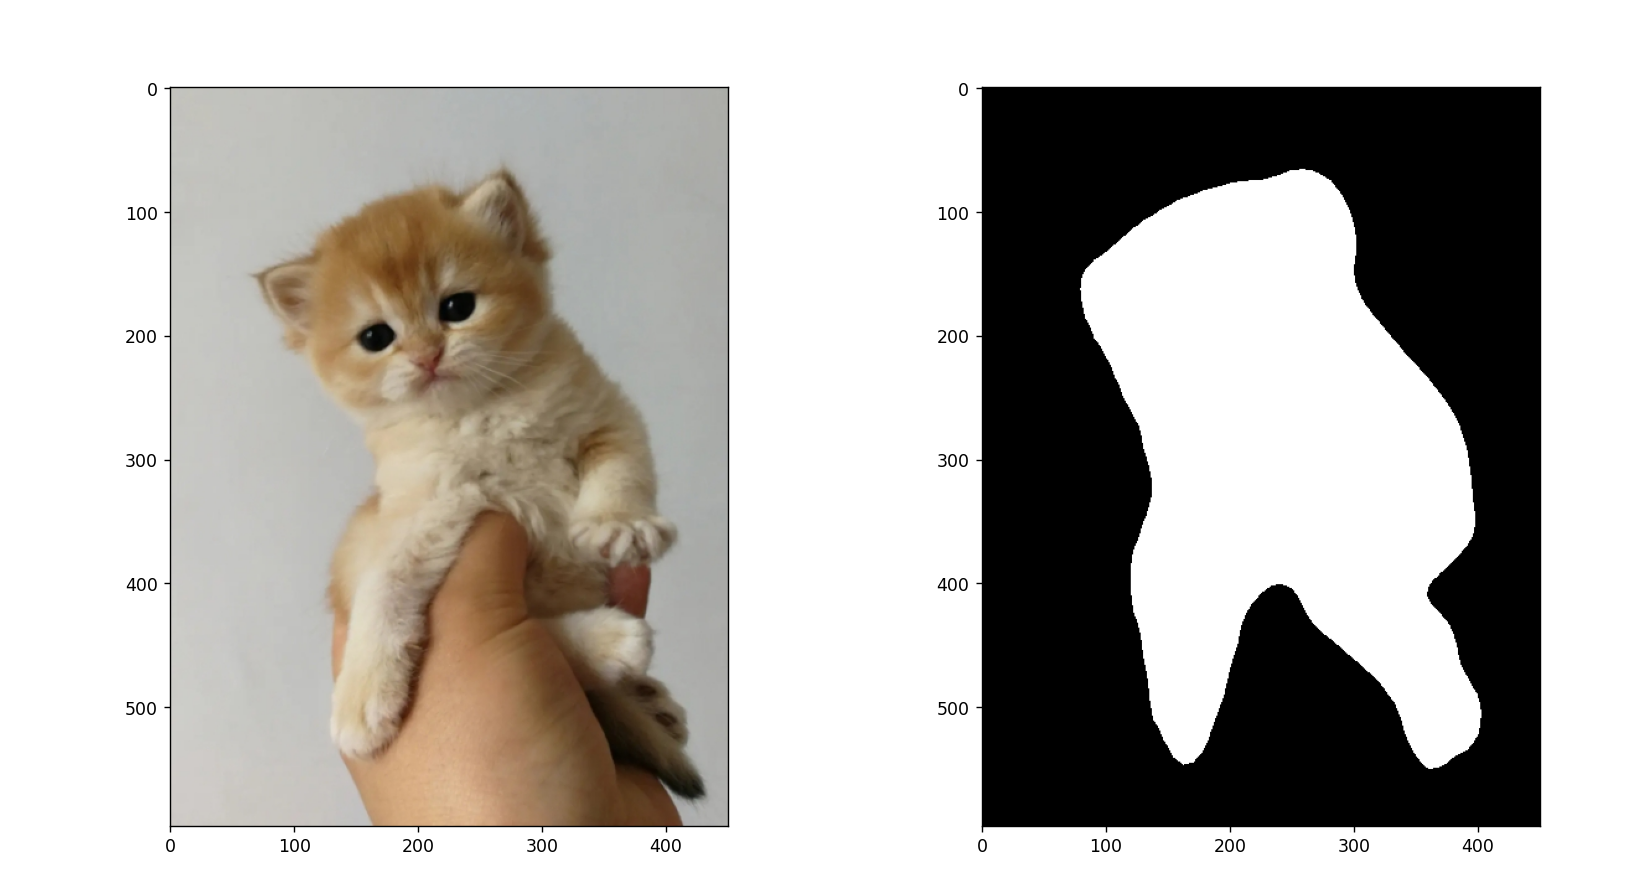
本文基于 Pytorch 使用 deeplabv3_resnet50 迁移训练自己的图像语义分割模型,数据使用的猫数据集,最后效果如下所示:
下面使用的 torch 版本如下:
torch                   1.13.1+cu116
torchaudio              0.13.1+cu116
torchvision             0.14.1+cu116
二、数据集准备
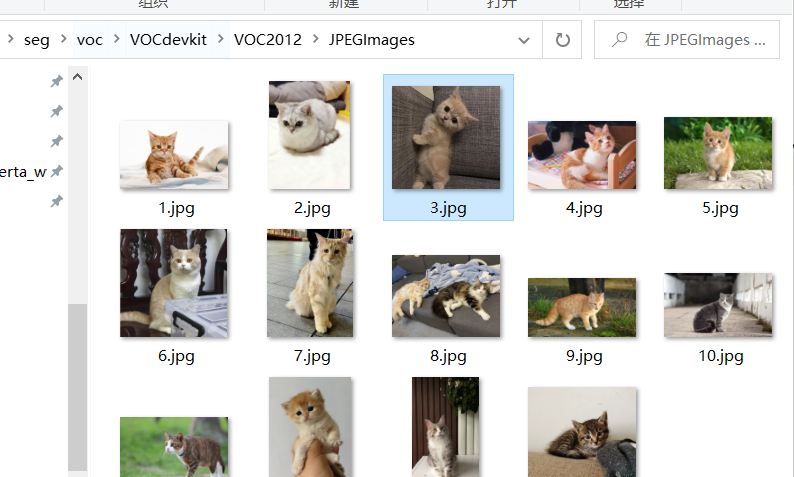
图像数据可以从网上找一些或者自己拍摄,我这里准备了一些 猫 的图片:
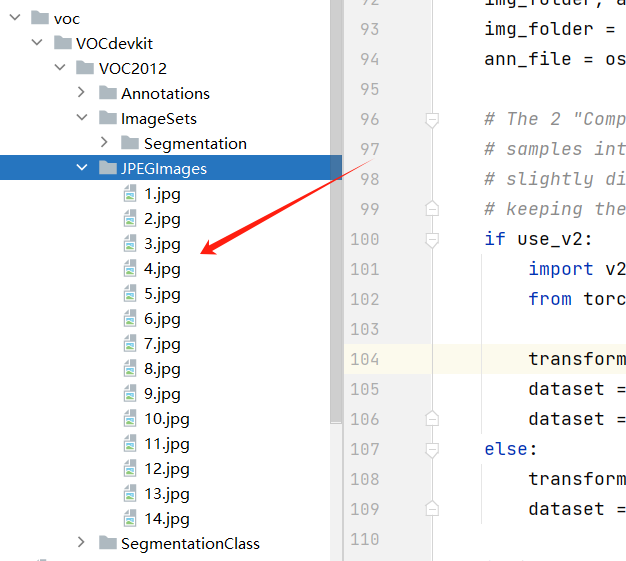
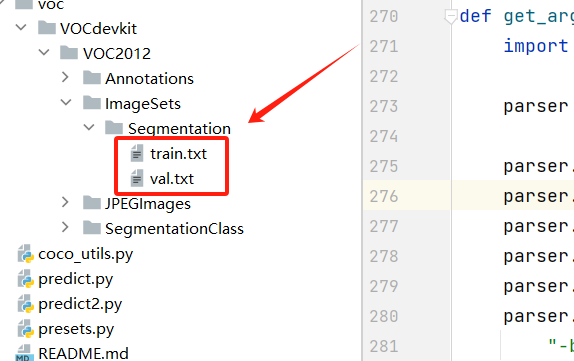
这里构建 VOC 格式数据集,因此需要新建如下结构目录:
VOCdevkit
	VOC2012
		Annotations
		ImageSets
			Segmentation
		JPEGImages
		SegmentationClass
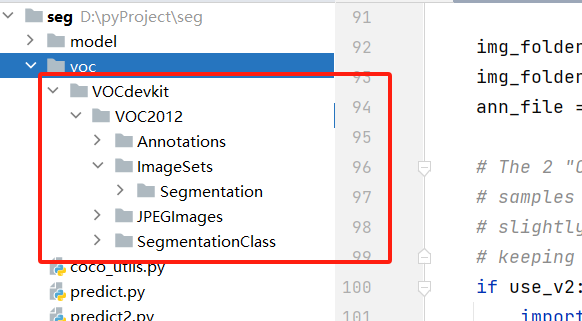
目录解释如下:
- Annotations 存放标注后的
xml文件 - Segmentation 划分后的训练样本名称和验证集样本名称(只存放名称)
- JPEGImages 存放收集的图像
- SegmentationClass 存放语义分割的
mask标签图像
将收集的图像放到 JPEGImages 目录下:
三、图像标注
标注工具使用 labelme ,如果没有安装,使用下面方式引入该依赖:
pip install labelme -i https://pypi.tuna.tsinghua.edu.cn/simple
然后控制台输入:labelme ,即可打开标注工具:
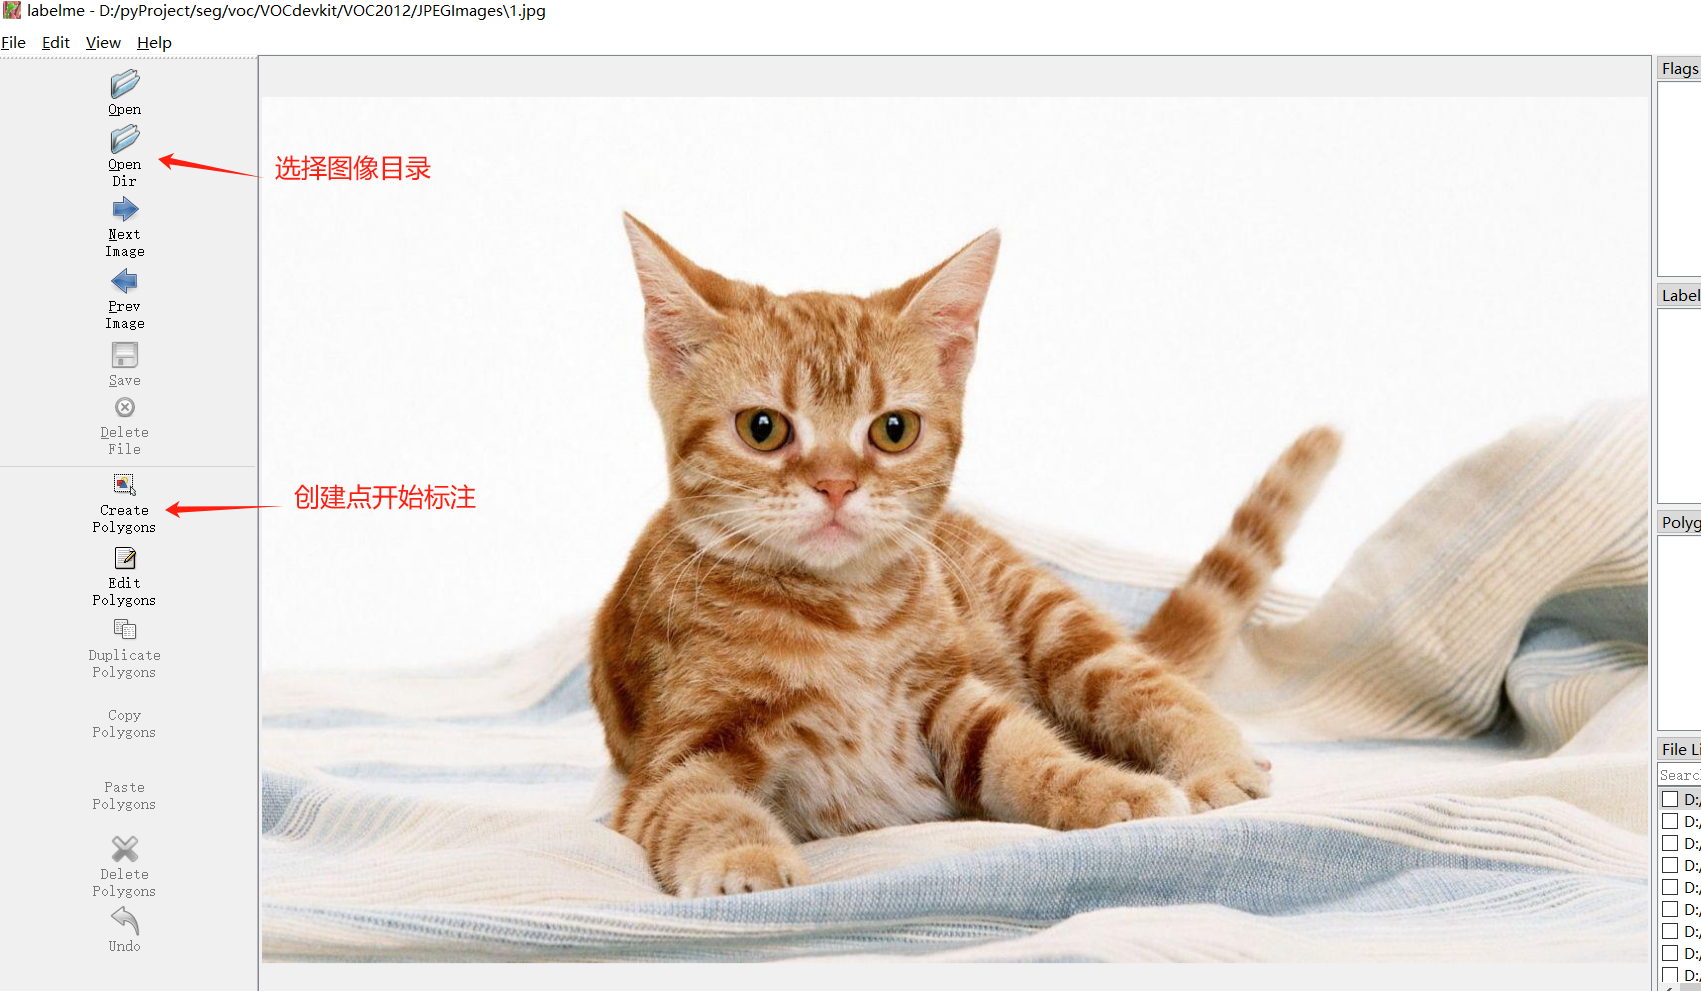
通过构建一个区域后,需要给该区域一个标签,这里给 cat :
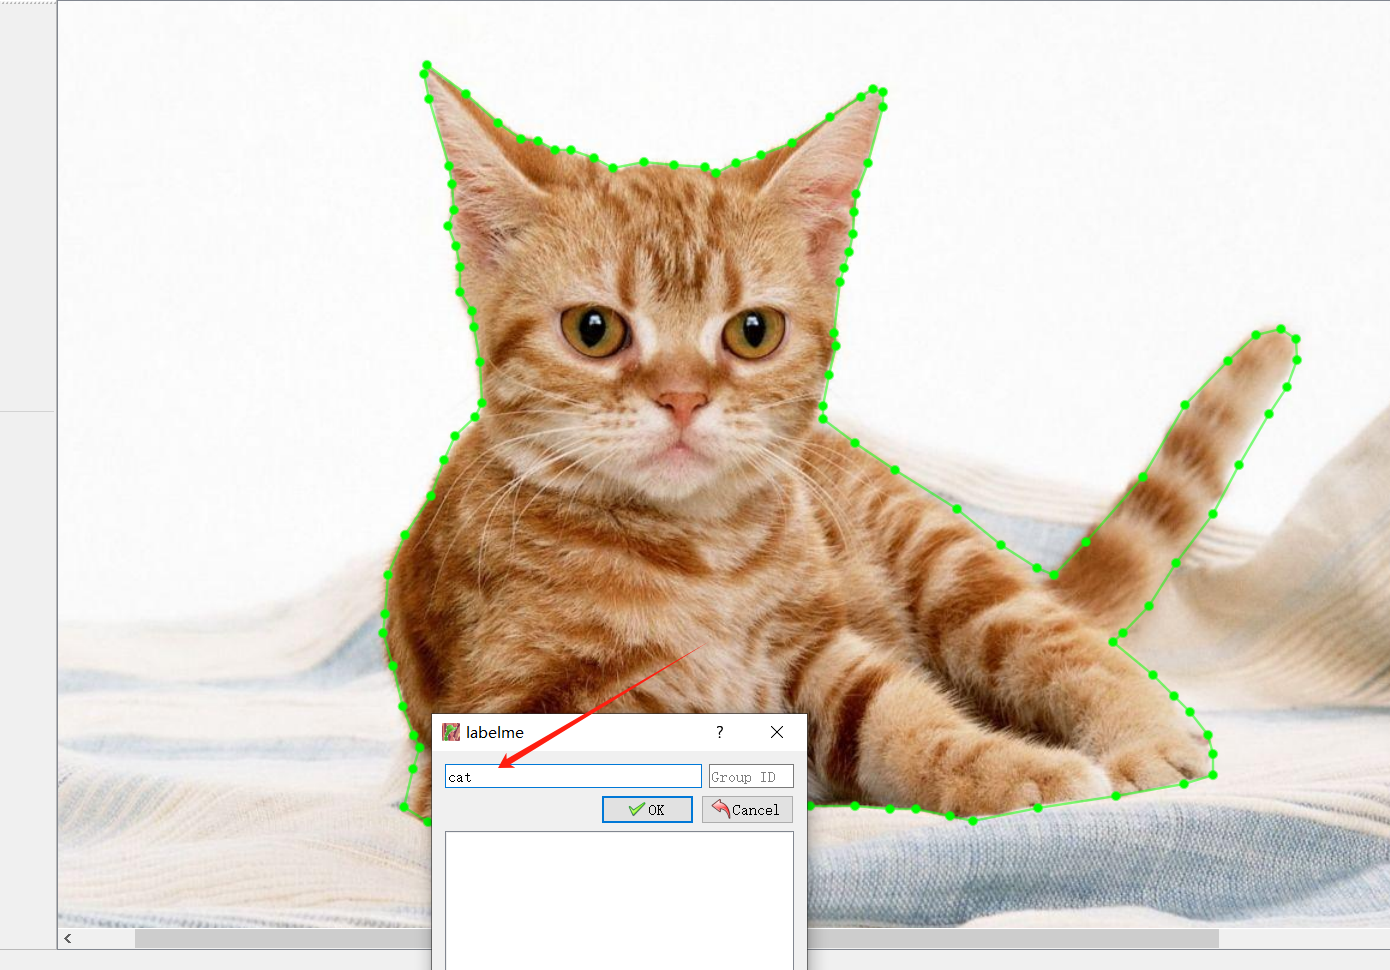
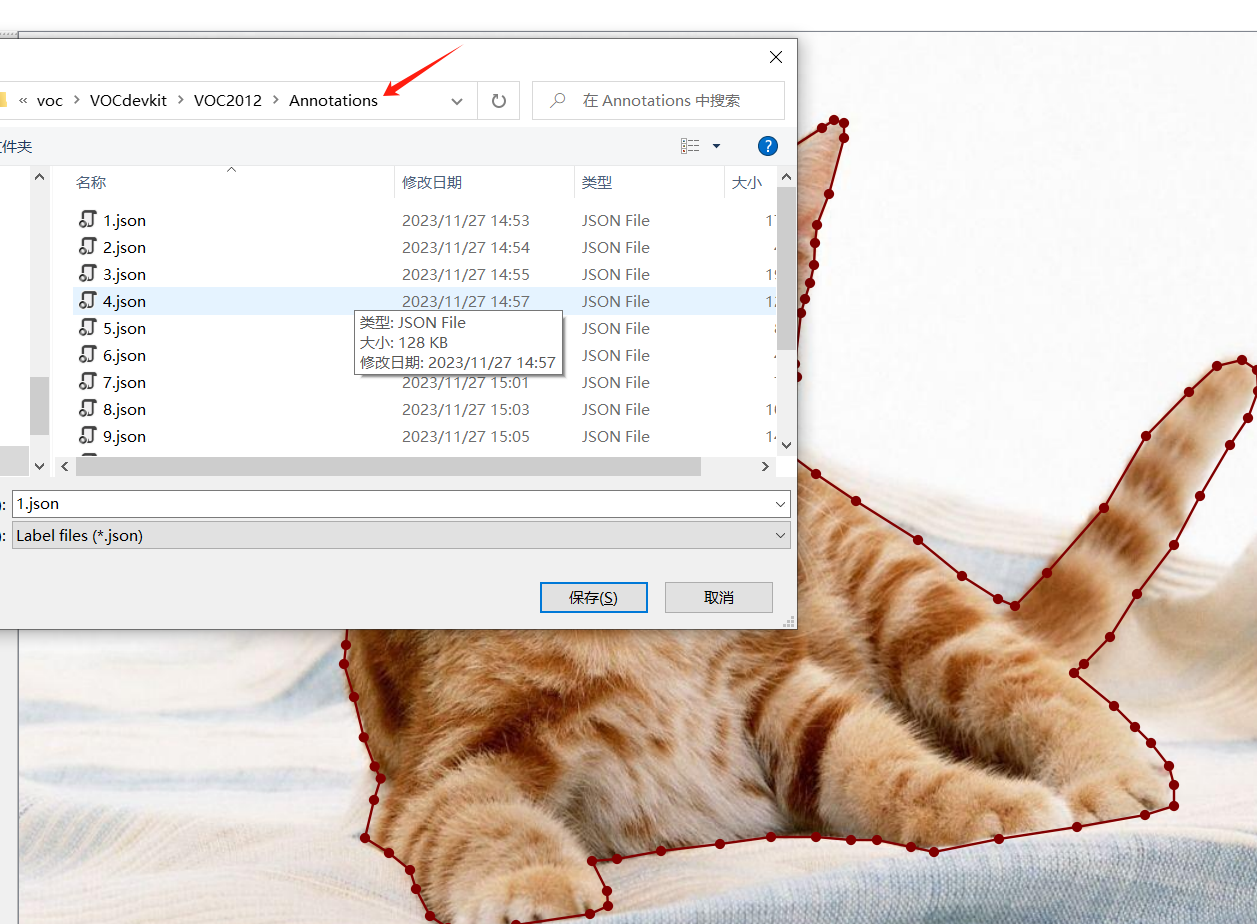
将 xml 文件保存在 Annotations 下:
四、生成 mask 标签图像及数据划分
标注完成后,需要将标注数据转为 mask 标签图像:
trans_mask.py
import json
import os
import os.path as osp
import copy
import numpy as np
import PIL.Image

from labelme import utils

NAME_LABEL_MAP = {
    '_background_': 0,
    "cat": 1,
}


def main():

    annotations = './voc/VOCdevkit/VOC2012/Annotations'
    segmentationClass = './voc/VOCdevkit/VOC2012/SegmentationClass'

    list = os.listdir(annotations)
    for i in range(0, len(list)):
        path = os.path.join(annotations, list[i])
        filename = list[i][:-5]
        if os.path.isfile(path):
            data = json.load(open(path,encoding="utf-8"))
            img = utils.image.img_b64_to_arr(data['imageData'])
            lbl, lbl_names = utils.shape.labelme_shapes_to_label(img.shape, data['shapes'])  # labelme_shapes_to_label
            # modify labels according to NAME_LABEL_MAP
            lbl_tmp = copy.copy(lbl)
            for key_name in lbl_names:
                old_lbl_val = lbl_names[key_name]
                new_lbl_val = NAME_LABEL_MAP[key_name]
                lbl_tmp[lbl == old_lbl_val] = new_lbl_val
            lbl_names_tmp = {}
            for key_name in lbl_names:
                lbl_names_tmp[key_name] = NAME_LABEL_MAP[key_name]
            # Assign the new label to lbl and lbl_names dict
            lbl = np.array(lbl_tmp, dtype=np.int8)
            label_path = osp.join(segmentationClass, '{}.png'.format(filename))
            PIL.Image.fromarray(lbl.astype(np.uint8)).save(label_path)
            print('Saved to: %s' % label_path)


if __name__ == '__main__':
    main()
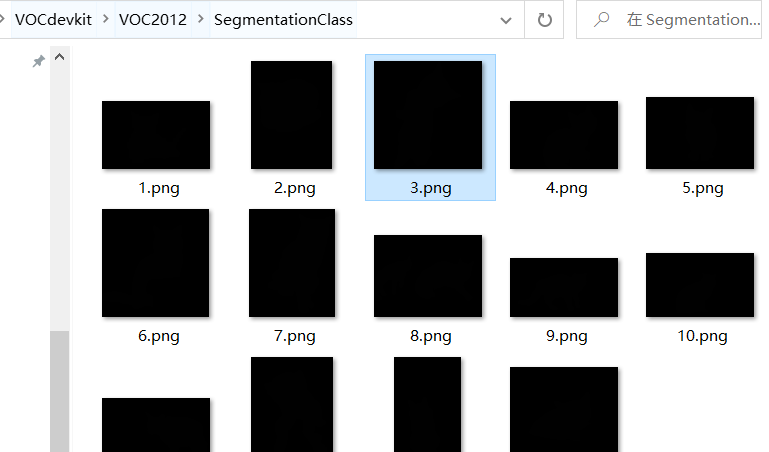
注意修改路径为你的地址,运行后可以在 SegmentationClass 目录下看到 mask 标签图像:
下面进行数据的划分,这里划分为90%训练集和10%验证集:
split_data.py
import os

if __name__ == '__main__':
    JPEGImages = "./voc/VOCdevkit/VOC2012/JPEGImages"
    Segmentation = "./voc/VOCdevkit/VOC2012/ImageSets/Segmentation"
    # 训练集比例 90%
    training_ratio = 0.9

    list = os.listdir(JPEGImages)
    all = len(list)
    print(all)
    train_count = int(all * training_ratio)
    train = list[0:train_count]
    val = list[train_count:]
    with open(os.path.join(Segmentation, "train.txt"), "w", encoding="utf-8") as f:
        for name in train:
            name = name.split(".")[0]
            f.write(name + "\n")
            f.flush()
    with open(os.path.join(Segmentation, "val.txt"), "w", encoding="utf-8") as f:
        for name in val:
            name = name.split(".")[0]
            f.write(name + "\n")
            f.flush()
运行后可以在 Segmentation 目录下看到两个文件:
到这里就已经准备好了 VOC 格式的数据集。
五、模型训练
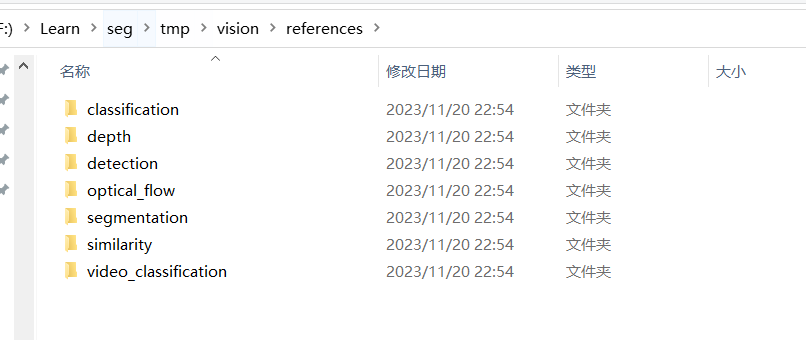
deeplabv3_resnet50 的复现这里就不重复造轮子了,pytorch 官方的 vision 包已经做好了实现,拉取该工具包:
git clone https://github.com/pytorch/vision.git
可以在 references 下看到不同任务的实现:
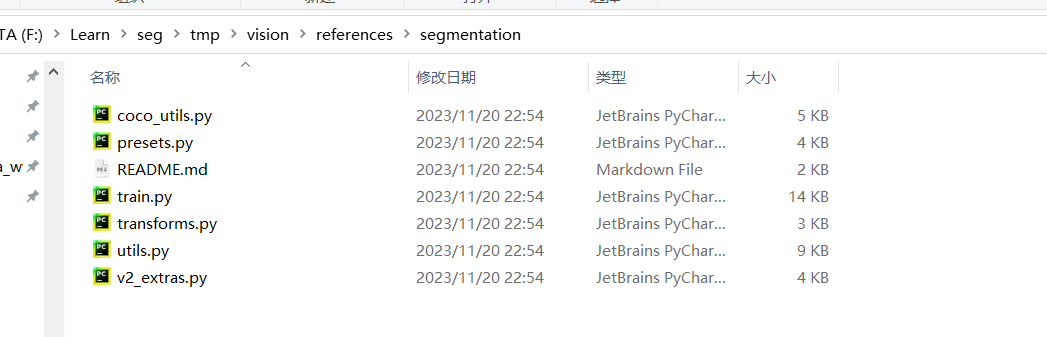
这里我们主要关注 segmentation 中:
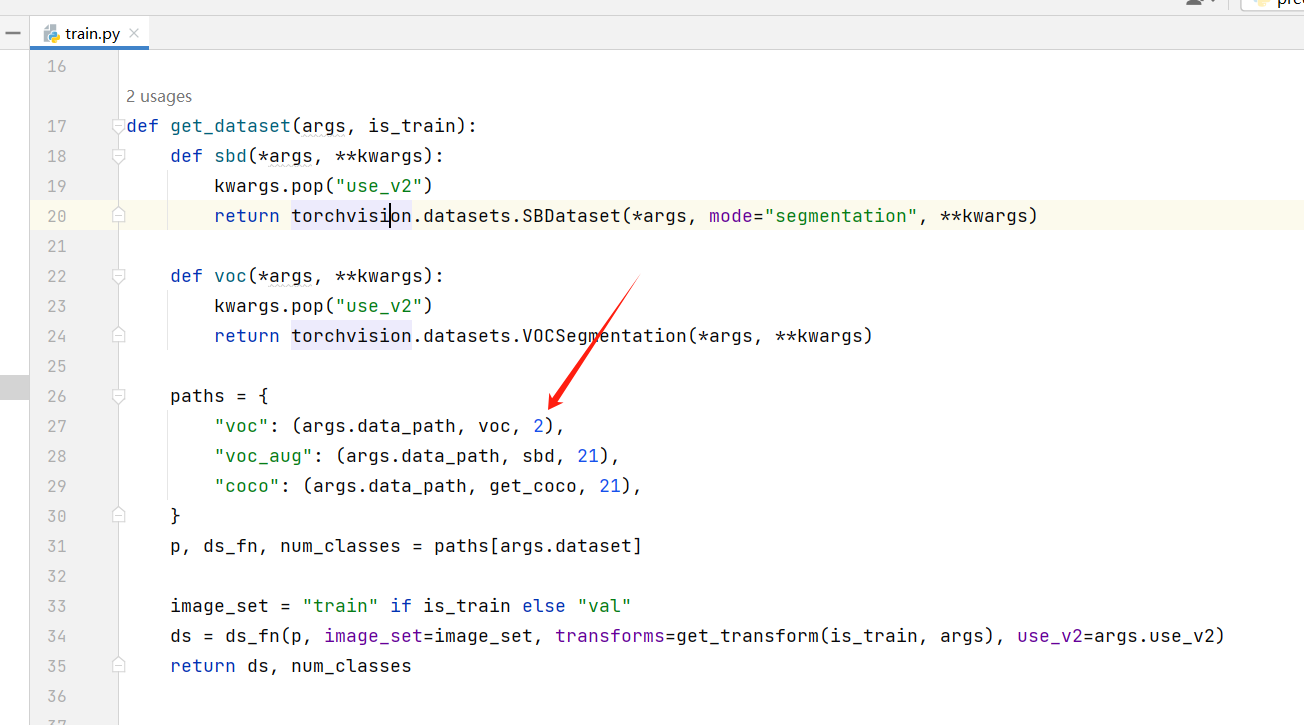
需要修改下 train.py 中的 voc 的分类数,由于我们只是分割出猫,加上背景就是 2 类:
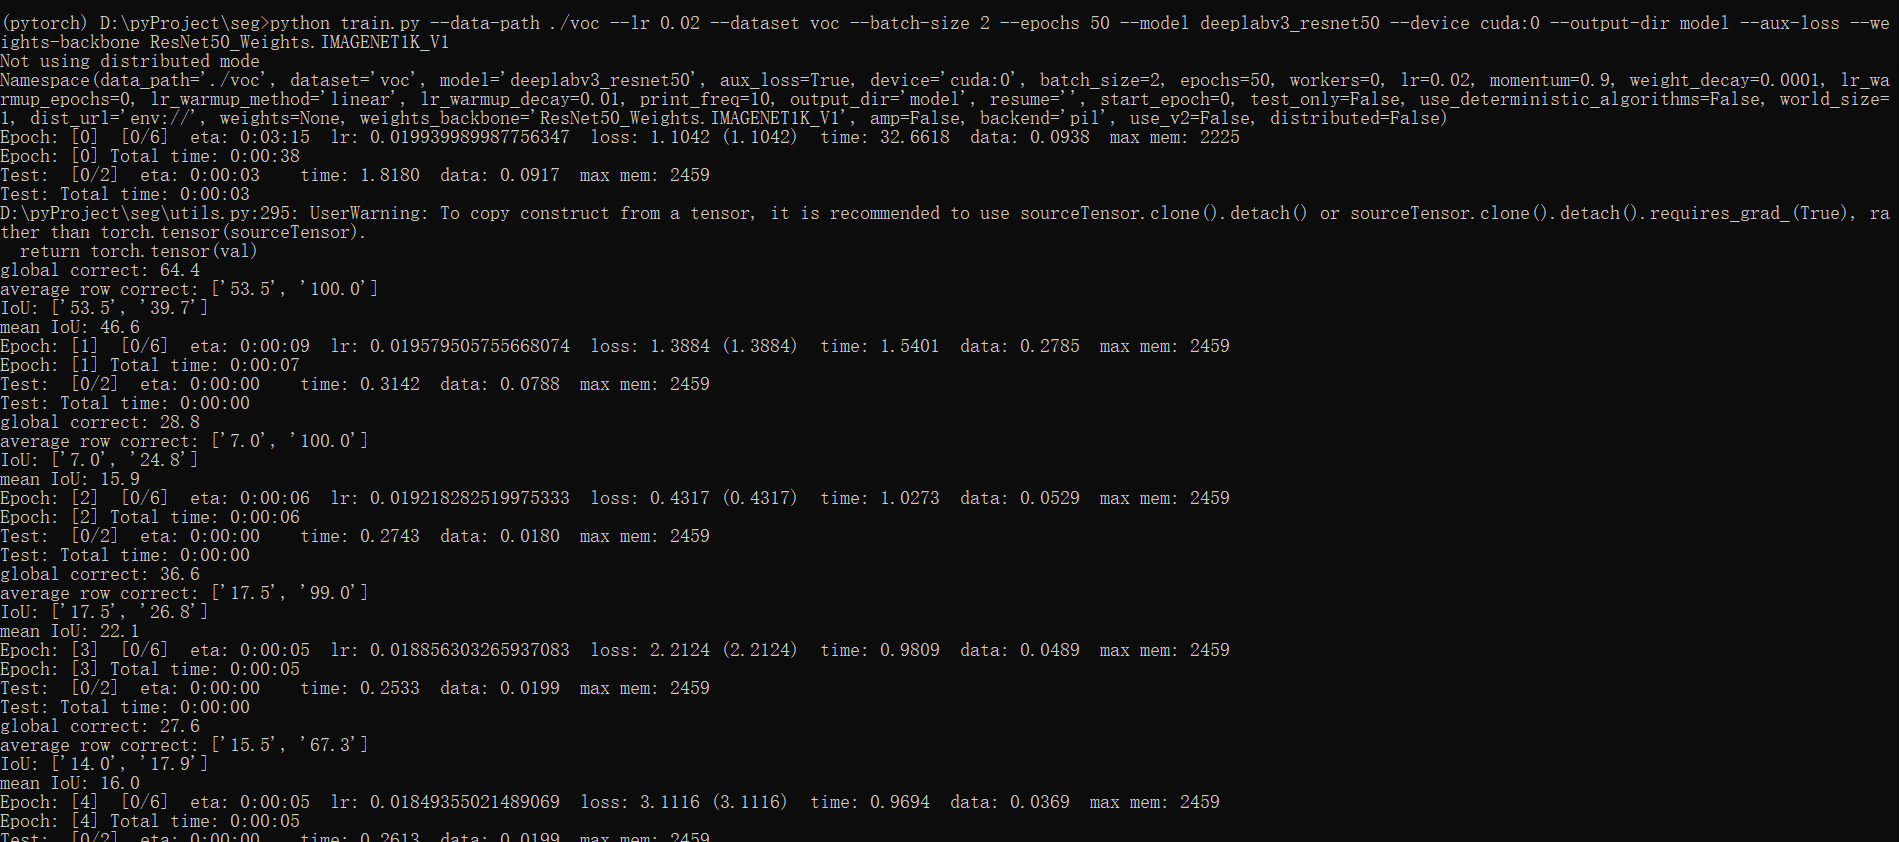
控制台进入到该目录下,运行 train.py 文件开始训练:
python train.py --data-path ./voc --lr 0.02 --dataset voc --batch-size 2 --epochs 50 --model deeplabv3_resnet50 --device cuda:0 --output-dir model --aux-loss --weights-backbone ResNet50_Weights.IMAGENET1K_V1
如果缺失部分依赖直接 pip 安装即可。
其中参数的解释如下:
- data-path:上面我们构建的
VOC数据集的地址。 - lr:初始学习率。
- dataset:数据集的格式,这里我们是
voc格式。 - batch-size:一个批次的大小,这里我
GPU显存有限设的2,如果显存大可以调大一些。 - epochs:训练多少个周期。
- model:训练使用的模型,可选:
fcn_resnet50、fcn_resnet101、deeplabv3_resnet50、deeplabv3_resnet101、deeplabv3_mobilenet_v3_large、lraspp_mobilenet_v3_large - device:训练使用的设备。
- output-dir:训练模型输出目录。
- aux-loss:启用
aux-loss - weights-backbone:
backbone模型。
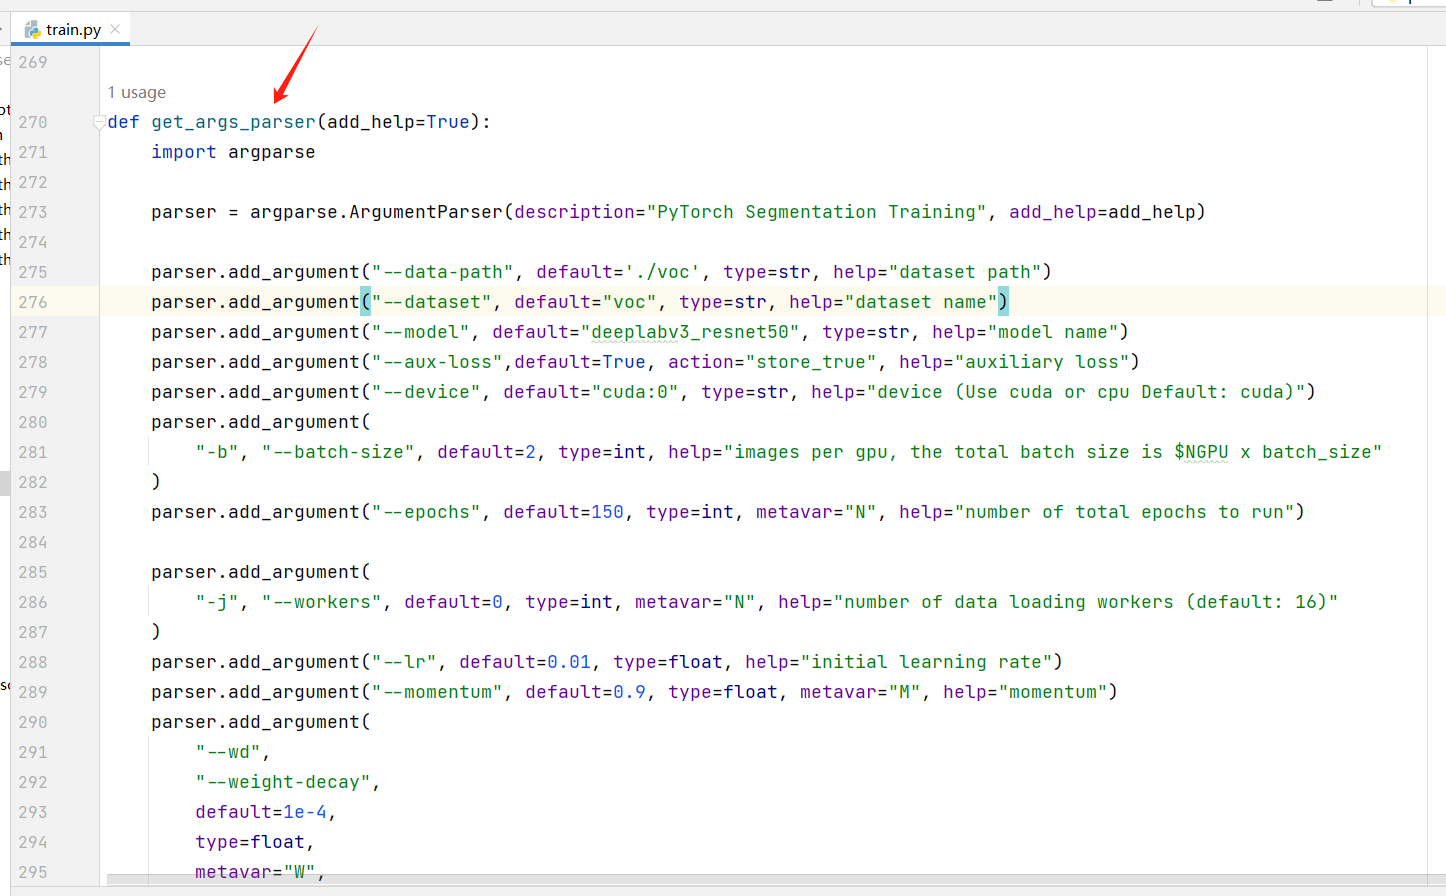
更多参数可以打开 train.py 文件查看:
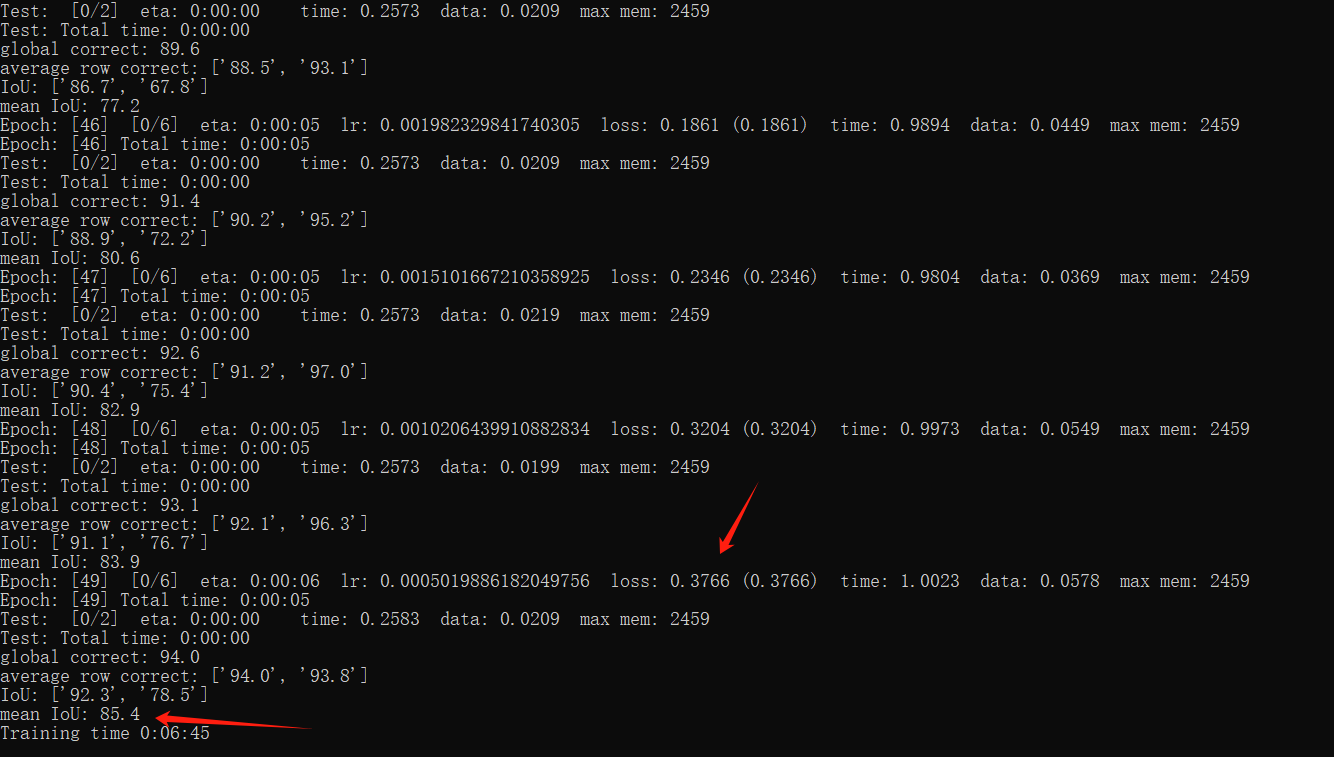
训练过程:
这里我训练完后 loss=0.3766, mean IoU= 85.4:
五、模型预测
import os
import torch
import torch.utils.data
import torchvision
import numpy as np
import matplotlib.pyplot as plt
from PIL import Image
from torchvision import transforms


# 转换输出,将每个标签换成对应的颜色
def decode_segmap(image, num_classes, label_colors):
    r = np.zeros_like(image).astype(np.uint8)
    g = np.zeros_like(image).astype(np.uint8)
    b = np.zeros_like(image).astype(np.uint8)

    for l in range(0, num_classes):
        idx = image == l
        r[idx] = label_colors[l, 0]
        g[idx] = label_colors[l, 1]
        b[idx] = label_colors[l, 2]

    rgb = np.stack([r, g, b], axis=2)
    return rgb


def main():
    # 基础模型
    base_model = "deeplabv3_resnet50"
    # 训练后的权重
    model_weights = "./model/model_49.pth"
    # 使用设备
    device = "cuda:0"
    # 预测图像目录地址
    prediction_path = "./voc/VOCdevkit/VOC2012/JPEGImages"
    # 分类数
    num_classes = 2
    # 标签对应的颜色,0: 背景,1:cat
    label_colors = np.array([(0, 0, 0), (255, 255, 255)])

    device = torch.device(device)
    print("using {} device.".format(device))
    # 加载模型
    model = torchvision.models.get_model(
        base_model,
        num_classes=2,
    )
    assert os.path.exists(model_weights), "{} file dose not exist.".format(model_weights)
    model.load_state_dict(torch.load(model_weights, map_location=device)["model"], strict=False)
    print(model)
    model.to(device)
    model.eval()
    files = os.listdir(prediction_path)
    for file in files:
        filename = os.path.join(prediction_path, file)
        input_image = Image.open(filename).convert('RGB')
        preprocess = transforms.Compose([
            transforms.ToTensor(),
            transforms.Normalize(mean=[0.485, 0.456, 0.406], std=[0.229, 0.224, 0.225]),
        ])

        input_tensor = preprocess(input_image)
        input_batch = input_tensor.unsqueeze(0).to(device)

        with torch.no_grad():
            output = model(input_batch)['out'][0]
        output_predictions = output.argmax(0)

        out = output_predictions.detach().cpu().numpy()
        rgb = decode_segmap(out, num_classes, label_colors)

        plt.figure()
        plt.subplot(1, 2, 1)
        plt.imshow(input_image)

        plt.subplot(1, 2, 2)
        plt.imshow(rgb)
        plt.show()


if __name__ == '__main__':
    main()
输出结果:

![华夏ERP信息泄露漏漏洞复现 [附POC]](https://img-blog.csdnimg.cn/13f13fc5025b4f82abdb22a5e3a934c5.png)