文章目录
- 一、实验配置说明
- 二、实验准备工作
- 1.确认系统版本
- 2. 修改网络DNS
- 3. 关闭SELINUX
- 4. 关闭防火墙
- 三、实验依赖项安装
- 四、下载 KubeKey
- 五、一键化安装部署
- 六、验证安装结果
- 七、登录KubeSphere管理控制台
- 八、参考链接
一、实验配置说明
本实验基于AWS启动一台新实例(CentOS 7.9),在此台新实例中,以All-in-One 模式安装 KubeSphere。
新实例配置信息如下:
| 实例名称 | 实例类型 | 内存大小 | CPU核数 | 磁盘空间 | 安全组 |
|---|---|---|---|---|---|
| xybaws-kubesphere | c5.2xlarge | 16G | 8 | 100GB | 允许全部 |
二、实验准备工作
1.确认系统版本
[root@ip-172-31-19-62 ~]# cat /etc/os-release
NAME="CentOS Linux"
VERSION="7 (Core)"
ID="centos"
ID_LIKE="rhel fedora"
VERSION_ID="7"
PRETTY_NAME="CentOS Linux 7 (Core)"
ANSI_COLOR="0;31"
CPE_NAME="cpe:/o:centos:centos:7"
HOME_URL="https://www.centos.org/"
BUG_REPORT_URL="https://bugs.centos.org/"

CENTOS_MANTISBT_PROJECT="CentOS-7"
CENTOS_MANTISBT_PROJECT_VERSION="7"
REDHAT_SUPPORT_PRODUCT="centos"
REDHAT_SUPPORT_PRODUCT_VERSION="7"
2. 修改网络DNS
确保
/etc/resolv.conf中的 DNS 地址可用,否则,可能会导致集群中的 DNS 出现问题。
[root@ip-172-31-19-62 ~]# cat /etc/resolv.conf
; generated by /usr/sbin/dhclient-script
search us-west-2.compute.internal
nameserver 8.8.8.8
3. 关闭SELINUX
需要将SELINUX安全模式,设置为
Permissive或disabled(需要重启系统)。
# 临时关闭
[root@ip-172-31-19-62 ~]# setenforce 0
[root@ip-172-31-19-62 ~]# getenforce
Permissive

# 永久关闭
[root@ip-172-31-19-62 ~]# vim /etc/selinux/config
SELINUX=disabled
按:wq保存退出,重启系统生效。
4. 关闭防火墙
网络配置使用防火墙规则或安全组,请务必确保基础设施组件可以通过特定端口相互通信。
systemctl stop firewalld.service
三、实验依赖项安装
| 依赖项 | Kubernetes 版本 ≥ 1.18 | Kubernetes 版本 < 1.18 |
|---|---|---|
socat | 必须 | 可选但建议 |
conntrack | 必须 | 可选但建议 |
ebtables | 可选但建议 | 可选但建议 |
ipset | 可选但建议 | 可选但建议 |
# yum install -y socat
# yum install -y conntrack
四、下载 KubeKey
从 GitHub Release Page 下载 KubeKey 或直接使用以下命令(ubuntu使用bash替换sh)。
curl -sfL https://get-kk.kubesphere.io | VERSION=v3.0.13 sh -

[root@xybaws-kubesphere ~]# ll
total 112084
-rwxr-xr-x. 1 root root 78973328 Oct 30 11:17 kk
-rw-r--r--. 1 root root 35796469 Nov 13 06:35 kubekey-v3.0.13-linux-amd64.tar.gz
为
kk添加可执行权限:
chmod +x kk
五、一键化安装部署
./kk create cluster --with-kubernetes v1.23.10 --with-kubesphere v3.4.0
[root@KubeSphere ~]# export KKZONE=cn
[root@KubeSphere ~]# ./kk create cluster --with-kubernetes v1.23.10 --with-kubesphere v3.4.0


 _   __      _          _   __
| | / /     | |        | | / /
| |/ / _   _| |__   ___| |/ /  ___ _   _
|    \| | | | '_ \ / _ \    \ / _ \ | | |
| |\  \ |_| | |_) |  __/ |\  \  __/ |_| |
\_| \_/\__,_|_.__/ \___\_| \_/\___|\__, |
                                    __/ |
                                   |___/

14:27:18 CST [GreetingsModule] Greetings
14:27:18 CST message: [KubeSphere]
Greetings, KubeKey!
14:27:18 CST success: [KubeSphere]
14:27:18 CST [NodePreCheckModule] A pre-check on nodes
14:27:19 CST success: [KubeSphere]
14:27:19 CST [ConfirmModule] Display confirmation form
+------------+------+------+---------+----------+-------+-------+---------+-----------+--------+--------+------------+------------+-------------+------------------+--------------+
| name       | sudo | curl | openssl | ebtables | socat | ipset | ipvsadm | conntrack | chrony | docker | containerd | nfs client | ceph client | glusterfs client | time         |
+------------+------+------+---------+----------+-------+-------+---------+-----------+--------+--------+------------+------------+-------------+------------------+--------------+
| KubeSphere | y    | y    | y       | y        | y     | y     |         | y         | y      |        | y          |            |             |                  | CST 14:27:19 |
+------------+------+------+---------+----------+-------+-------+---------+-----------+--------+--------+------------+------------+-------------+------------------+--------------+

This is a simple check of your environment.
Before installation, ensure that your machines meet all requirements specified at
https://github.com/kubesphere/kubekey#requirements-and-recommendations

Continue this installation? [yes/no]: yes
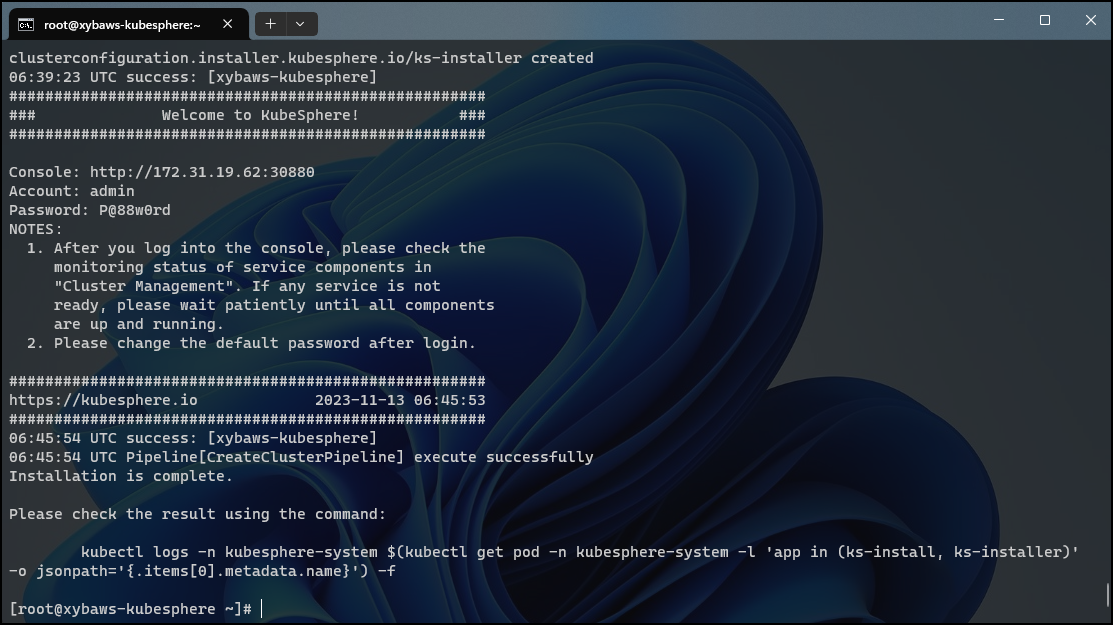
六、验证安装结果
输入以下命令以检查安装结果。
kubectl logs -n kubesphere-system $(kubectl get pod -n kubesphere-system -l 'app in (ks-install, ks-installer)' -o jsonpath='{.items[0].metadata.name}') -f
输出信息会显示 Web 控制台的 IP 地址和端口号,默认的 NodePort 是
30880。现在,您可以使用默认的帐户和密码 (admin/P@88w0rd) 通过<NodeIP>:30880访问控制台。
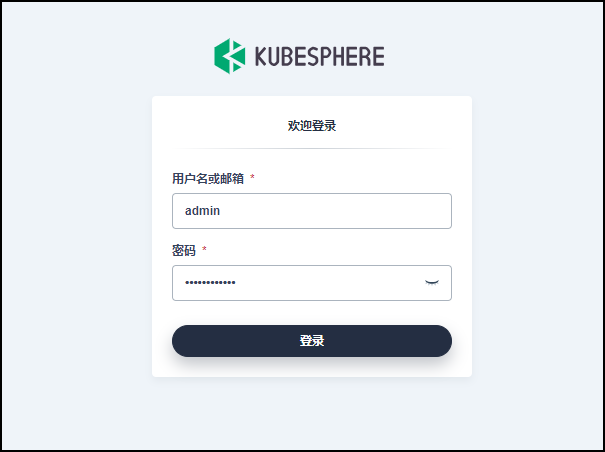
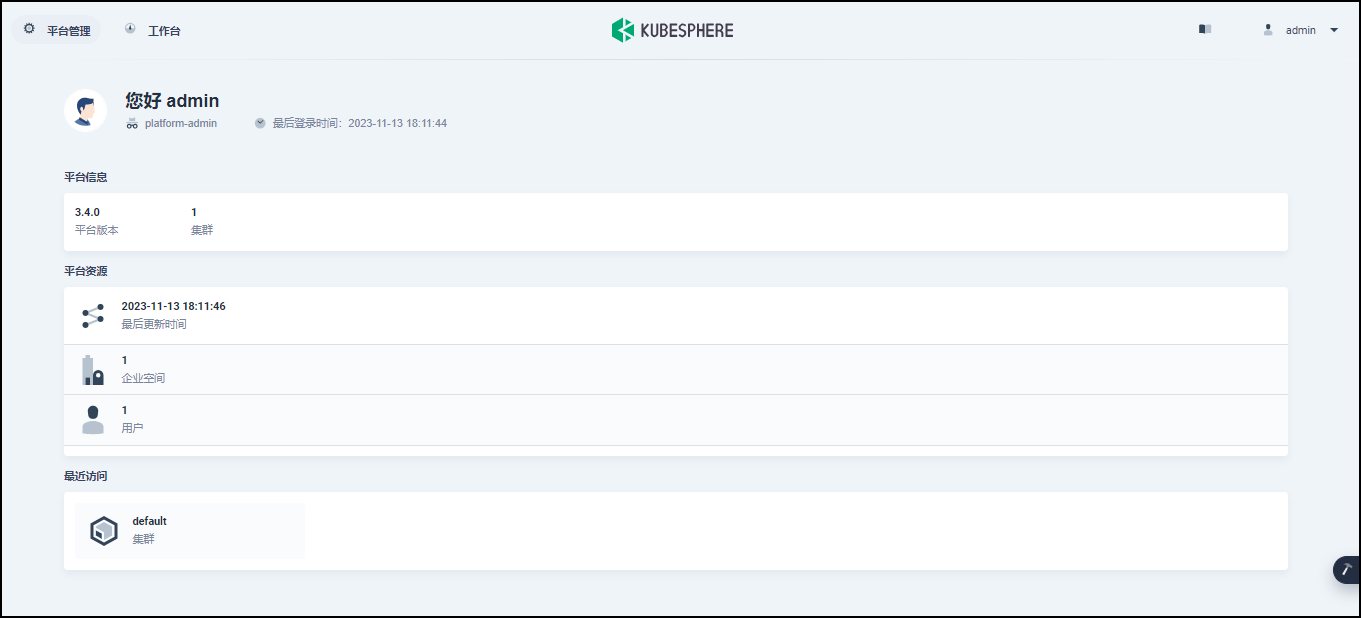
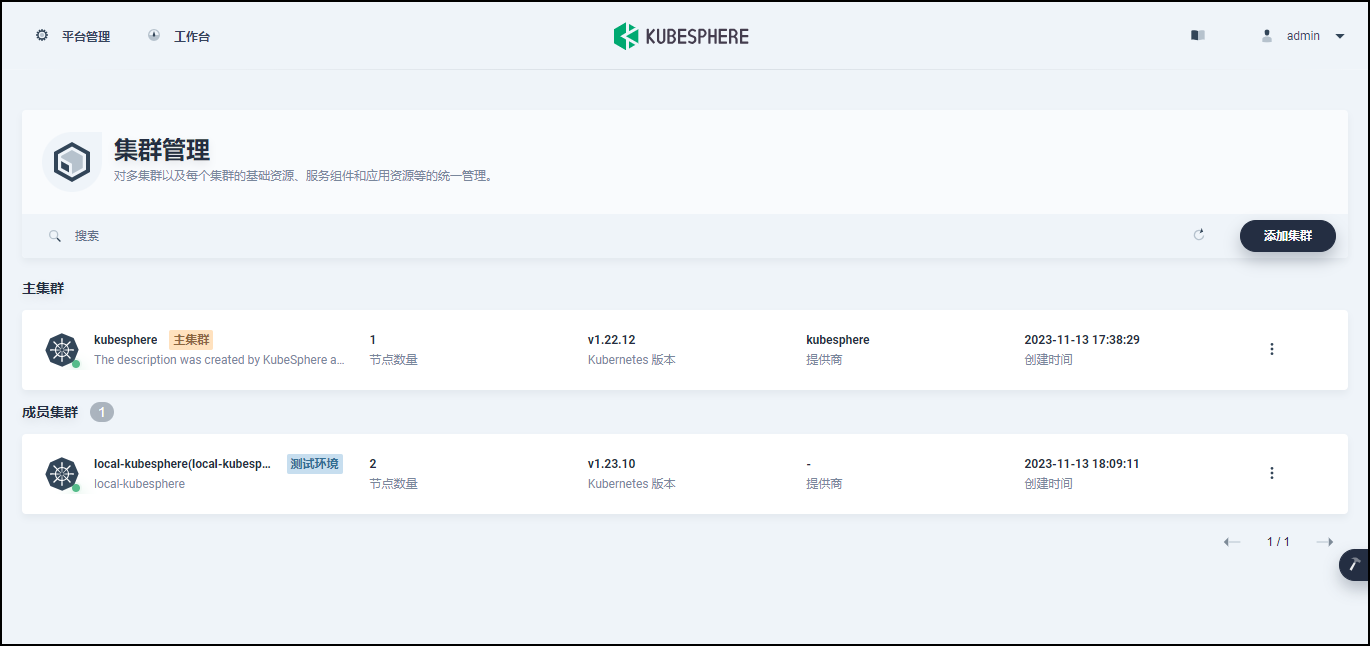
七、登录KubeSphere管理控制台
http://192.168.20.13:30880/login
八、参考链接
🕹️ 在 Linux 上以 All-in-One 模式安装 KubeSphere


![[leetCode]257. 二叉树的所有路径(两种方法)](https://img-blog.csdnimg.cn/81c2433379454c7fb569ac4dc40b9872.png)