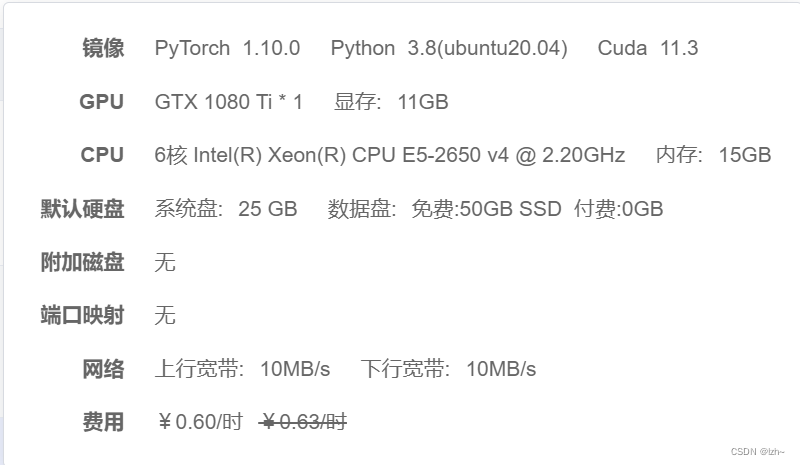
1、环境
| 包 | 版本 |
|---|---|
| mmcv-full | 1.4.2 |
| mmdet | 2.19.1 |
| torch | 1.10.0+cu113 |
| torchvision | 0.11.1+cu113 |
2、文档
mmet官方文档
mmcv官方文档
源码下载
3、数据集
自定义数据集
4、修改代码
4.1、生成文件
打开mmdetection-master/tools下面执行train.py文件
其中配置文件--config在 mmdetection-master/configs/deformable_detr/deformable_detr_r50_16x2_50e_coco.py
python train.py {path}/mmdetection-master/configs/deformable_detr/deformable_detr_r50_16x2_50e_coco.py
会报错,不用管(在work_dirs/deformable_detr_r50_16x2_50e_coco生成需要的配置文件)
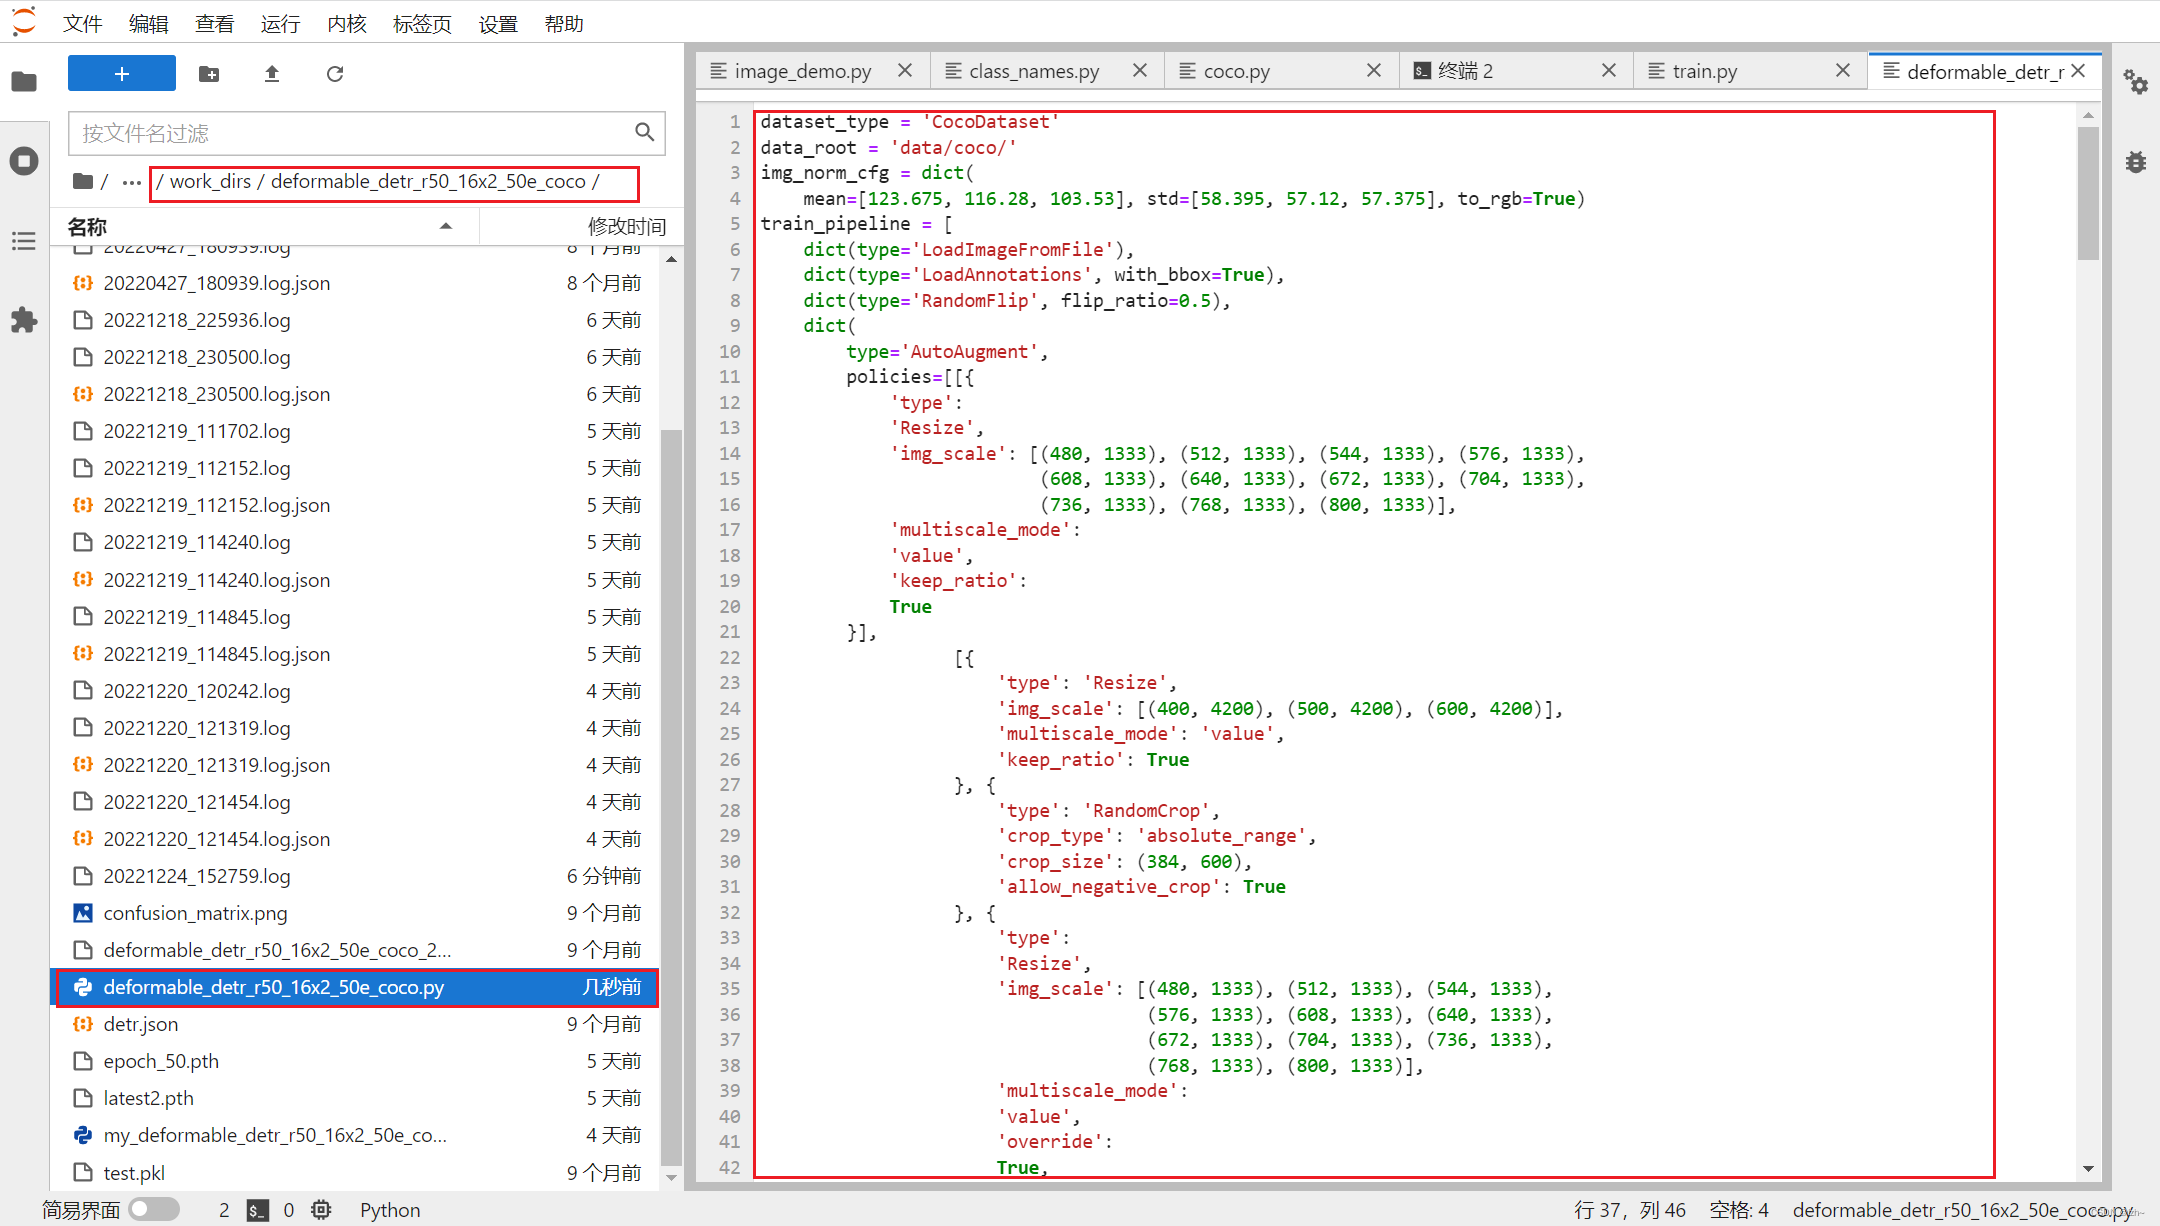
4.2、修改配置文件
my_deformable_detr_r50_16x2_50e_coco.py文件修改
- 将该文件复制到
mmdetection-master/configs/deformable_detr/并改名为my_deformable_detr_r50_16x2_50e_coco.py - 找到对应行数,修改为自己的路径
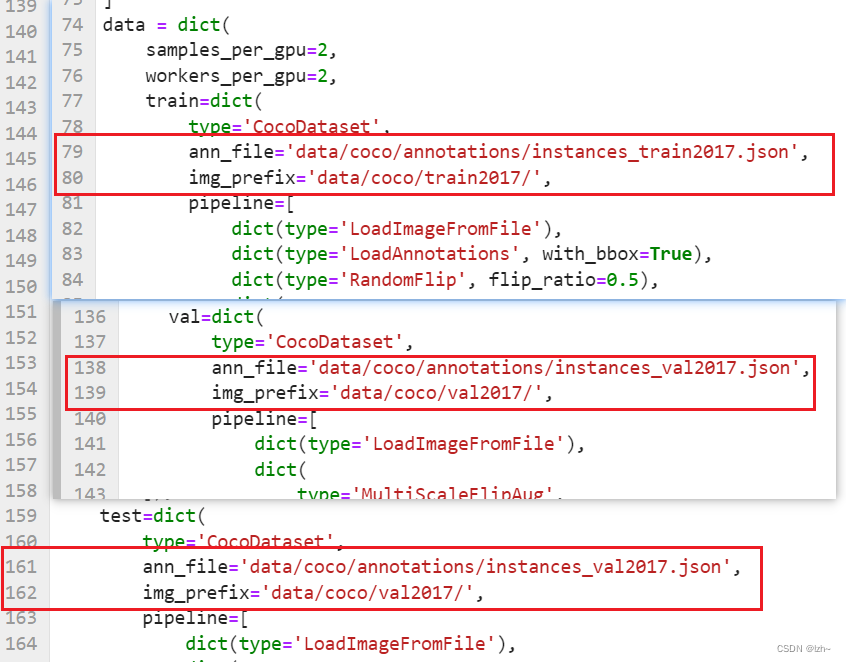
- 修改类别数目

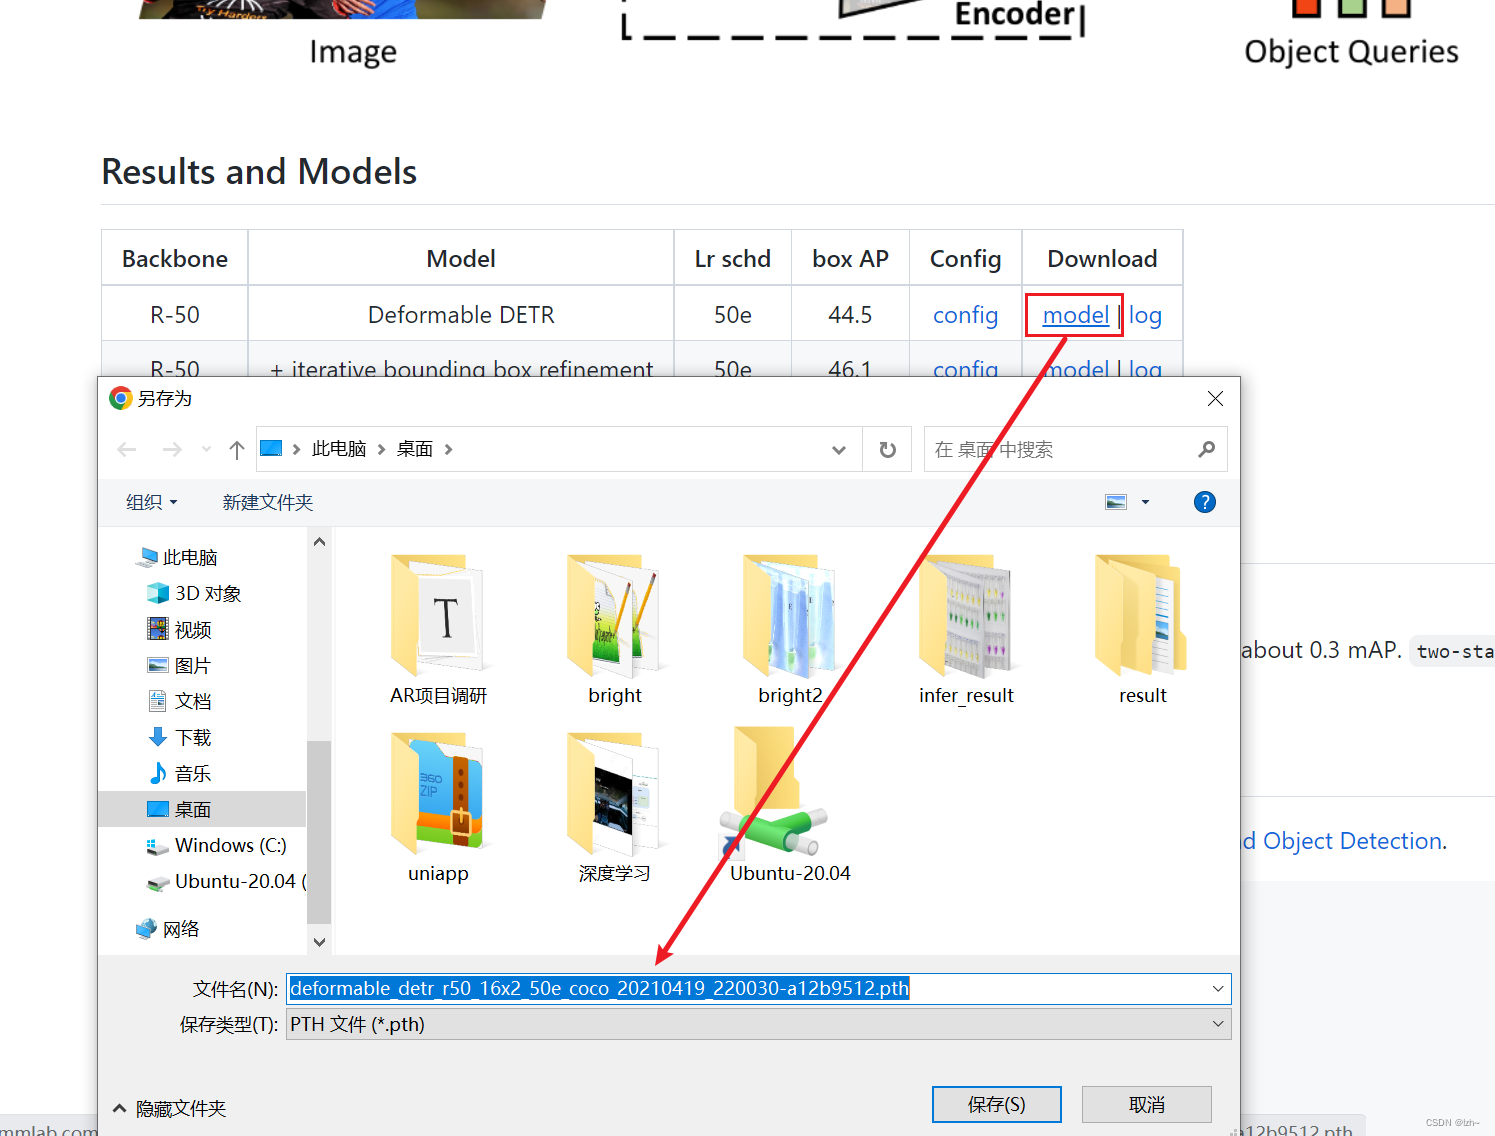
- 加载预训练权重(可自己评估,我训练数据较少,加上官方预训练权重)
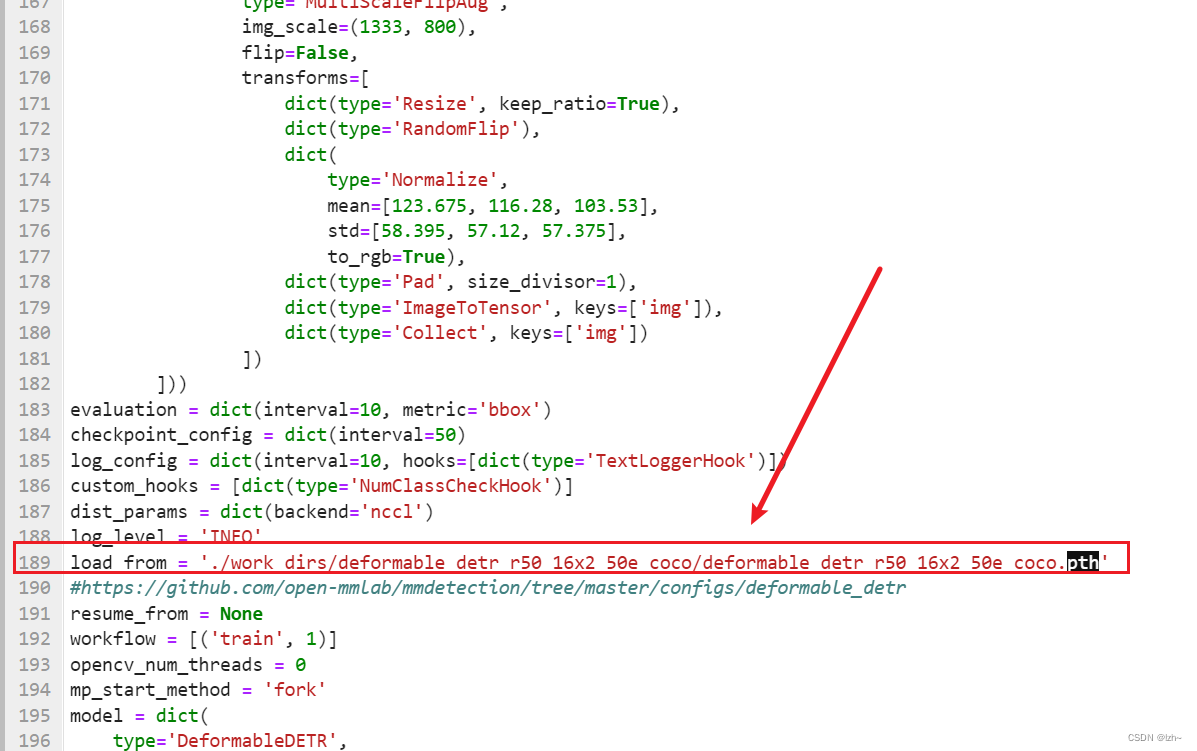
- 上一步下载路径
修改mmdet源码
-
修改
{path}/mmdet/core/evaluation/class_names.py下面的coco_classes()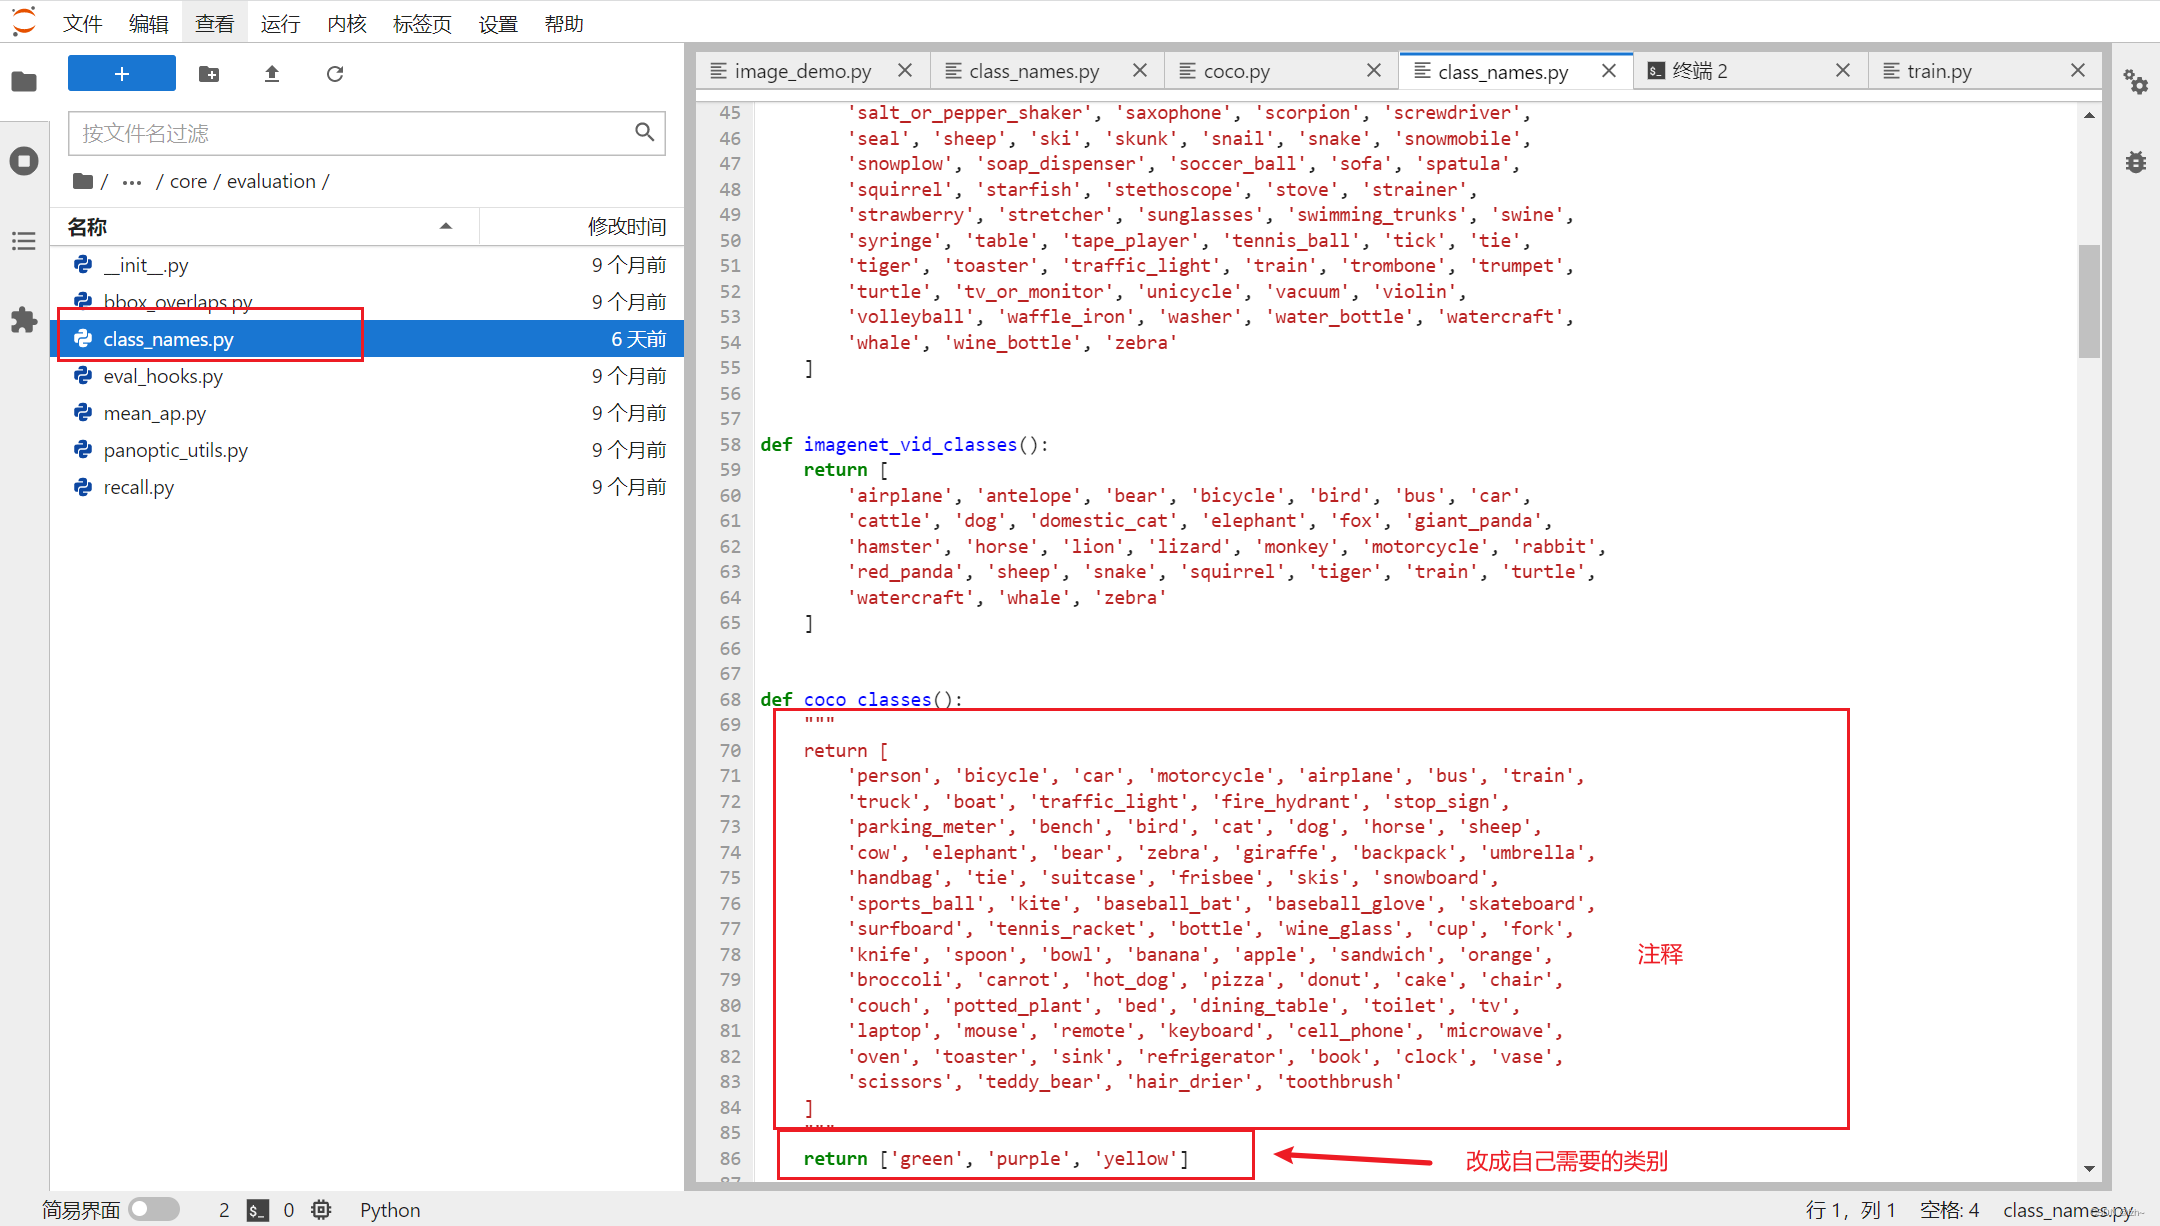
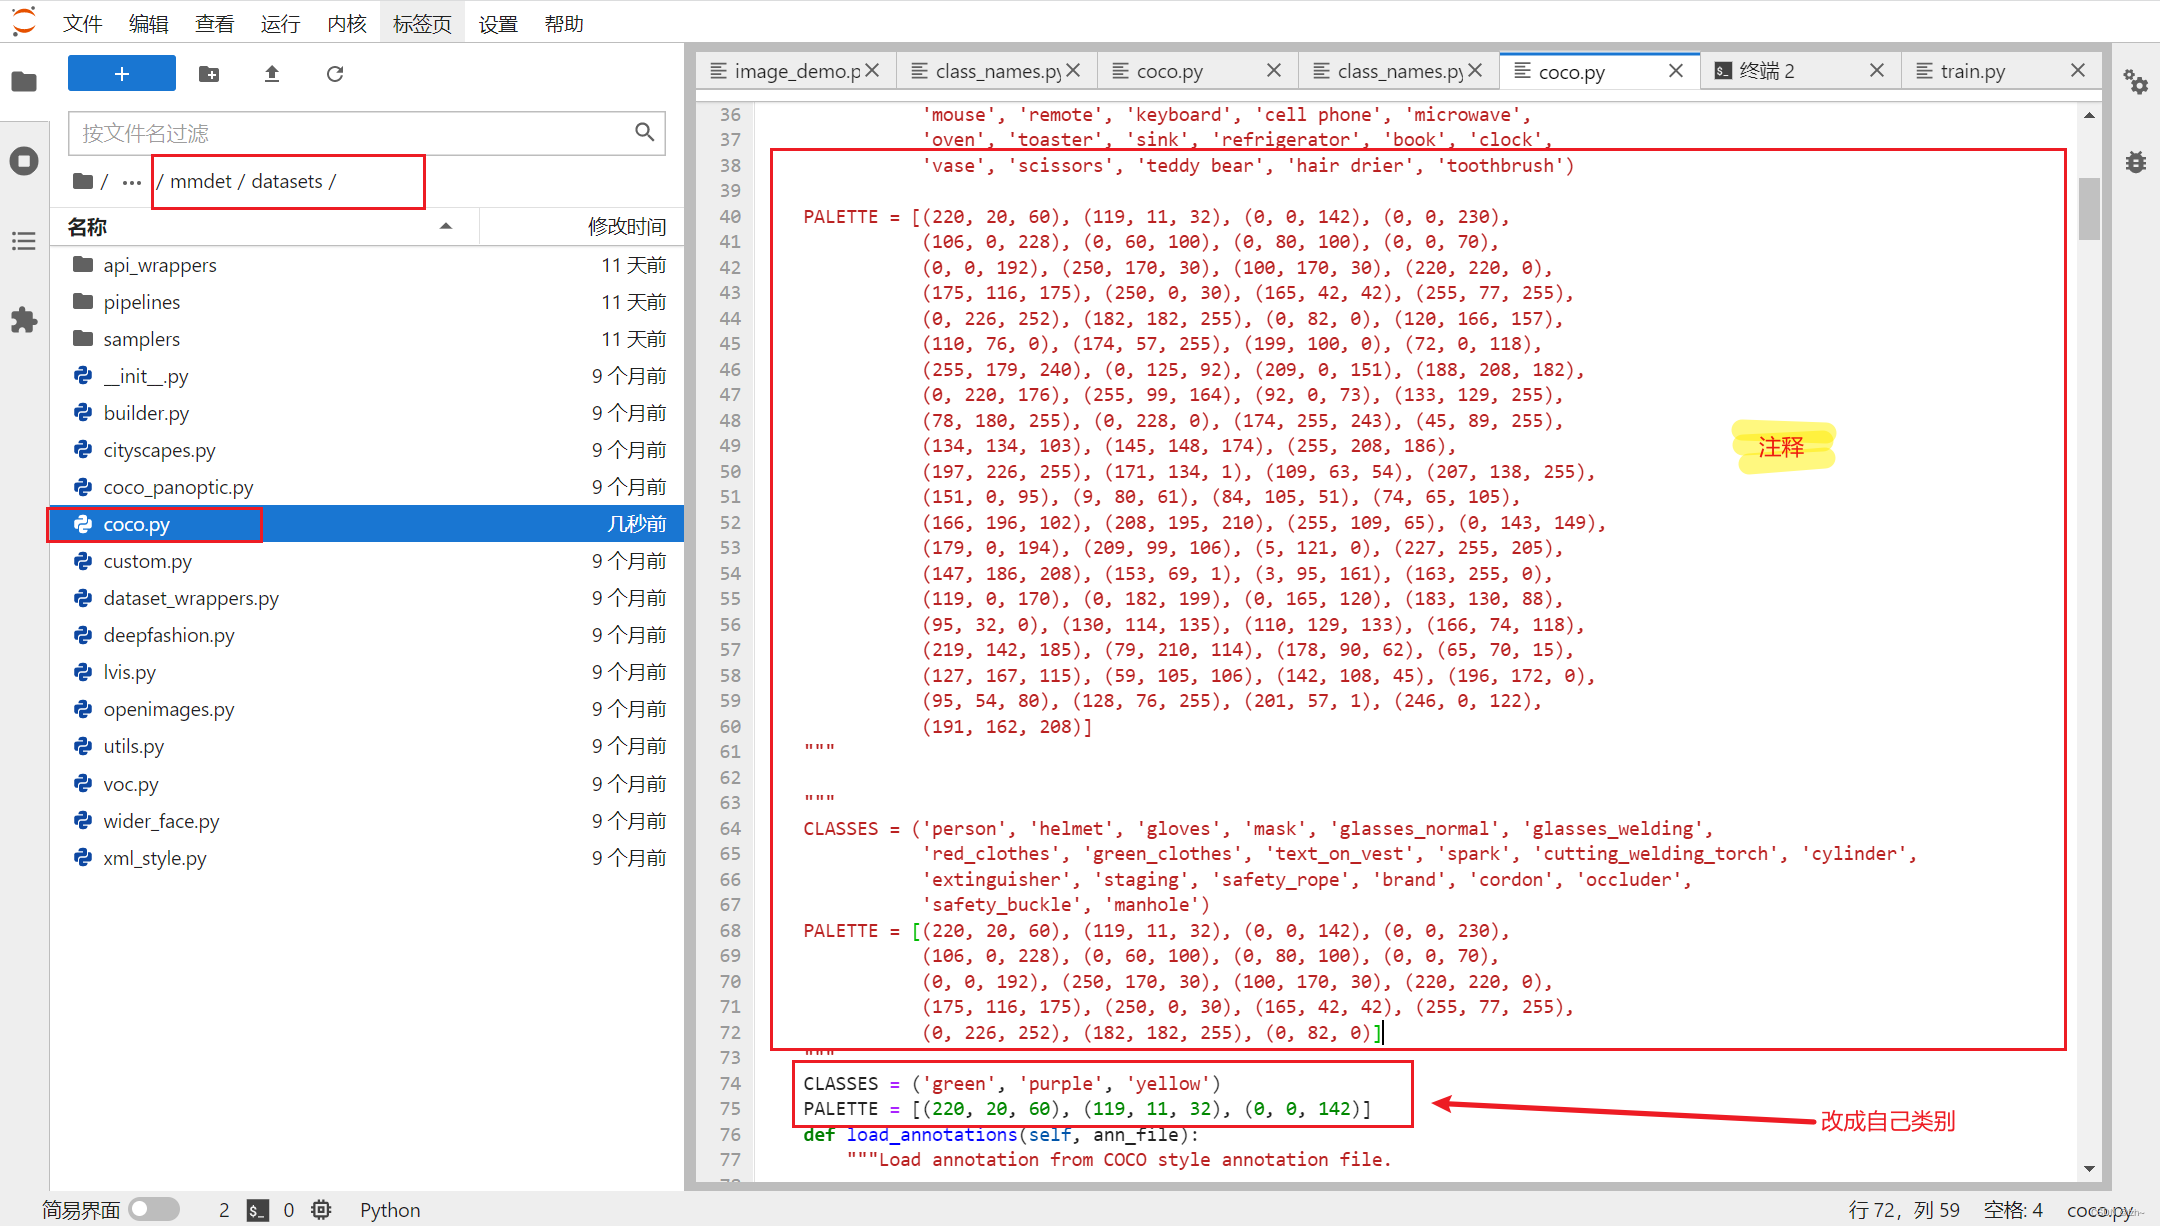
-
修改
{path}/mmdet/datasets/coco.py下面的CLASSES和PALETTE有的源码里面没有PALETTE可不添加
5、训练模型
再次进入mmdetection-master/tools下面,执行下面代码
其中的my_deformable_detr_r50_16x2_50e_coco.py是上面刚刚修改的文件名称
python train.py {path}/mmdetection-master/configs/deformable_detr/my_deformable_detr_r50_16x2_50e_coco.py
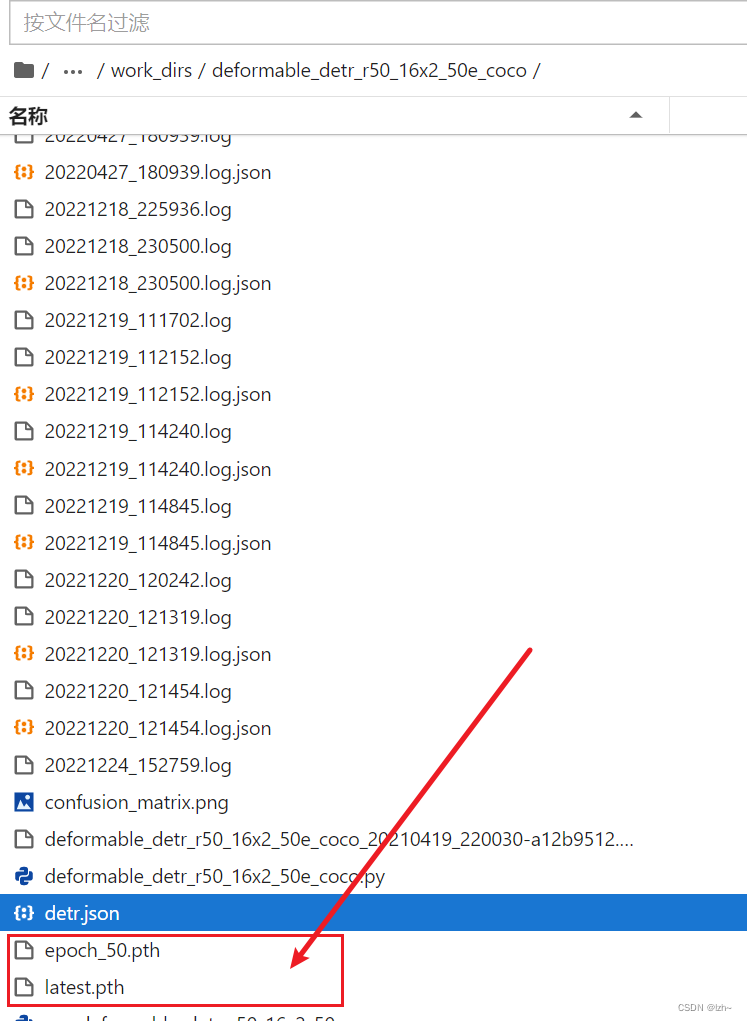
训练结束之后会生成相应的权重文件
6、测试模型数据
-
打开
{path}/mmdetection-master/demo/文件夹执行image_demo.pypython image_demo.py 1.jpg {path}/mmdetection-master/configs/deformable_detr/my_deformable_detr_r50_16x2_50e_coco.py {path}/mmdetection-master/tools/work_dirs/deformable_detr_r50_16x2_50e_coco/latest.pth -
由于我在ubuntu虚拟机上面进行的代码测试,无法使用
show_result_pyplot()函数,稍作修改存储到对应的目录中
( 其中的第一个参数 img 修改成一个目录,可以直接进行对一个目录里面的文件读取并且处理后保存)from argparse import ArgumentParser from mmdet.apis import (inference_detector, init_detector) import cv2 import os def parse_args(): parser = ArgumentParser() parser.add_argument('--img', default='img2', help='Image file') parser.add_argument('--config', default='../configs/deformable_detr/my_deformable_detr_r50_16x2_50e_coco.py',help='Config file') parser.add_argument('--checkpoint',default='../tools/work_dirs/deformable_detr_r50_16x2_50e_coco/latest.pth', help='Checkpoint file') parser.add_argument('--device', default='cpu', help='Device used for inference') parser.add_argument( '--palette', default='coco', choices=['coco', 'voc', 'citys', 'random'], help='Color palette used for visualization') parser.add_argument( '--score-thr', type=float, default=0.3, help='bbox score threshold') parser.add_argument( '--async-test', action='store_true', help='whether to set async options for async inference.') args = parser.parse_args() return args def getfiles(file): path_list = [] filenames = os.listdir(file) print(filenames) for filename in filenames: a = os.path.join(file, filename) # print(a) path_list.append(a) # print(path_list) return path_list,filenames def main(args): model = init_detector(args.config, args.checkpoint, device=args.device) # test a single image path_list,filenames = getfiles(args.img) for path,filename in zip(path_list,filenames): result = inference_detector(model, path) img = show_result_pyplot2(model, path, result, score_thr=0.8) cv2.imwrite(args.img+"/out/out_"+filename, img) def show_result_pyplot2(model, img, result, score_thr=0.3, fig_size=(15, 10)): if hasattr(model, 'module'): model = model.module img = model.show_result(img, result, score_thr=score_thr, show=False) return img if __name__ == '__main__': args = parse_args() main(args)
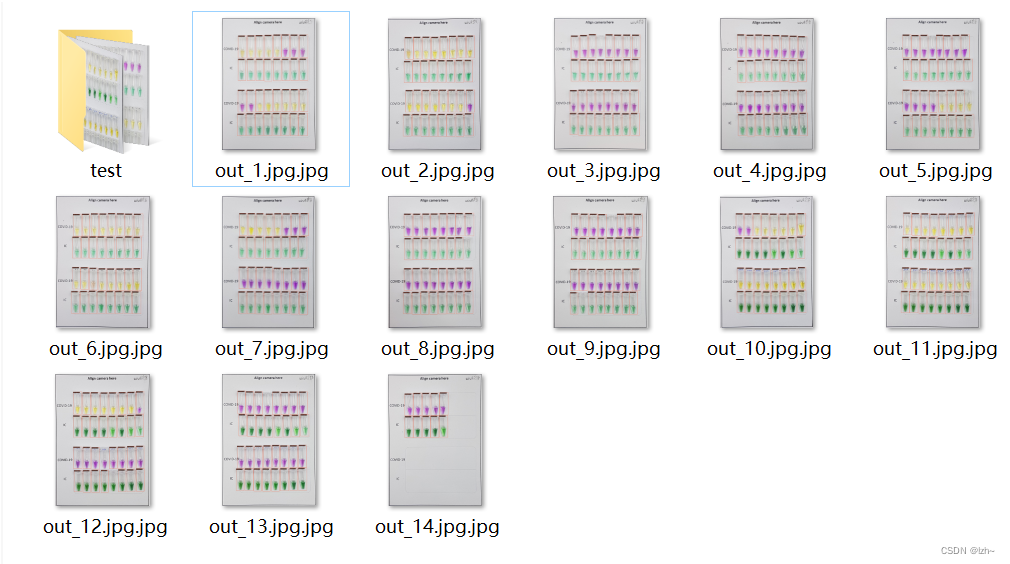
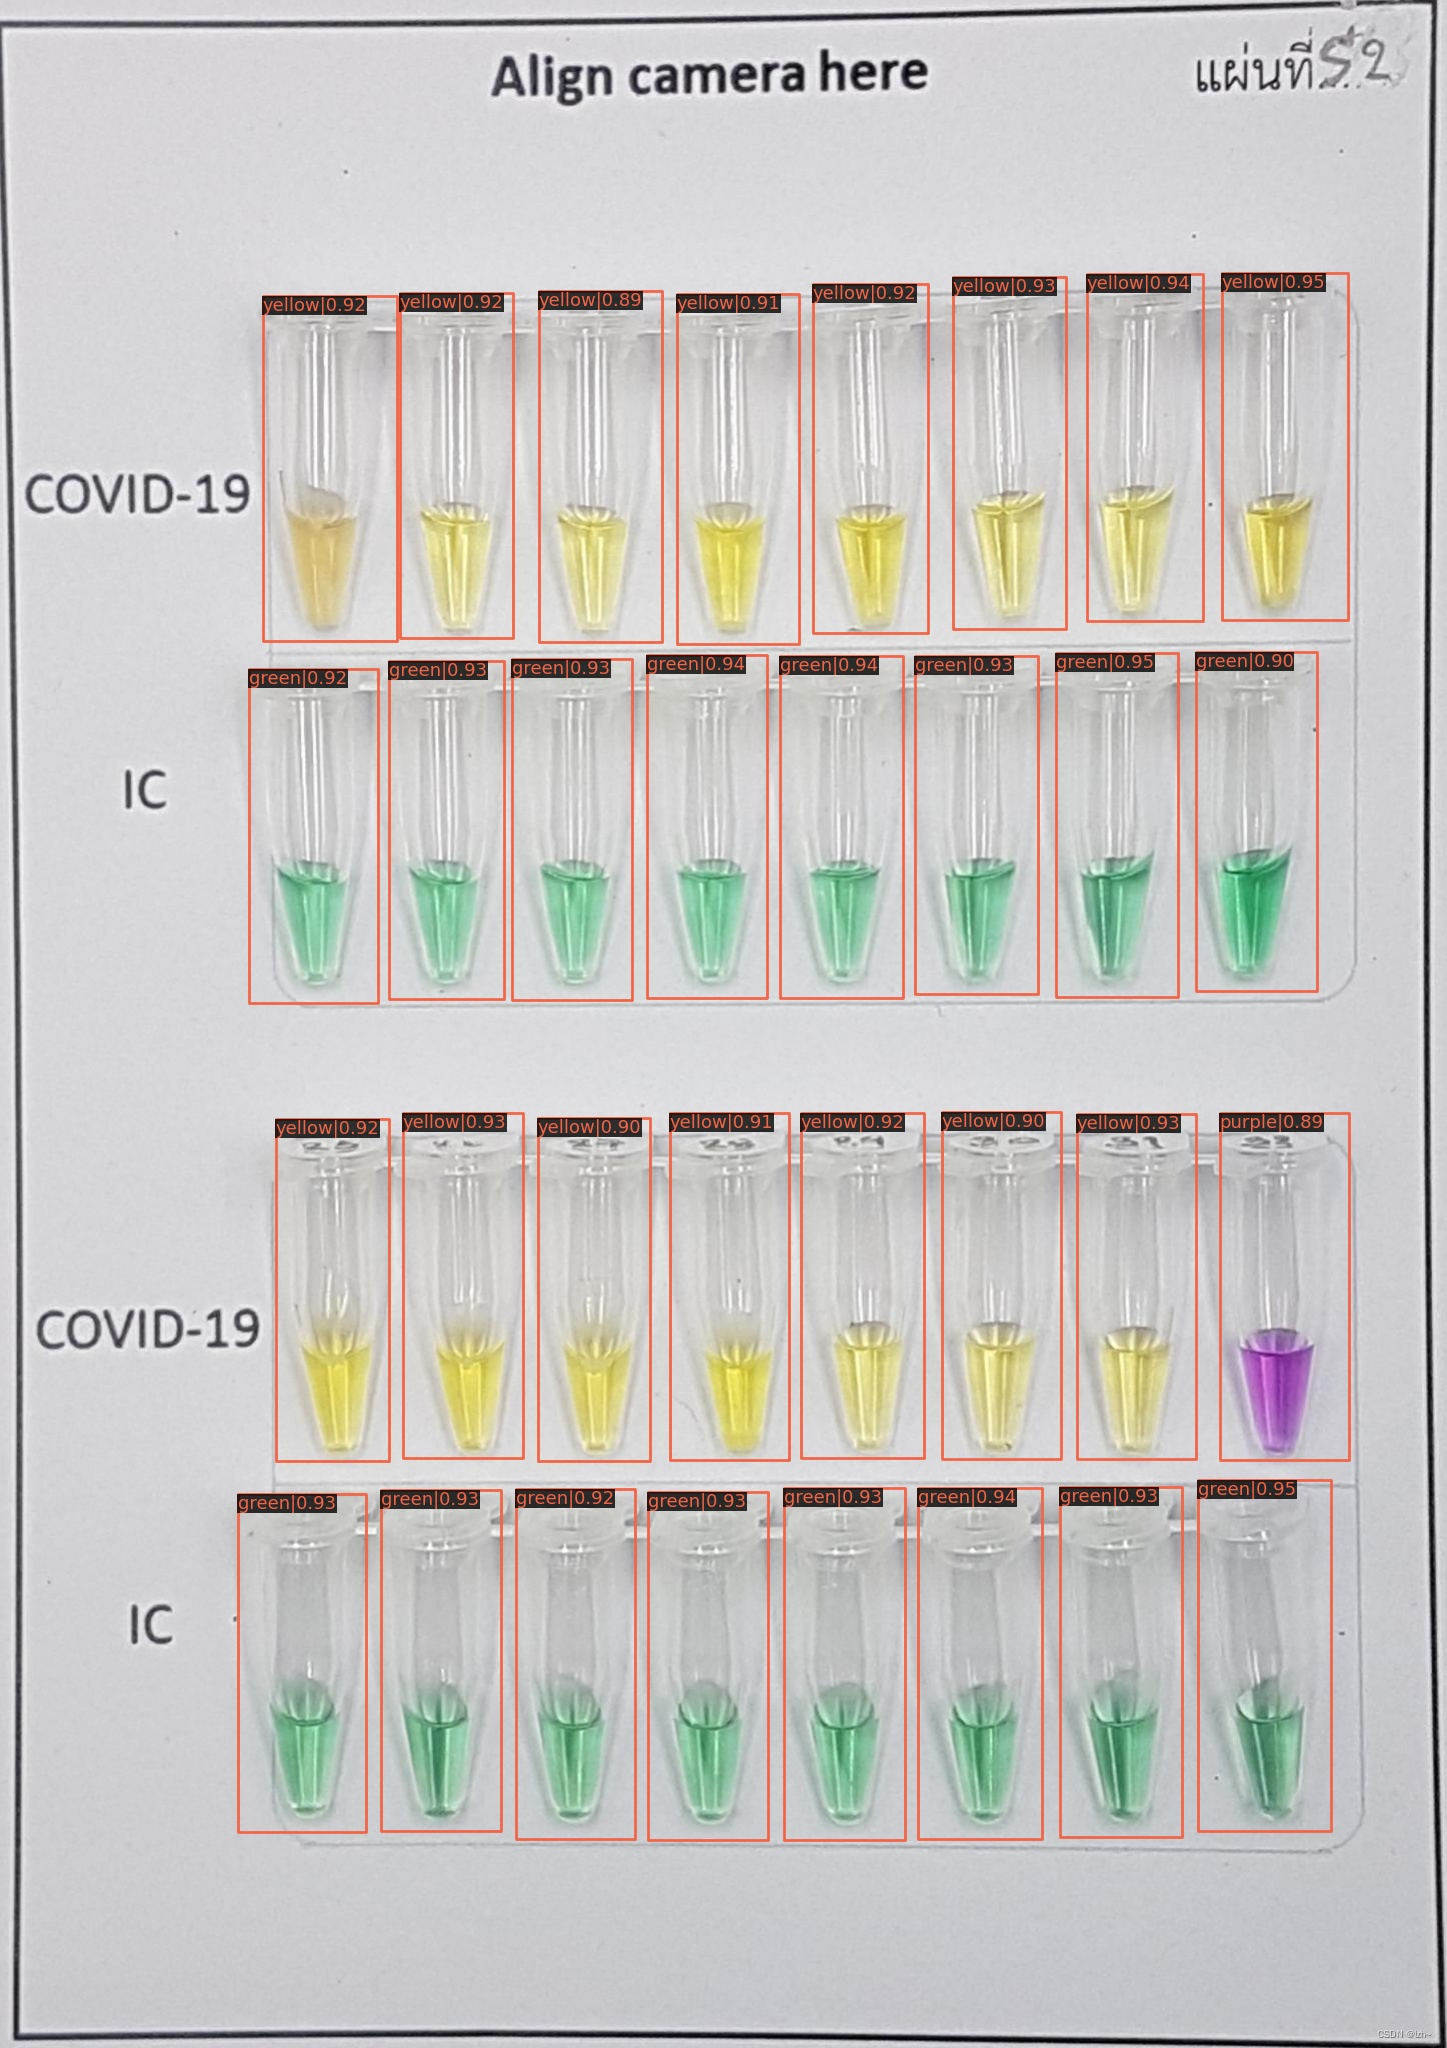
7、结果
预测结果还是比较准确的