创建虚拟环境
查看当前所有环境
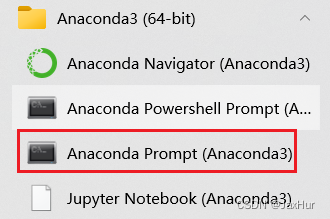
首先打开Anaconda Prompt
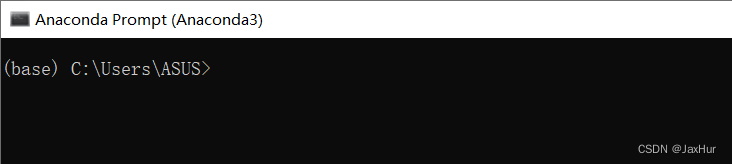
初始进入的是base环境,如下。但是我们需要创建一个新的虚拟环境。
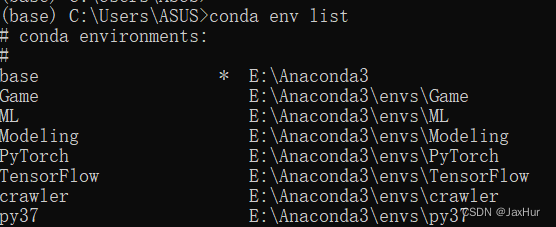
查看当前所有虚拟环境
conda env list
创建虚拟环境
conda create -n 虚拟环境名称 python==3.10.1
这里使用conda create -n test python==3.10.1进行测试。

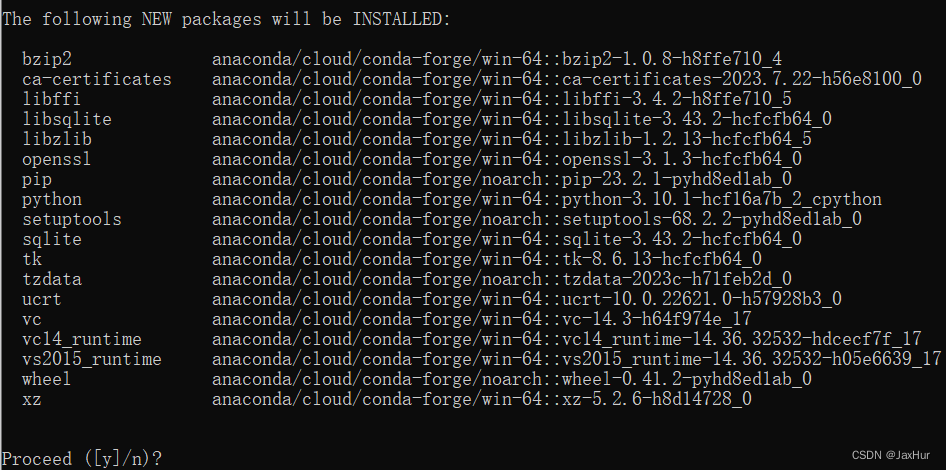
这里选yes
出现下图表示创建虚拟环境成功。
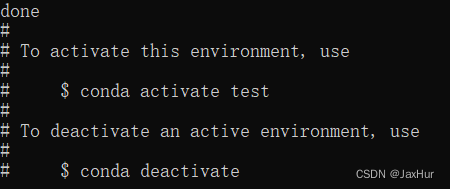
激活环境(进入环境)
conda activate test

看到前面括号内的虚拟环境名变为test,表示成功进入虚拟环境test。
添加到Jupyter Notebook中
在Jupyter Notebook中运行python确保IPython内核可用,安装成功后就能使用运行ipynb了
pip install -i https://pypi.tuna.tsinghua.edu.cn/simple ipykernel

命名虚拟环境在Jupyter Notebook中的名字(如果没有在Jupyter Notebook中运行python的需求,没必要进行这一步,比如在VSCode中运行Ipynb,虽然VSCode里面运行ipynb需要安装插件)
python -m ipykernel install --user --name=test
安装python包
这里使用清华镜像源
pip install -i https://pypi.tuna.tsinghua.edu.cn/simple requests
删除环境
conda remove -n test --all
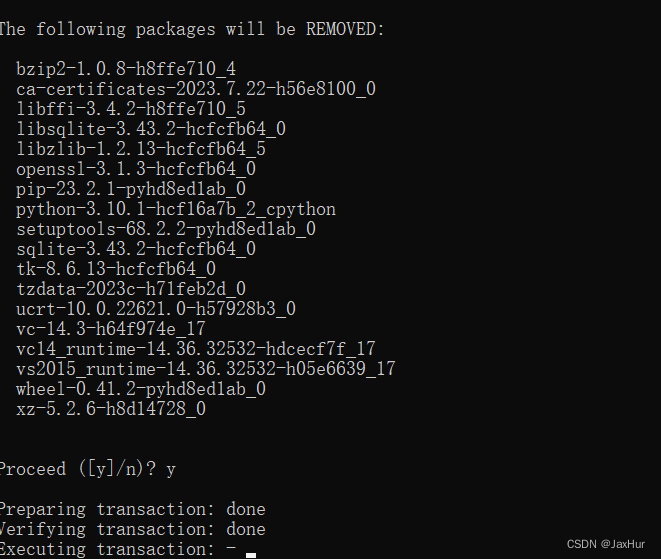

OK,虚拟环境test没了


![[清华大学]漏洞挖掘之状态敏感的模糊测试StateFuzz](https://img-blog.csdnimg.cn/29d6ca316ac040faa7f3c440ec64132a.jpeg#pic_center)