目录
- 图片处理器PictureEdit
- 1 创建工具栏
- 2 打开图片
- 3 显示图片
- 4 灰度处理
- 5 颜色反转
- 6 马赛克
图片处理器PictureEdit
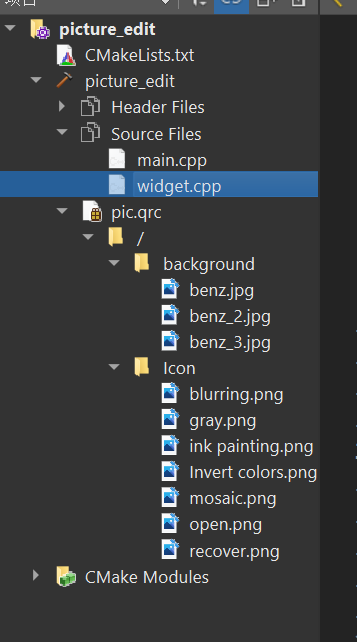
创建工程,添加资源文件
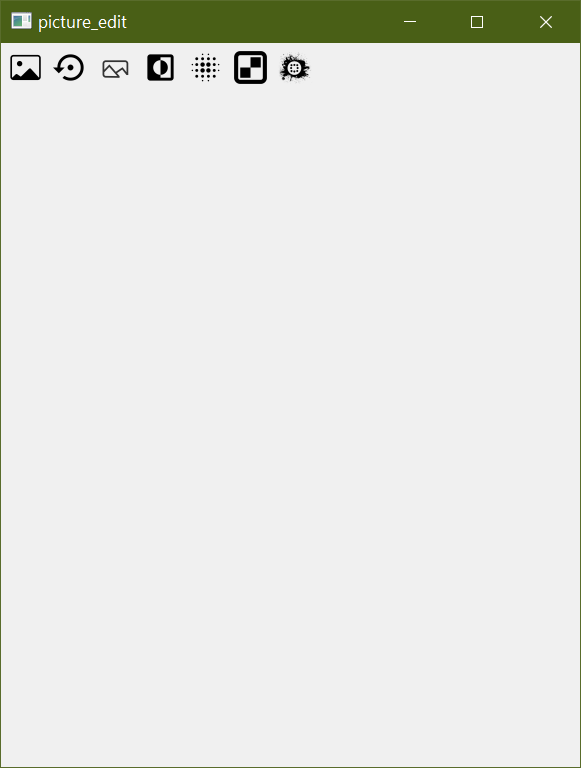
1 创建工具栏
widget.h中
#include <QWidget>
#include<QPixmap>
#include<QFileDialog>
#include<QAction>
#include<QToolBar>
#include<QIcon>

class QToolBar;
private:
    void createTollBar();

private:
    QPixmap pic;
    QToolBar * toolBar;
widget.cpp中
Widget::Widget(QWidget *parent)
    : QWidget(parent)
{
    this->createTollBar();
    this->resize(400,500);
}
- 添加按钮及图标
void Widget::createTollBar()
{
    this->toolBar = new QToolBar(this);

    //打开图片
    QAction *openAct = new QAction(QIcon("://Icon/open.png"),"打开图片");
    this->toolBar->addAction(openAct);

    //还原
    QAction *recoverAct = new QAction(QIcon("://Icon/recover.png"),"还原图片");
    this->toolBar->addAction(recoverAct);

    //灰图
    QAction *grayAct = new QAction(QIcon("://Icon/gray.png"),"灰图处理");
    this->toolBar->addAction(grayAct);

    //反转
    QAction *invertnAct = new QAction(QIcon("://Icon/Invert colors.png"),"颜色反转");
    this->toolBar->addAction(invertnAct);

    //模糊
    QAction *blurAct = new QAction(QIcon("://Icon/blurring.png"),"模糊处理");
    this->toolBar->addAction(blurAct);

    //马赛克
    QAction *mosaicAct = new QAction(QIcon("://Icon/mosaic.png"),"马赛克处理");
    this->toolBar->addAction(mosaicAct);

    //水墨
    QAction *inkAct = new QAction(QIcon("://Icon/ink painting.png"),"水墨处理");
    this->toolBar->addAction(inkAct);
}
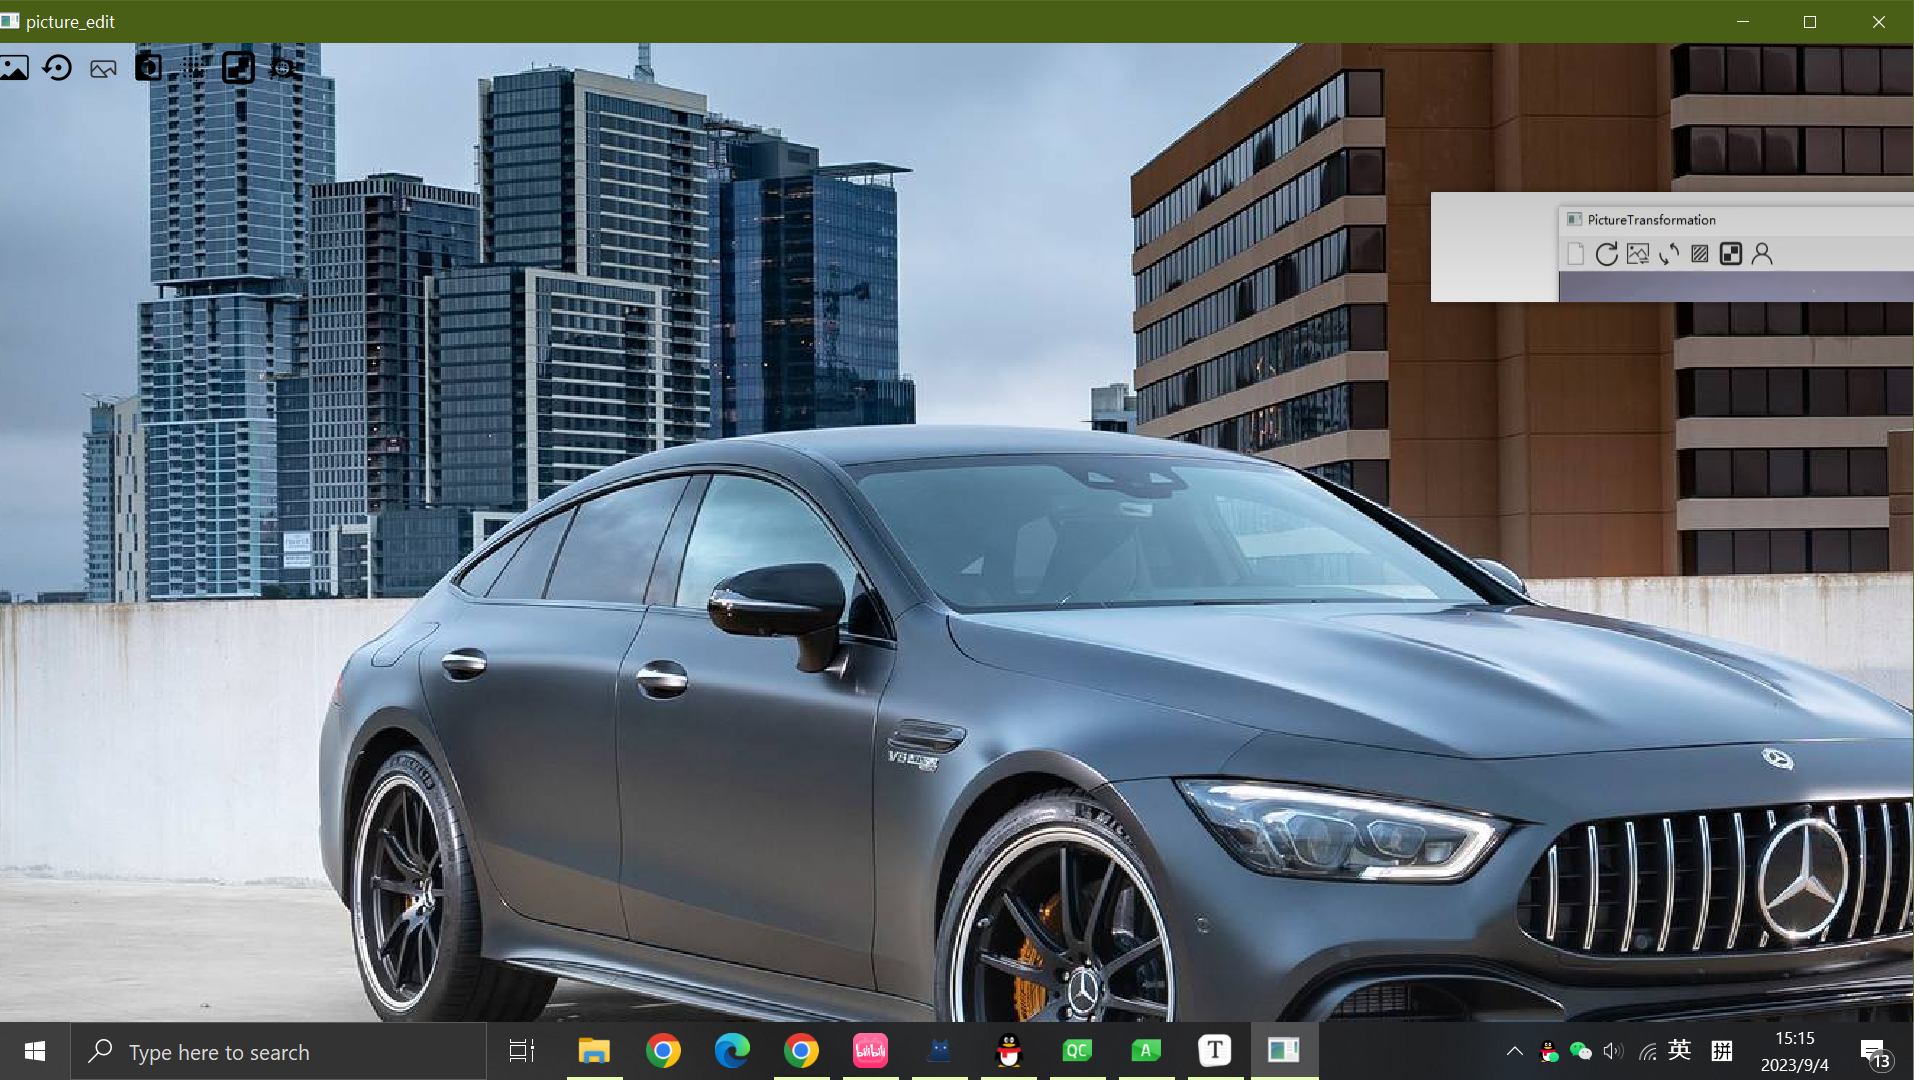
2 打开图片
- 在
widget.h中添加槽
public slots:
    void openPic();
- 在
widget.cpp中实现
void Widget::openPic()
{
    QString filePath = QFileDialog::getOpenFileName(this,"打开图片","./","image(*.png *.jpg *.bmp");
    this->pic = QPixmap(filePath);
    this->resize(this->pic.size());
}
- 然后在
createToolBar函数中连接
    //打开图片
    QAction *openAct = new QAction(QIcon("://Icon/open.png"),"打开图片");

    //连接信号
    connect(openAct,&QAction::triggered,this,&Widget::openPic);
    this->toolBar->addAction(openAct);

不过此时添加后图片还无法显示
3 显示图片
- 在
widget.h中重写画图的虚函数
protected:
    //重写虚函数
    void paintEvent(QPaintEvent *event) Q_DECL_OVERRIDE;
widget.cpp
void Widget::paintEvent(QPaintEvent *event)
{
    //显示在当前窗口
    QPainter p(this);
    //绘制图片
    p.drawPixmap(0,0,this->pic.width(),this->pic.height(),this->pic);
    QWidget::paintEvent(event);
}
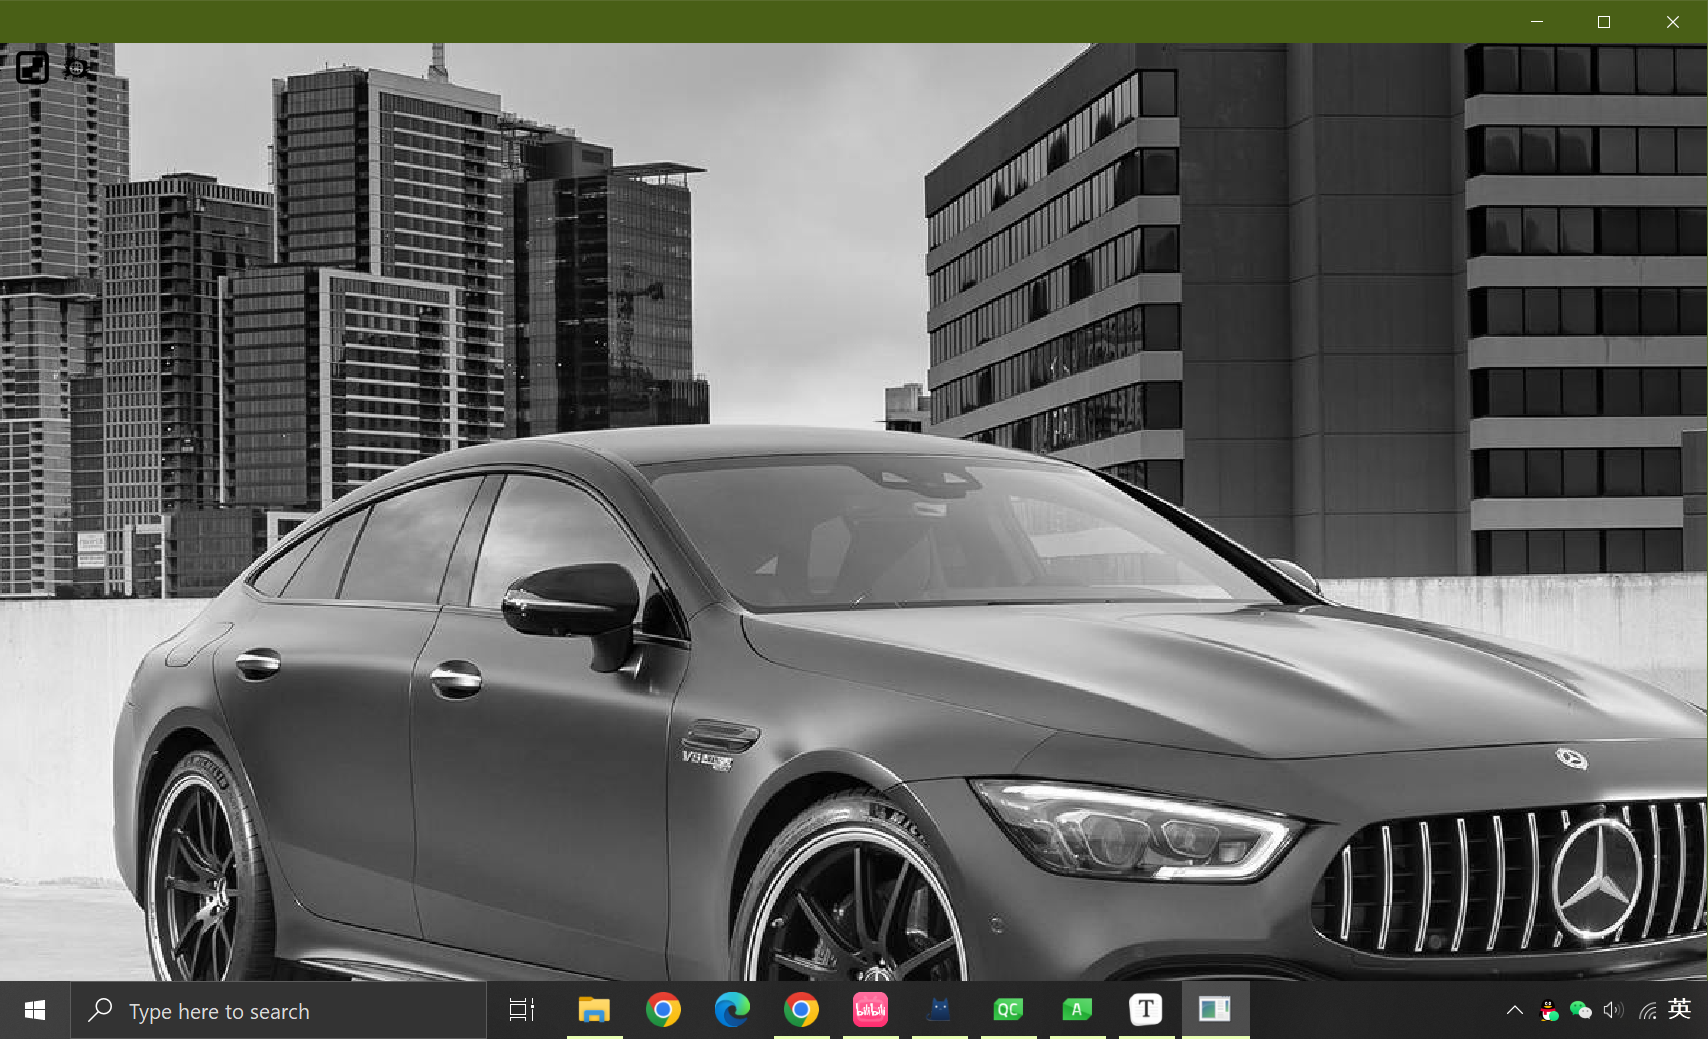
4 灰度处理
widget.h
void grayPic();
widget.cpp
void Widget::grayPic()
{
    QImage image = this->pic.toImage();
    image.convertToFormat(QImage::Format_ARGB32);//转换成ARGB32以方便设置颜色
    //分辨遍历长和宽,因为图片长方形
    for(int i=0; i<=image.width();i++)
    {
        for(int j=0;j<image.height();j++)
        {
            //每个像素点都修改
            QRgb pixel = image.pixel(i,j);
            //平均值
            int avg = qGray(pixel);
            image.setPixel(i,j,qRgb(avg,avg,avg));
        }
    }
    this->pic = QPixmap::fromImage(image);
    //重新画图
    this->update();
}
createToolBar函数,连接信号
    //灰图
    QAction *grayAct = new QAction(QIcon("://Icon/gray.png"),"灰图处理");
    connect(grayAct,&QAction::triggered,this,&Widget::grayPic);
    this->toolBar->addAction(grayAct);
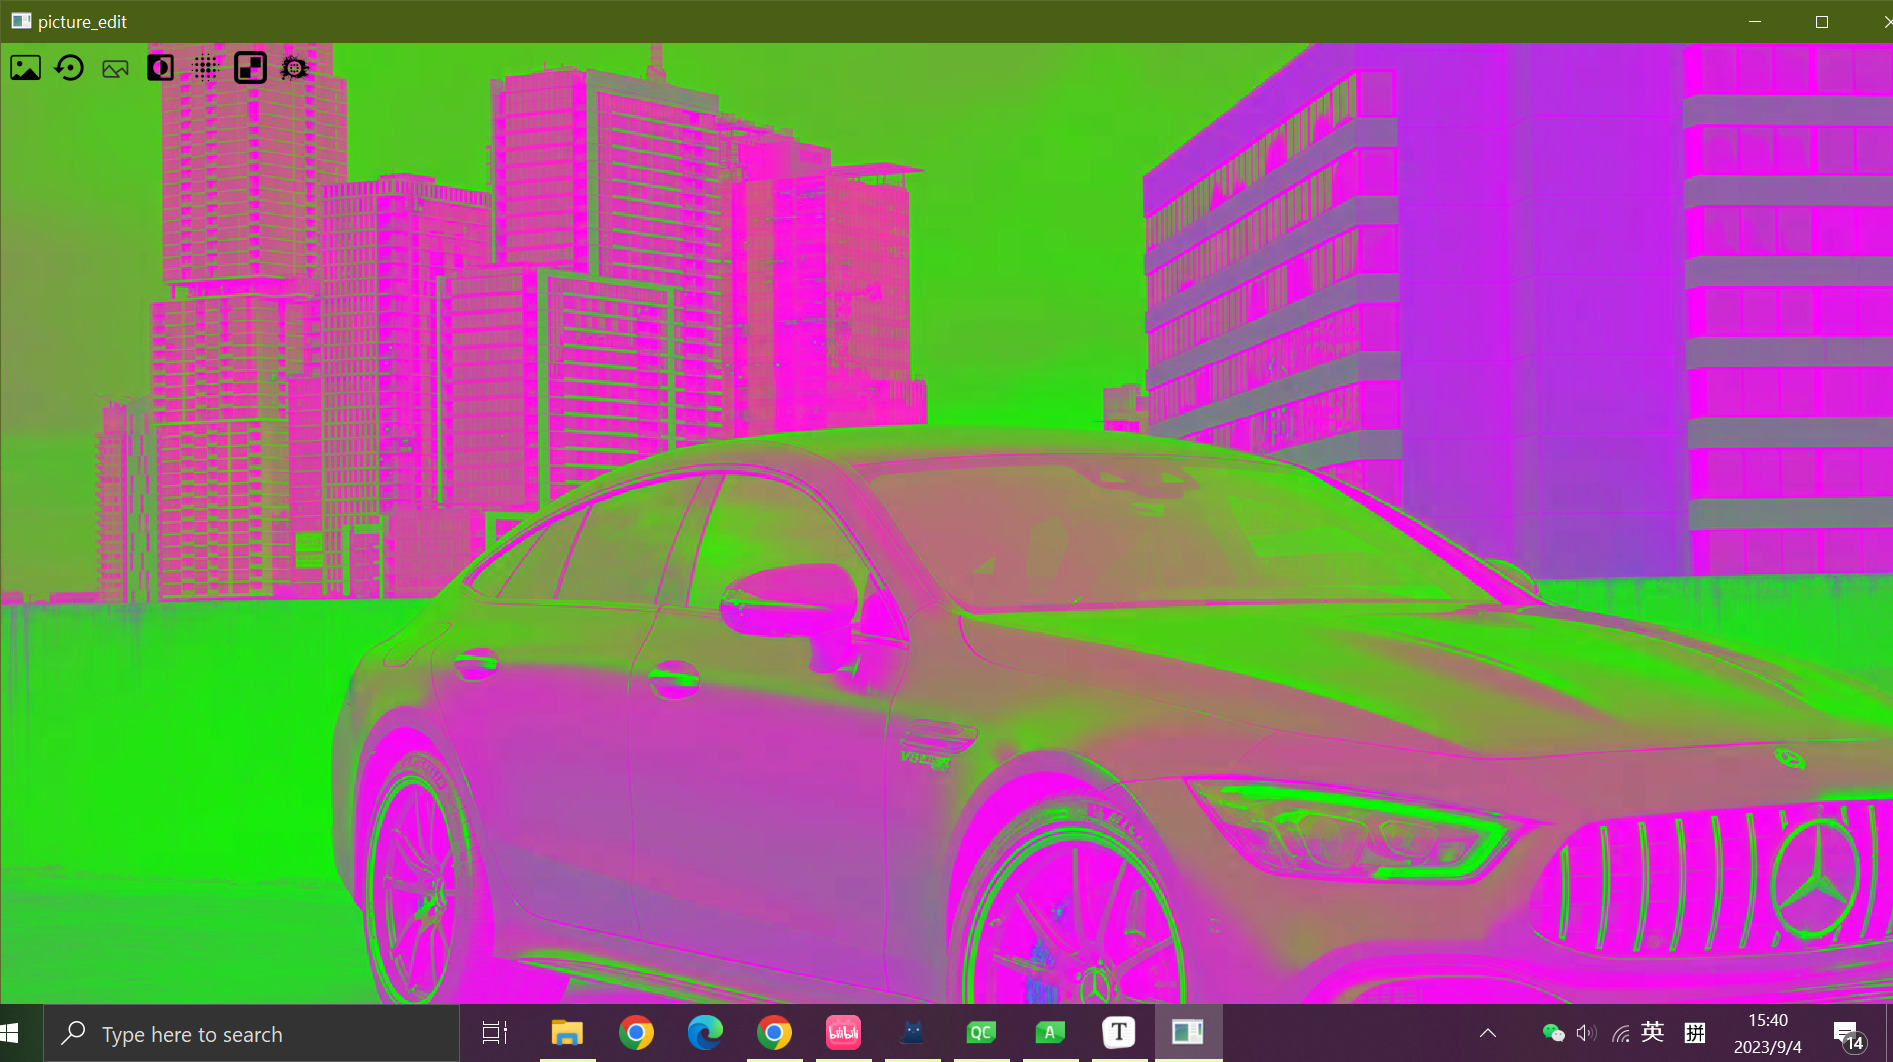
5 颜色反转
widget.h
void invertnPic();
widget.cpp
void Widget::invertnPic()
{
    QImage image = this->pic.toImage();
    image.convertToFormat(QImage::Format_ARGB32);//转换成ARGB32以方便设置颜色
    //分辨遍历长和宽,因为图片长方形
    for(int i=0; i<=image.width();i++)
    {
        for(int j=0;j<image.height();j++)
        {
            //每个像素点都修改
            QColor pixel = image.pixelColor(i,j);

            int r = pixel.red();
            int g = pixel.green();
            int b = pixel.blue();

            QColor newColor((255-r),(255,g),(255-b));
            image.setPixelColor(i,j,newColor);
        }
    }
    this->pic = QPixmap::fromImage(image);
    //重新画图
    this->update();
}
createToolBar函数,连接信号
    //反转
    QAction *invertnAct = new QAction(QIcon("://Icon/Invert colors.png"),"颜色反转");
    connect(invertnAct,&QAction::triggered,this,&Widget::invertnPic);
    this->toolBar->addAction(invertnAct);
6 马赛克
widget.h
void mosaicPic();
widget.cpp
void Widget::mosaicPic()
{
    QImage image = this->pic.toImage();
    image.convertToFormat(QImage::Format_ARGB32);//转换成ARGB32以方便设置颜色
    //分辨遍历长和宽,因为图片长方形
    int w = image.width()%SIZE;
    int h = image.height()%SIZE;
    for(int i=0; i<=image.width()-w;i+=SIZE)
    {
        for(int j=0;j<image.height()-h;j+=SIZE)
        {
            //每个像素点都修改
            int r=0,g=0,b=0;
            for(int m = i;m<i+SIZE;m++)
            {
                for(int n = j;n<j+SIZE;n++)
                {
                    QColor c = image.pixelColor(m,n);
                    r+=c.red();
                    g+=c.green();
                    b+=c.blue();
                }
            }
            QColor newColor(r/(SIZE*SIZE),g/(SIZE*SIZE),b/(SIZE*SIZE));
            for(int m = i;m<i+SIZE;m++)
            {
                for(int n = j;n<j+SIZE;n++)
                {
                    image.setPixelColor(m,n,newColor);
                }
            }
        }
    }
    this->pic = QPixmap::fromImage(image);
    //重新画图
    this->update();
}
createToolBar函数,连接信号
    //马赛克
    QAction *mosaicAct = new QAction(QIcon("://Icon/mosaic.png"),"马赛克处理");
    connect(mosaicAct,&QAction::triggered,this,&Widget::mosaicPic);
    this->toolBar->addAction(mosaicAct);

createToolBar函数,连接信号
    //马赛克
    QAction *mosaicAct = new QAction(QIcon("://Icon/mosaic.png"),"马赛克处理");
    connect(mosaicAct,&QAction::triggered,this,&Widget::mosaicPic);
    this->toolBar->addAction(mosaicAct);
[外链图片转存中…(img-xxswHv9g-1696602317319)]


![[算法应用]关键路径算法的简单应用](https://img-blog.csdnimg.cn/11c2019d349146b6b99eb229051bae20.png)


![[架构之路-228]:目标系统 - 纵向分层 - 计算机硬件与体系结构 - 硬盘存储结构原理:如何表征0和1,即如何存储0和1,如何读数据,如何写数据(修改数据)](https://img-blog.csdnimg.cn/img_convert/ec8a420edd3c717b8212414255d52239.png)