首先需要有一定的springboot+mybatis的基础,才能使用顺畅
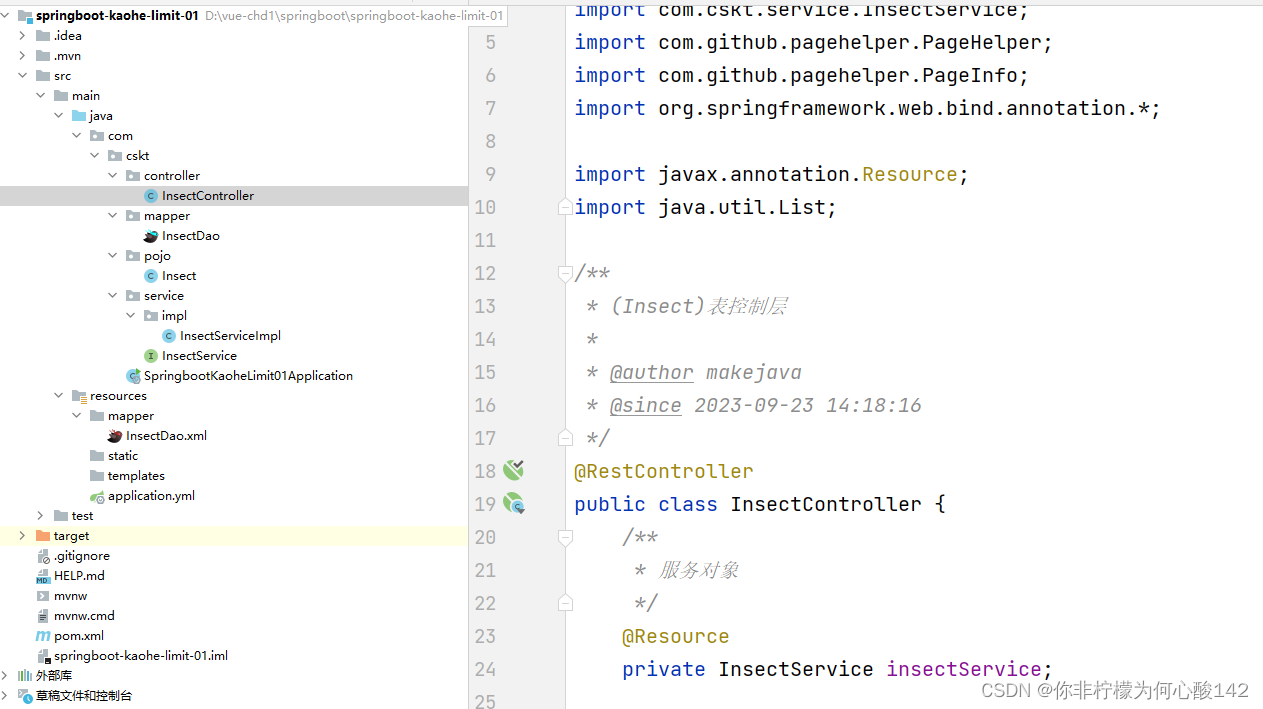
项目结构如下
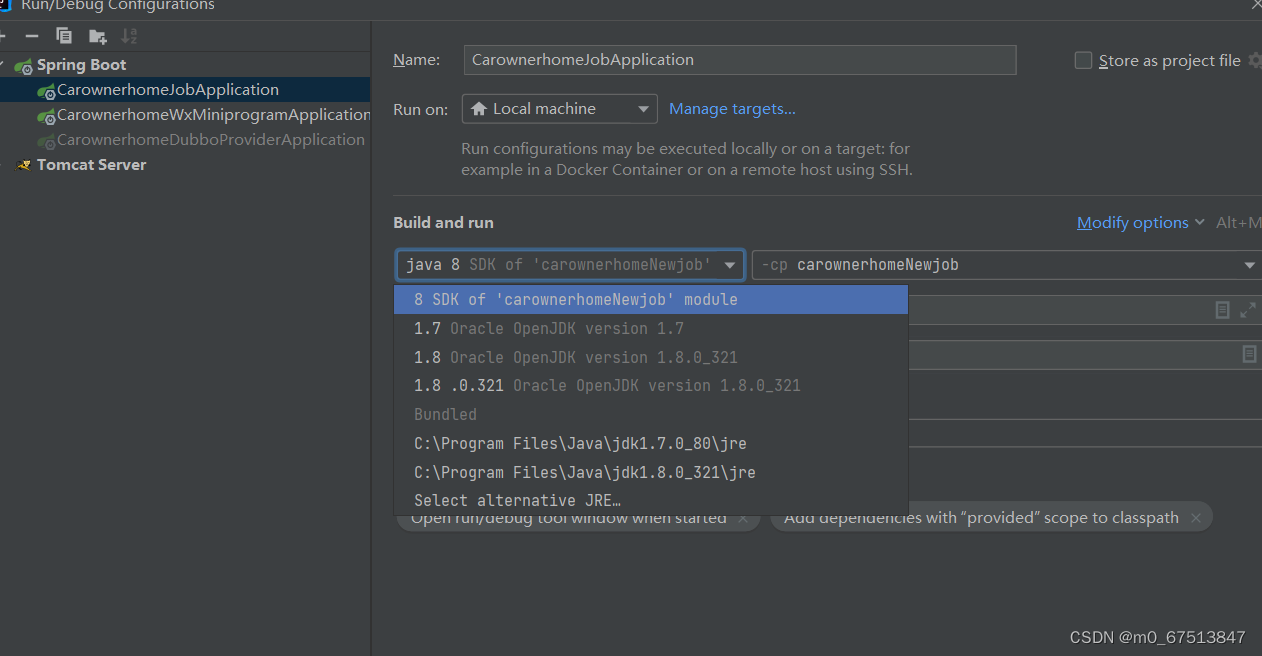
引入依赖,springboot版本选的是2.7.16版本,jdk选的17,
<!--分页插件-->
<dependency>
    <groupId>com.github.pagehelper</groupId>
    <artifactId>pagehelper-spring-boot-starter</artifactId>
    <version>1.4.6</version>
</dependency>
mapper层
@Mapper
public interface InsectDao {

   List<Insect> selectAll();

}
service接口层
public interface InsectService {

    List<Insect> selectAll();

}
service实现类
@Service
public class InsectServiceImpl implements InsectService {
    @Resource
    private InsectDao insectDao;


    @Override
    public List<Insect> selectAll() {
        return insectDao.selectAll();
    }
}
controller层
@RestController
public class InsectController {
    /**
     * 服务对象
     */
    @Resource
    private InsectService insectService;

   @GetMapping("/insect")//分页ok了
    public PageInfo<Insect> selectAll(){

       System.out.println("进来了首页");

       PageHelper.startPage(1,2);

       List<Insect> list =insectService.selectAll();

       PageInfo<Insect> pageInfo = new PageInfo<>(list);

       pageInfo.setList(list);

       System.out.println("看看分页"+list);

       System.out.println("看看分页1"+pageInfo);

       return pageInfo;
   }


}
mapper层xml,对应mapper层的接口方法
<?xml version="1.0" encoding="UTF-8"?>
<!DOCTYPE mapper PUBLIC "-//mybatis.org//DTD Mapper 3.0//EN" "http://mybatis.org/dtd/mybatis-3-mapper.dtd">
<mapper namespace="com.cskt.mapper.InsectDao">

    <resultMap type="com.cskt.pojo.Insect" id="InsectMap">
        <result property="id" column="id" jdbcType="INTEGER"/>
        <result property="cid" column="cid" jdbcType="INTEGER"/>
        <result property="name" column="name" jdbcType="VARCHAR"/>
        <result property="life" column="life" jdbcType="VARCHAR"/>
        <result property="area" column="area" jdbcType="VARCHAR"/>
        <result property="discoveryTime" column="discovery_time" jdbcType="TIMESTAMP"/>
    </resultMap>

    <select id="selectAll" resultMap="InsectMap">
        select  * from insect
    </select>


</mapper>
application核心配置文件如下
server:
  port: 8045

spring:
  datasource:
    driver-class-name: com.mysql.cj.jdbc.Driver
    url: jdbc:mysql://localhost:3306/t155
    username: root
    password: root

  thymeleaf:
    suffix: .html
    prefix: classpath:/templates/

mybatis:
  mapper-locations: classpath:mapper/*.xml
接下来就可以进行测试了
测试效果如下,输入地址进行测试,参数可以自行去了解一下,希望可以帮助各位小伙伴
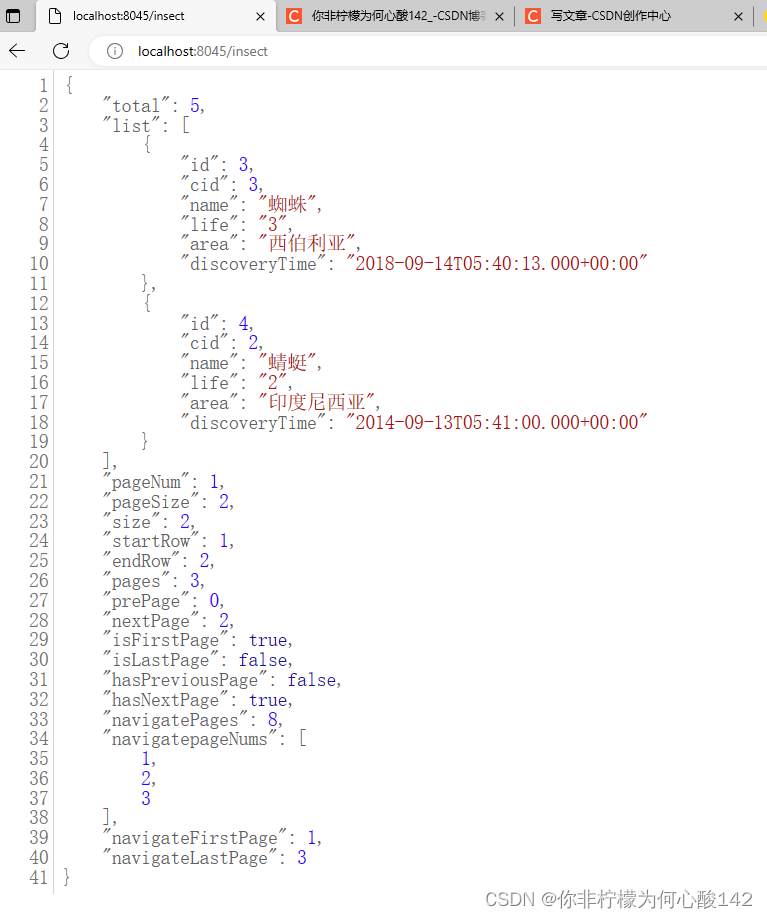
到这里就已经ok了!!