以前做的项目中,flutter都是作为module嵌入原生工程中,新公司项目却是以aar形式嵌入android工程,这种优点是原生工程不必配置flutter环境也能跑了,这里记录一下简单步骤。
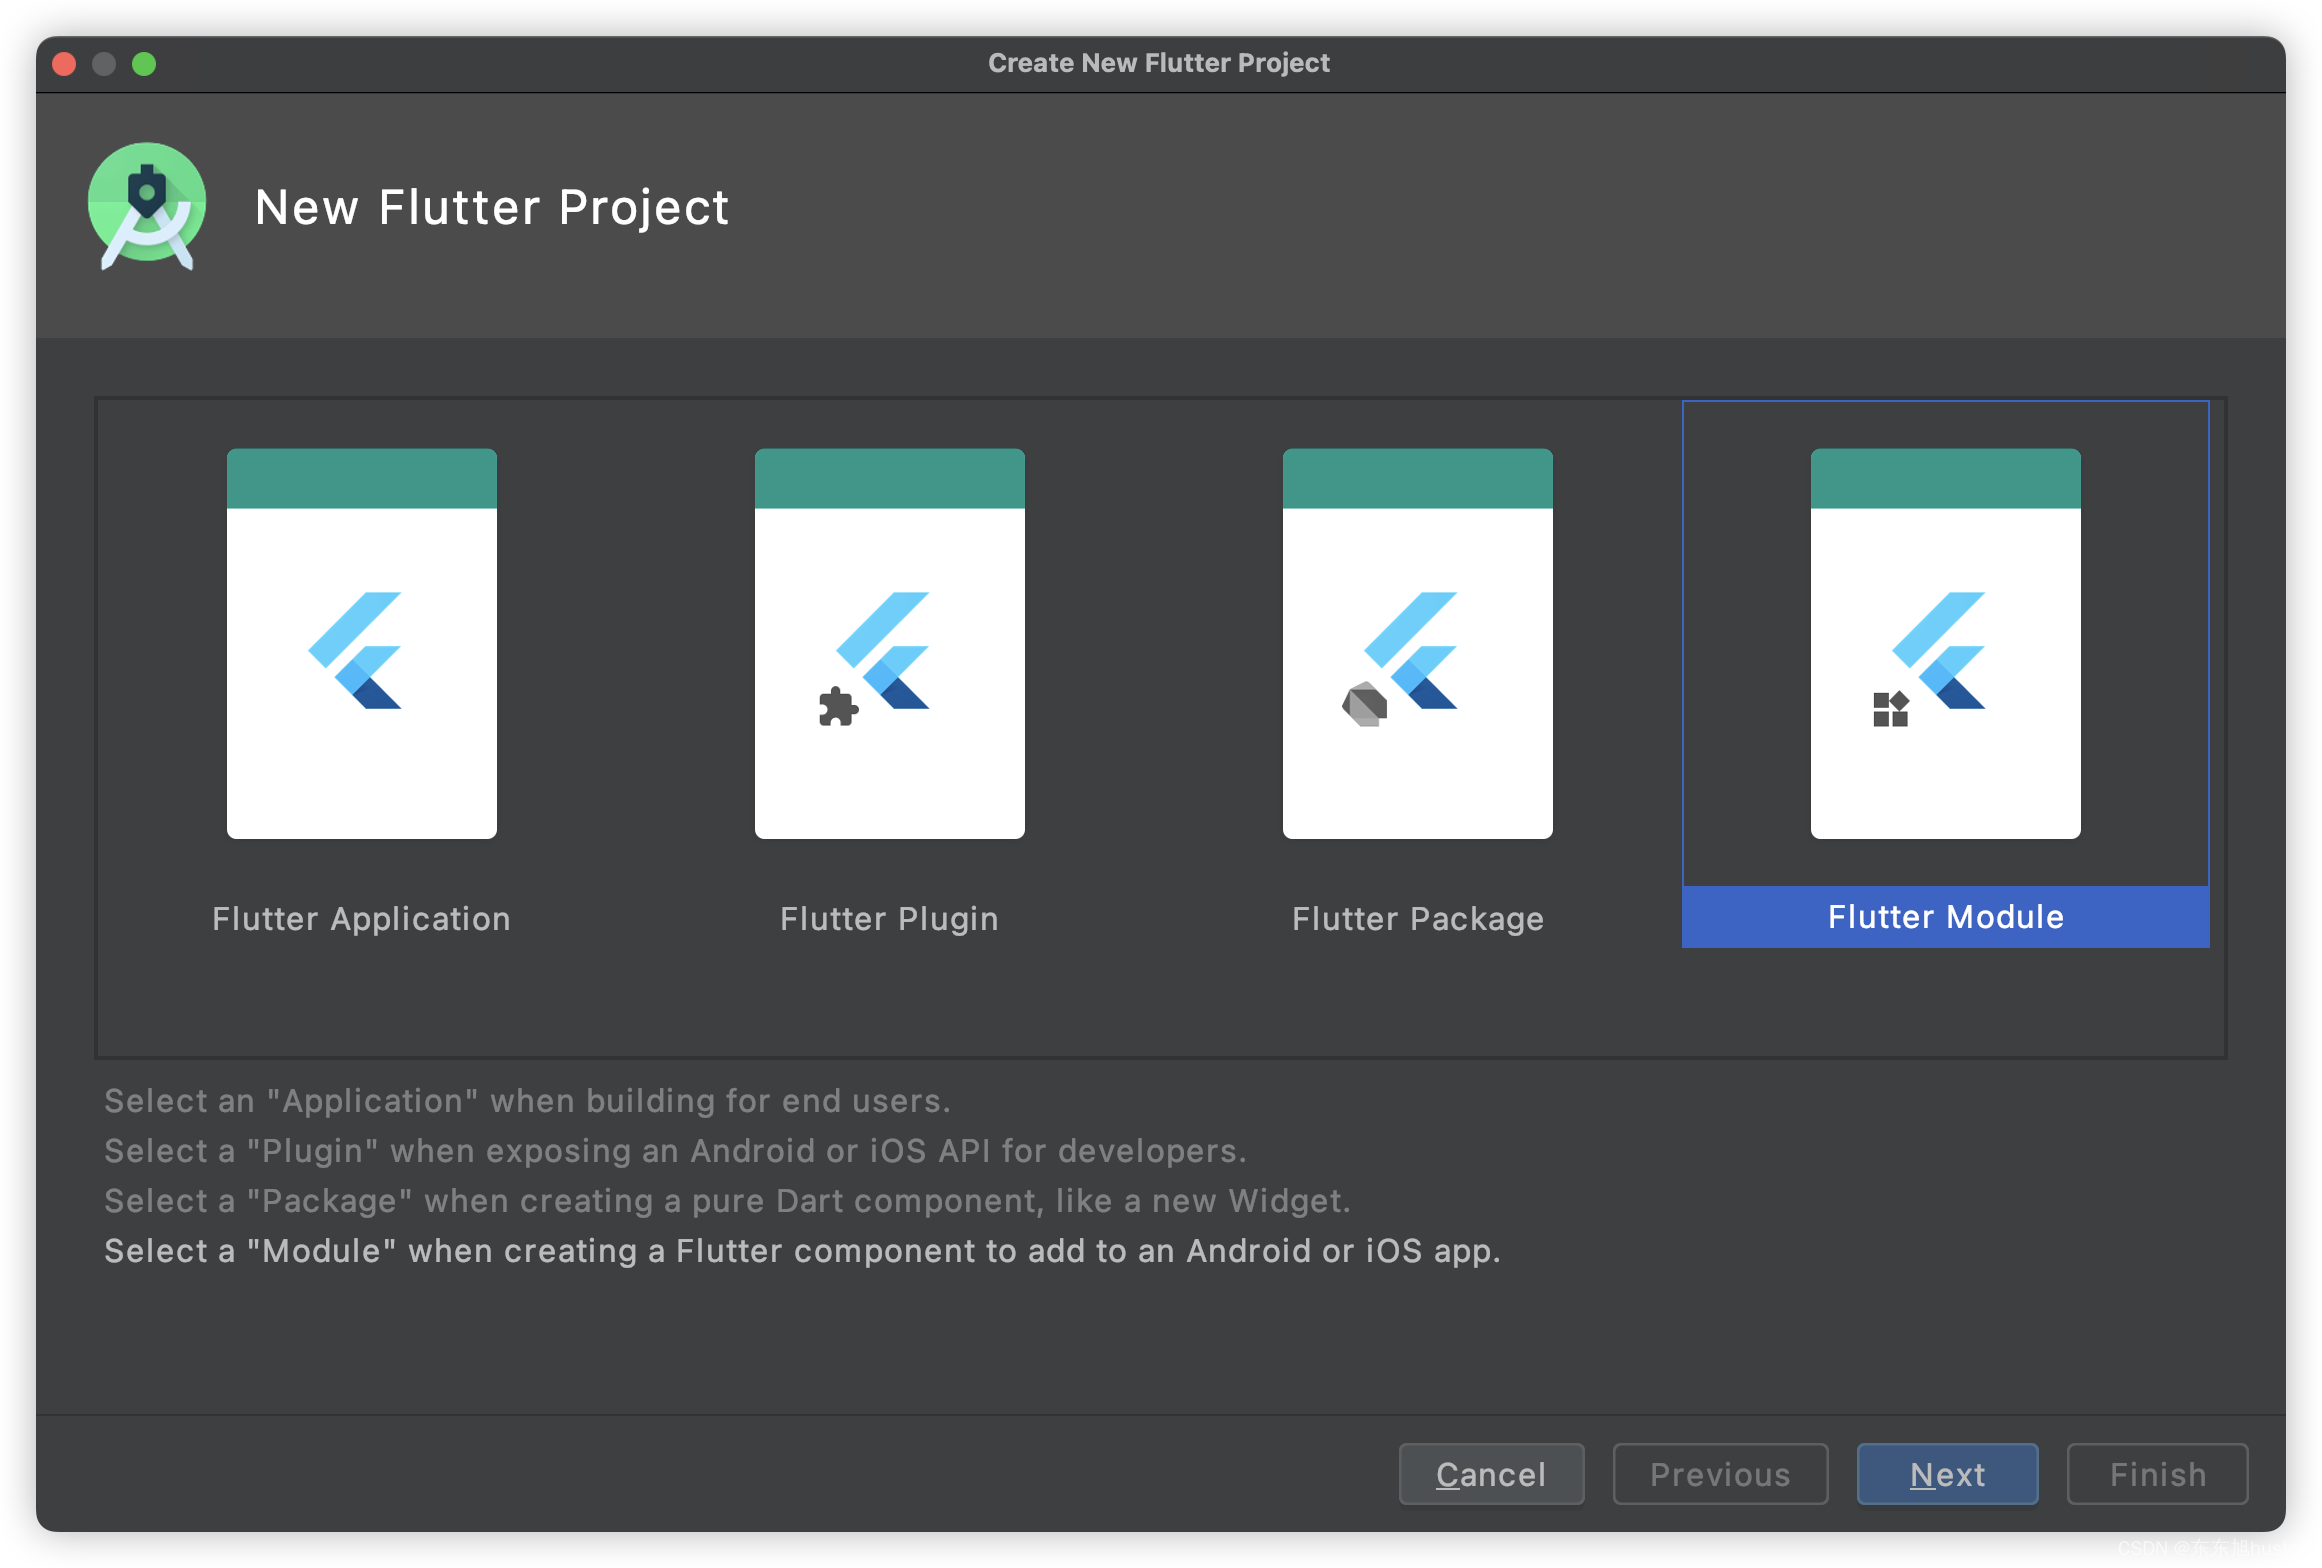
创建一个flutter module
通过android studio创建一个flutter module,注意不要创建成flutter工程了,因为工程没法打包成aar。
创建完成后,编写代码,然后在终端输入命令
flutter build aar
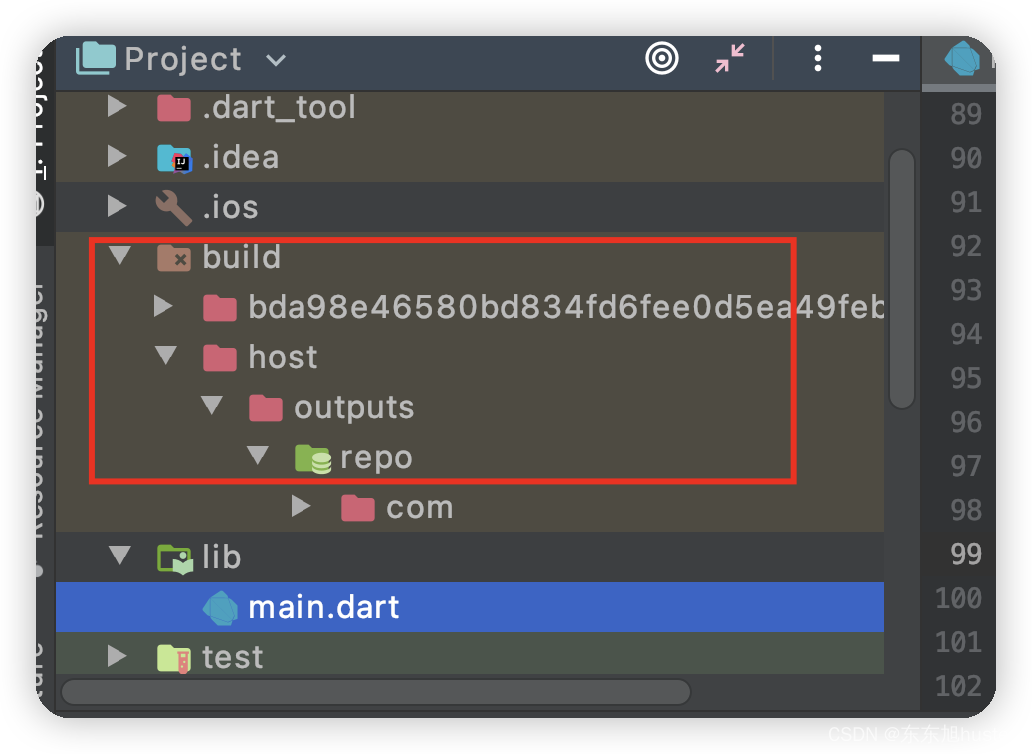
编译完成,可以看到输出
Built build/host/outputs/repo.
产物就在我们项目的build目录中
终端还有其他一些比较重要的输出,一起复制上来
Consuming the Module
  1. Open <host>/app/build.gradle
  2. Ensure you have the repositories configured, otherwise add them:

      String storageUrl = System.env.FLUTTER_STORAGE_BASE_URL ?: "https://storage.googleapis.com"
      repositories {
        maven {
            url '/Users/yy/AndroidStudioProjects/flutter_module1/build/host/outputs/repo'
        }
        maven {
            url "$storageUrl/download.flutter.io"
        }
      }

  3. Make the host app depend on the Flutter module:

    dependencies {
      debugImplementation 'com.ali.flutter_module1:flutter_debug:1.0'
      profileImplementation 'com.ali.flutter_module1:flutter_profile:1.0'
      releaseImplementation 'com.ali.flutter_module1:flutter_release:1.0'
    }


  4. Add the `profile` build type:

    android {
      buildTypes {
        profile {
          initWith debug
        }
      }
    }
其实这就是官方告诉我们如何将flutter产物嵌入原生工程中,这里先创建一个原生工程,然后打开app/build.gradle,添加上
    repositories {
        maven {
//            这里是配置flutter产物位置
            url '/Users/yy/AndroidStudioProjects/flutter_module1/build/host/outputs/repo'
        }
        maven {
//            这里配置flutter下载地址,gradle自己去下载flutter引擎和源码
            url 'http://download.flutter.io'
        }
    }
上面的产物可以将repo目录复制到我们android工程中,上面我没有复制就直接用了。
接着配置依赖
    dependencies {
      debugImplementation 'com.ali.flutter_module1:flutter_debug:1.0'
      profileImplementation 'com.ali.flutter_module1:flutter_profile:1.0'
      releaseImplementation 'com.ali.flutter_module1:flutter_release:1.0'
    }
根据上面输出中的步骤,继续添加profile build type
    android {
      buildTypes {
        profile {
          initWith debug
        }
      }
    }
上面所有的配置都是在app/build.gradle这个目录中。
build项目,就会自动去下载flutter引擎,源码了,编译完成,我们创建一个activity来测试一下
public class FlutterDemoActivity extends FlutterActivity {
    @Override
    public void onCreate(@Nullable Bundle savedInstanceState, @Nullable PersistableBundle persistentState) {
        super.onCreate(savedInstanceState, persistentState);
    }
}
启动这个页面,就可以看到flutter页面了。
如果我们的flutter工程中引入了第三方项目,我们还可以借助fat-aar来打包项目,它可以将flutterEngine等一起打包进去,具体使用可以看官方文档。aar这种方式也是可以调试的,将flutter项目attach到正在运行的应用上就可以了。