本实验将使用华为云云耀云服务器L实例,使用CentOS 7.9系统,搭建部署Samba服务器,并在本地Windows端进行访问。
文章目录
- 1、samba介绍
- 2、环境准备
- 3、安装samba软件包
- 4、修改smb.conf配置文件
- 5、添加访问samba的用户
- 6、Windows下访问Samba服务器
- 7、映射网络驱动器
- 8、常见问题
- 9、参考链接
1、samba介绍
Samba网盘,Samba是一个网络服务器,用于Linux和Windows之间共享文件,Samba一般装在Linux系统中作为服务器,为Windows用户提供网盘。
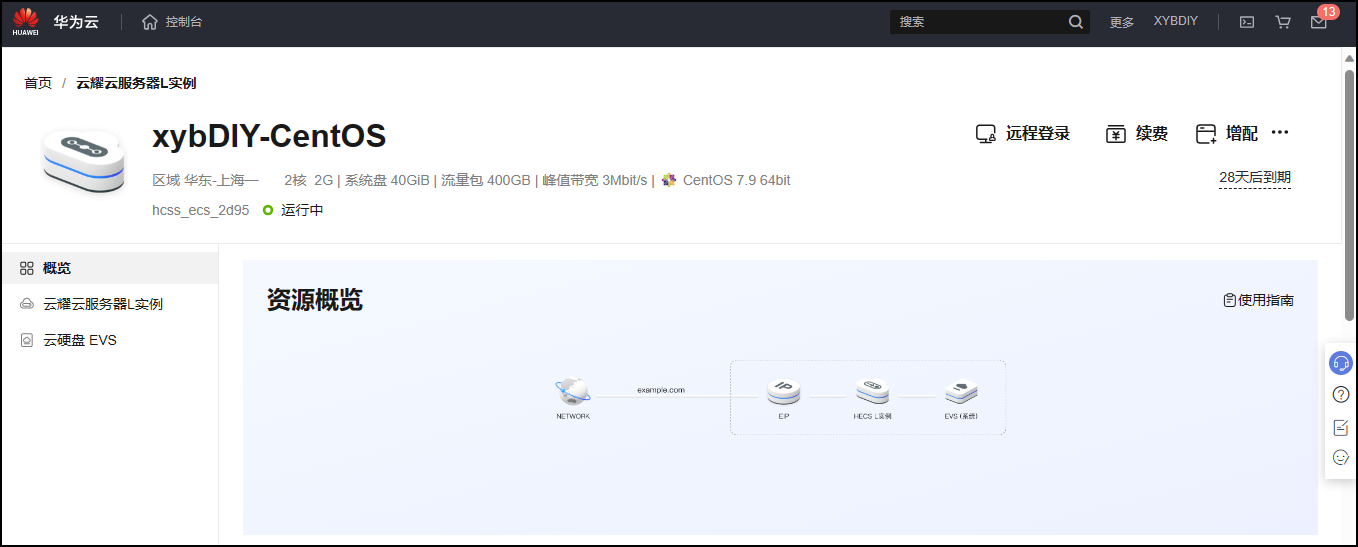
2、环境准备
- 购买一台云耀云服务器L实例(本实验采用的是CentOS 7.9系统)
- 关闭防火墙
[root@hcss-ecs-2d95 ~]# systemctl stop firewalld
[root@hcss-ecs-2d95 ~]# systemctl disable firewalld
[root@hcss-ecs-2d95 ~]# systemctl status firewalld
- 关闭SELinux安全模式
## 临时关闭
[root@hcss-ecs-2d95 ~]# setenforce 0

## 永久关闭
[root@hcss-ecs-2d95 ~]# vim /etc/selinux/config
修改SELINUX=disabled
按:wq保存退出,重启系统即可

[root@hcss-ecs-2d95 ~]# getenforce
Disabled
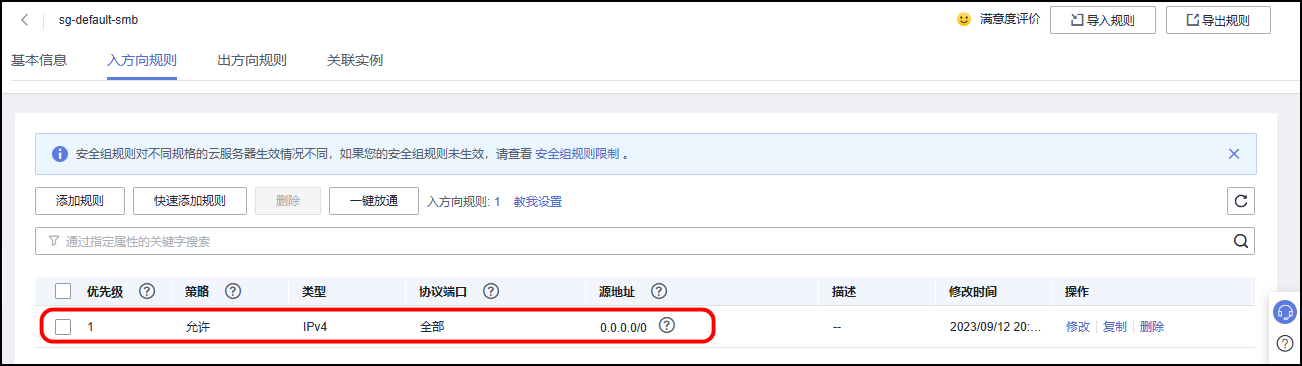
- 云服务器安全组端口放行设置(本实验为实验环境,所有放行了所有端口和协议,具体实际使用场景中,根据需要进行端口设置。)
3、安装samba软件包
- 安装samba软件包
## 加载系统镜像
# yum repolist
## 使用YUM源安装samba软件包
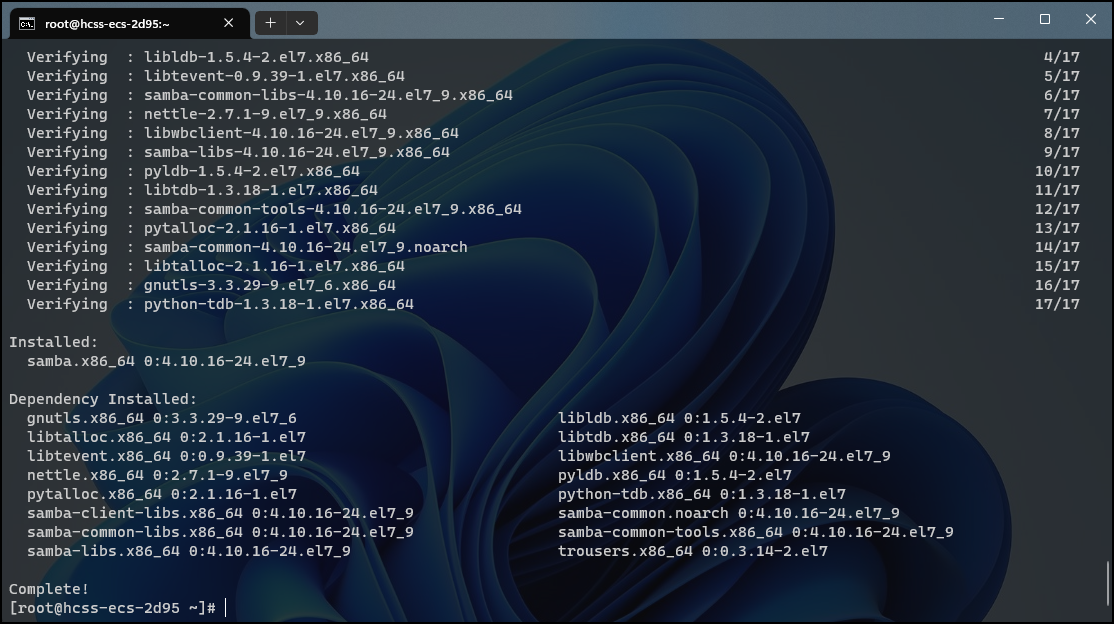
# yum install -y samba
## 查看安装的samba服务是否完成
# rpm -qa | grep samba
samba-libs-4.10.16-24.el7_9.x86_64
samba-common-libs-4.10.16-24.el7_9.x86_64
samba-common-tools-4.10.16-24.el7_9.x86_64
samba-common-4.10.16-24.el7_9.noarch
samba-client-libs-4.10.16-24.el7_9.x86_64
samba-4.10.16-24.el7_9.x86_64
- 启动samba服务并设置开机自启动
[root@hcss-ecs-2d95 ~]# systemctl start smb
[root@hcss-ecs-2d95 ~]# systemctl enable smb
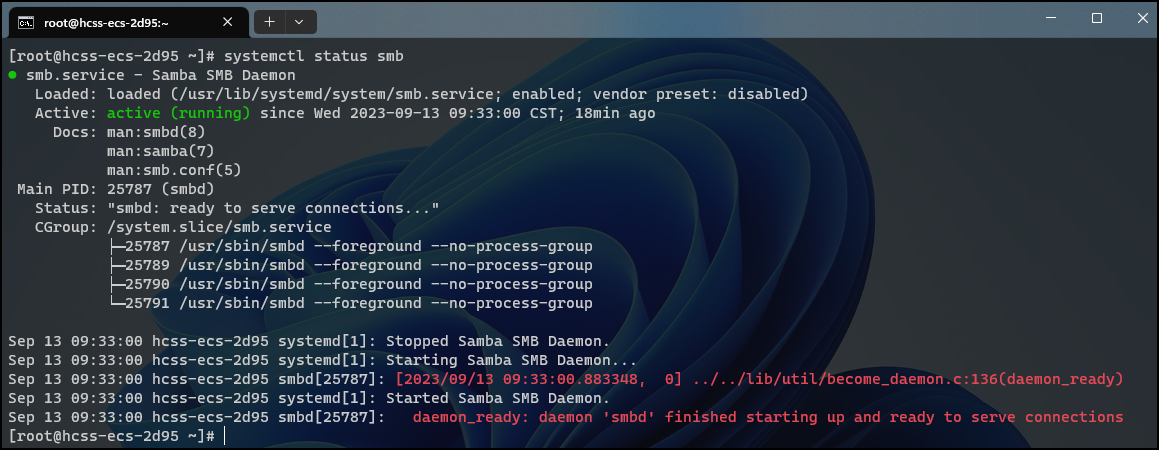
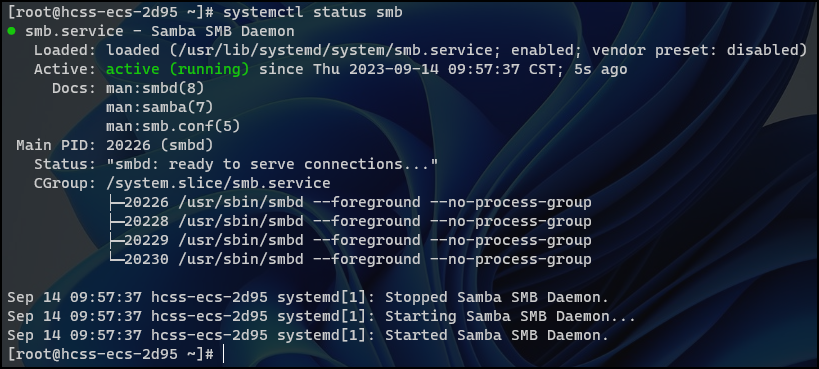
[root@hcss-ecs-2d95 ~]# systemctl status smb
# 查看smb服务是否设置开机自启动状态
[root@hcss-ecs-2d95 ~]# systemctl list-unit-files | grep smb
smb.service enabled
4、修改smb.conf配置文件
- 创建需要共享的目录及文件
# mkdir /mnt/public
# touch /mnt/public/test01.txt /mnt/public/test02.txt

# vim /mnt/xyb_share/helloworld.txt
# cat /mnt/xyb_share/helloworld.txt
hello world!

xybdiy xybdiy xybdiy
- 修改smb.conf配置文件
## 备份smb.conf配置文件
# cp /etc/samba/smb.conf /etc/samba/smb.conf.bak
## 修改smb.conf配置文件
[root@hcss-ecs-2d95 ~]# vim /etc/samba/smb.conf
[root@hcss-ecs-2d95 ~]# cat /etc/samba/smb.conf
# See smb.conf.example for a more detailed config file or
# read the smb.conf manpage.
# Run 'testparm' to verify the config is correct after
# you modified it.
[global]
workgroup = SAMBA
security = user
passdb backend = tdbsam
printing = cups
printcap name = cups
load printers = yes
cups options = raw
[homes]
comment = Home Directories
valid users = %S, %D%w%S
browseable = No
read only = No
inherit acls = Yes
[printers]
comment = All Printers
path = /var/tmp
printable = Yes
create mask = 0600
browseable = No
[print$]
comment = Printer Drivers
path = /var/lib/samba/drivers
write list = @printadmin root
force group = @printadmin
create mask = 0664
directory mask = 0775
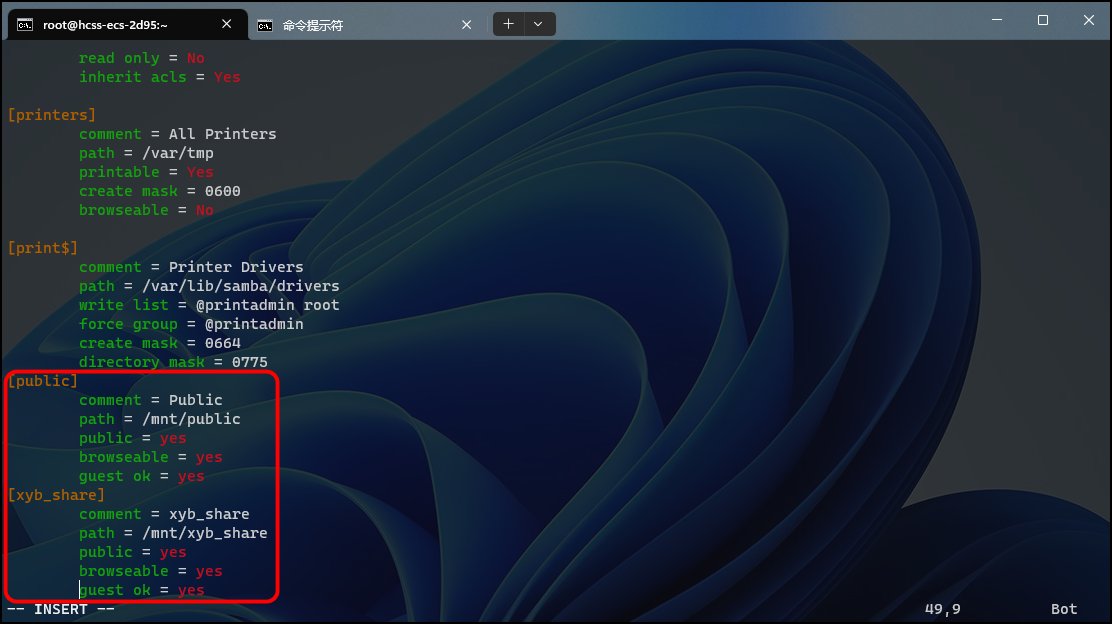
# 新增配置内容如下:
[public]
comment = Public
path = /mnt/public
public = yes
browseable = yes
guest ok = yes
[xyb_share]
comment = xyb_share
path = /mnt/xyb_share
public = yes
browseable = yes
guest ok = yes
- 重启samba服务
[root@hcss-ecs-2d95 ~]# systemctl restart smb
- 测试samba服务
[root@hcss-ecs-2d95 ~]# testparm
Load smb config files from /etc/samba/smb.conf
Loaded services file OK.
Server role: ROLE_STANDALONE

Press enter to see a dump of your service definitions
输出
Loaded services file OK.即表示配置成功。
5、添加访问samba的用户
[root@hcss-ecs-2d95 ~]# smbpasswd -a root
New SMB password:
Retype new SMB password:
Added user root.
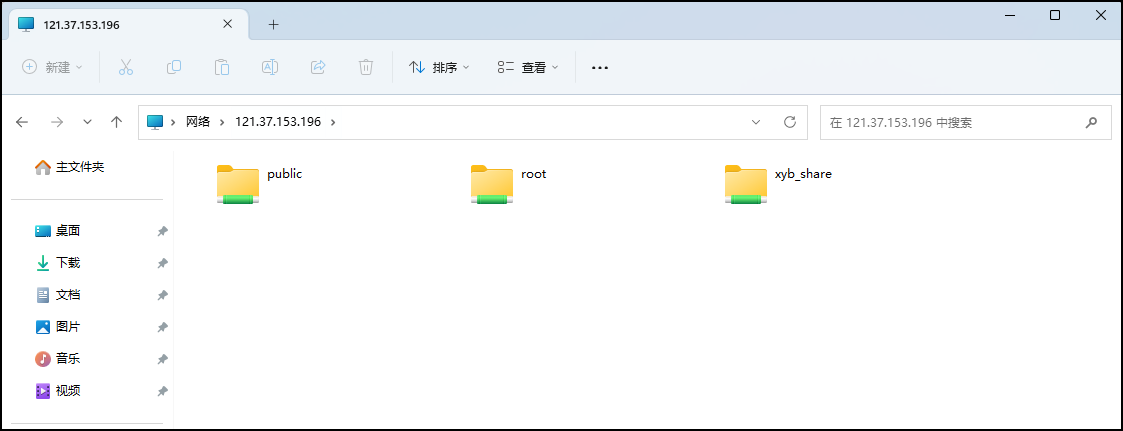
6、Windows下访问Samba服务器
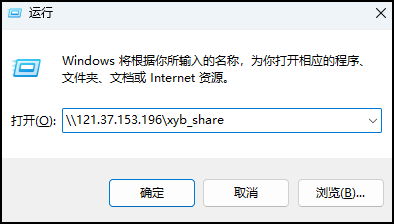
按住
win+R,打开运行窗口,输入\\ IP地址\共享目录。如下图所示。
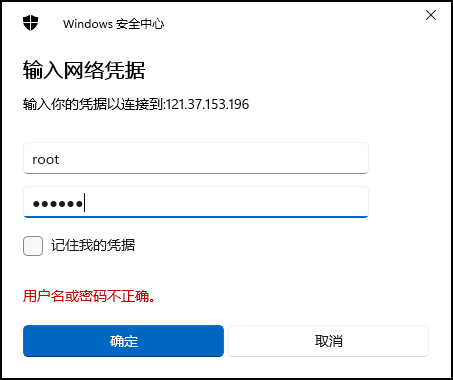
输入用户名和密码。
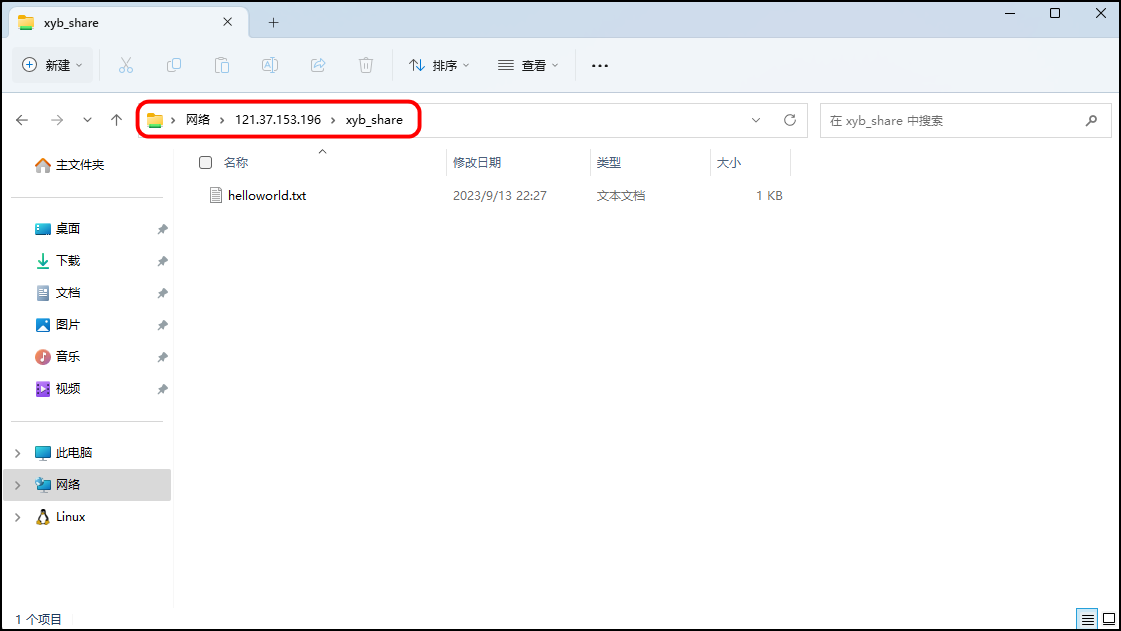
- 访问成功。
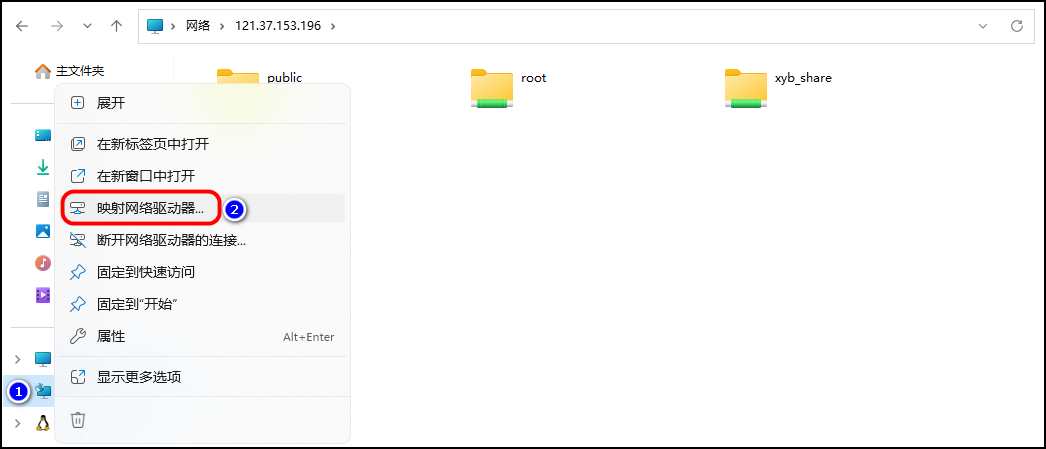
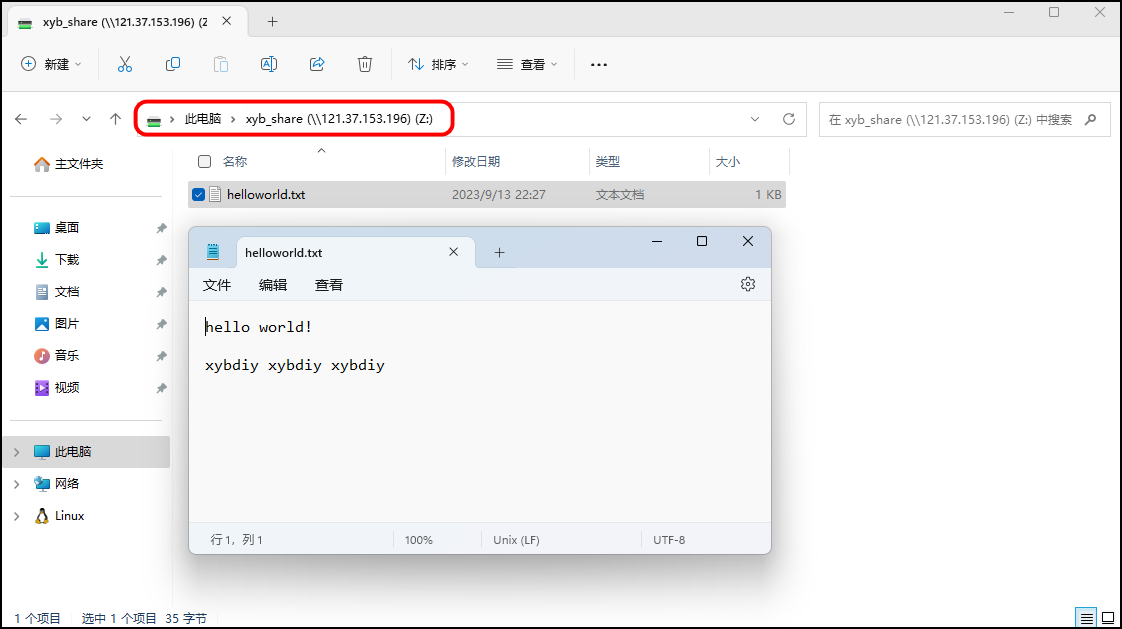
7、映射网络驱动器
- 选择
映射网络驱动器
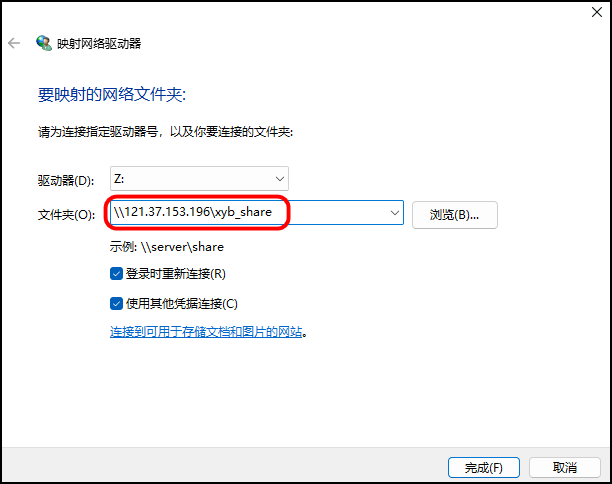
- 按照以下输入格式,键入\\121.37.153.196\xyb_share
- 输入访问samba服务的用户名和密码。
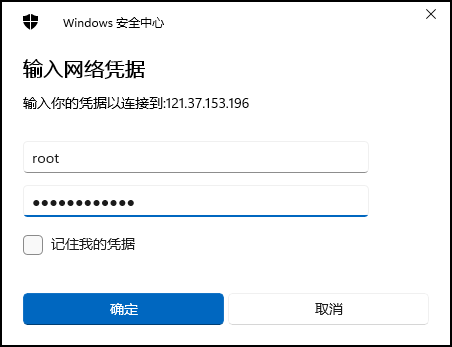
- 点击进入即可访问。
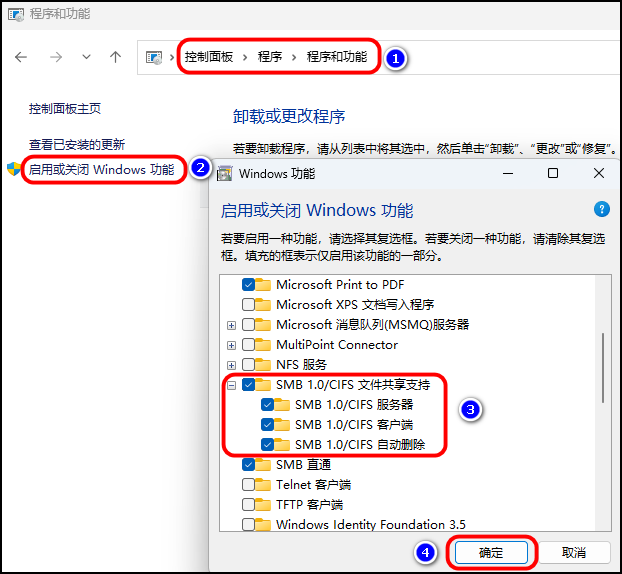
8、常见问题
- 在Windows端访问samba服务报错或者超时,需要检查本地端是否开启SMB服务,如下图所示。
- 发现如下报错信息,可以修改smb.conf配置文件进行消除。具体设置如下:
syslog = 0
syslog only = Yes
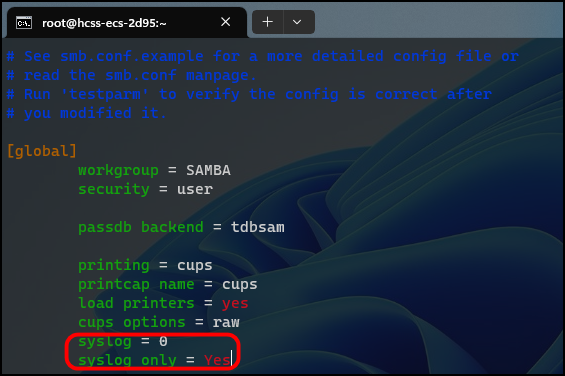
- 重启samba服务即可。
[root@hcss-ecs-2d95 ~]# systemctl restart smb
[root@hcss-ecs-2d95 ~]# systemctl status smb
9、参考链接
🟢 https://developer.aliyun.com/article/509753
🟡 https://bbs.huaweicloud.com/blogs/408963
🔴 https://www.cnblogs.com/lemanlai/p/12267330.html
🔵 https://mp.weixin.qq.com/s/lchaWRRMioA7oSQRLWbQ1A